
Position your infrared heater at least three feet away from flammable items, avoiding windows and doors to maintain efficiency. Mount securely, ensuring the wall can handle its weight, level the brackets, and test for stability afterward. Check if your electrical circuit can support the heater's wattage and upgrade if needed. Mount at 6 to 8 feet for optimum heat distribution, adjusting for insulation and room layout. Follow wiring codes, secure connections, and use correct wire gauge. Prioritize safety, inspect for fire hazards, clearance, and keep a maintenance routine for peak performance. Master these basics for successful infrared heater installation.
Proper Location Selection

When positioning your infrared heater, make sure that it's placed at least three feet away from any combustible materials. This critical step guarantees the safety of your space by preventing potential fire hazards.
Consider the ambient temperature of the room when deciding on the heater's location. Placing it near windows or doors can affect its efficiency as drafts may interfere with its ability to heat the room effectively. Ideal positioning involves selecting a central location that allows for even distribution of heat throughout the space.
Additionally, take into account the room layout when determining where to place your infrared heater. For example, if the room has high ceilings, you may need to adjust the positioning to guarantee that the heat reaches occupants at lower levels.
Similarly, if the room has furniture or obstacles that could block the heat flow, strategic placement of the heater can help overcome these challenges.
Secure Mounting Positioning
Consider the weight and dimensions of your infrared heater when determining the secure mounting position to guarantee proper installation and safety.
Start by evaluating the wall materials where you plan to mount the heater. Different wall materials may require specific mounting brackets or anchors to confirm a secure attachment.
When choosing a mounting position, make sure that the wall can support the weight of the heater. Use a stud finder to locate studs in the wall for a more secure installation. If mounting on drywall, consider using toggle bolts or anchors designed for heavier loads.
Position the mounting brackets at the desired height for the heater, ensuring they're level before securing them to the wall. Double-check the dimensions of the heater and the spacing required for proper ventilation to avoid any obstructions.
Once the mounting brackets are in place, carefully lift and attach the infrared heater, following the manufacturer's instructions.
Test the stability of the installation by gently nudging the heater. A secure mounting position is essential for both the functionality and safety of your infrared heater.
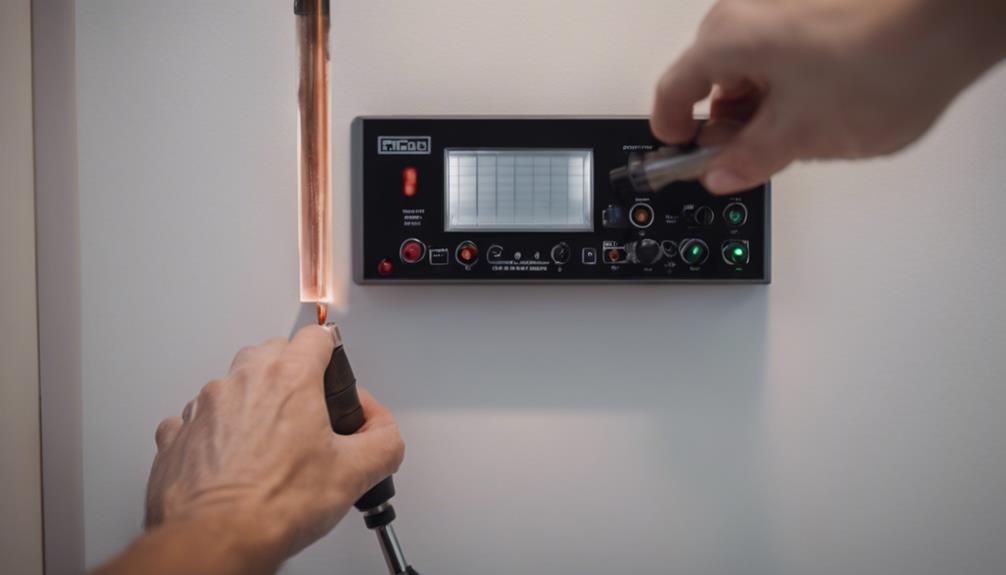
Electrical Power Considerations
Make certain that the electrical circuit you plan to connect your infrared heater to is rated to handle the wattage requirements specified by the manufacturer.
Before installation, it's essential to conduct a thorough load calculation to guarantee that the power source can adequately support the heater's energy needs.
The first step is to identify the power supply available and confirm its voltage and amperage ratings. This information is critical in determining if the circuit can handle the load of the infrared heater without overloading.
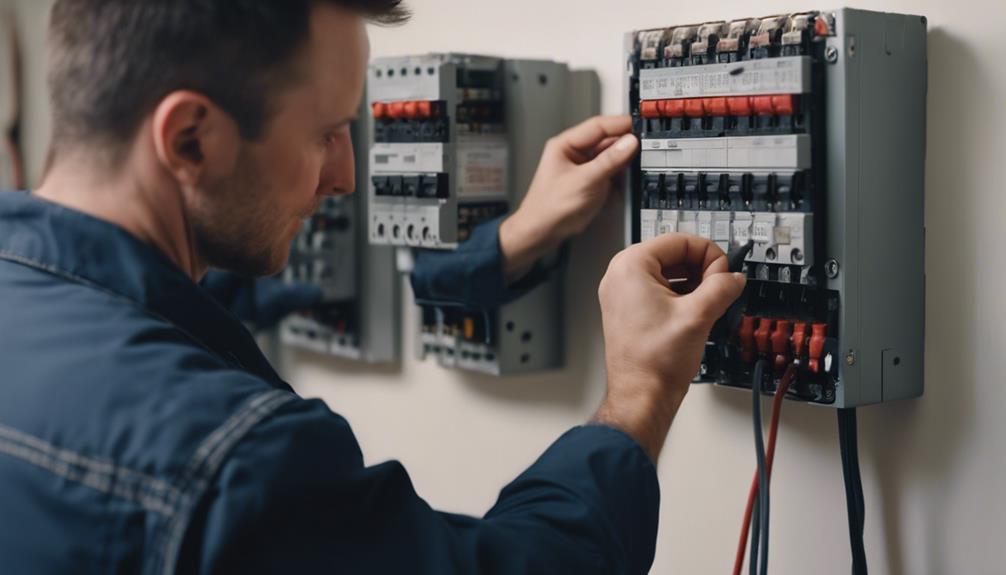
Next, calculate the total wattage required by the heater and compare it to the power source's capacity. Factor in any other appliances or devices sharing the same circuit to prevent tripping breakers or causing electrical issues.
If the heater's wattage exceeds the power source's capabilities, consider upgrading the circuit or installing a dedicated line for the infrared heater to operate efficiently and safely.
Adhering to these electrical power considerations will help avoid potential hazards and guarantee peak performance of your infrared heater.
Optimal Height Placement
To guarantee efficient heating performance, position the infrared heater at an ideal height within the room.
Mount the heater at a height of around 6 to 8 feet above the floor for maximum heat distribution. This elevation allows the infrared waves to cover a broader area while ensuring that the heat reaches you evenly.
Consider the wall insulation when determining the height placement of the heater. If the walls are well-insulated, you can adjust the heater slightly higher since the insulation helps in retaining the heat within the room.
Conversely, if the walls have poor insulation, it might be beneficial to position the heater a bit lower to compensate for potential heat loss.
Effective Wiring Techniques
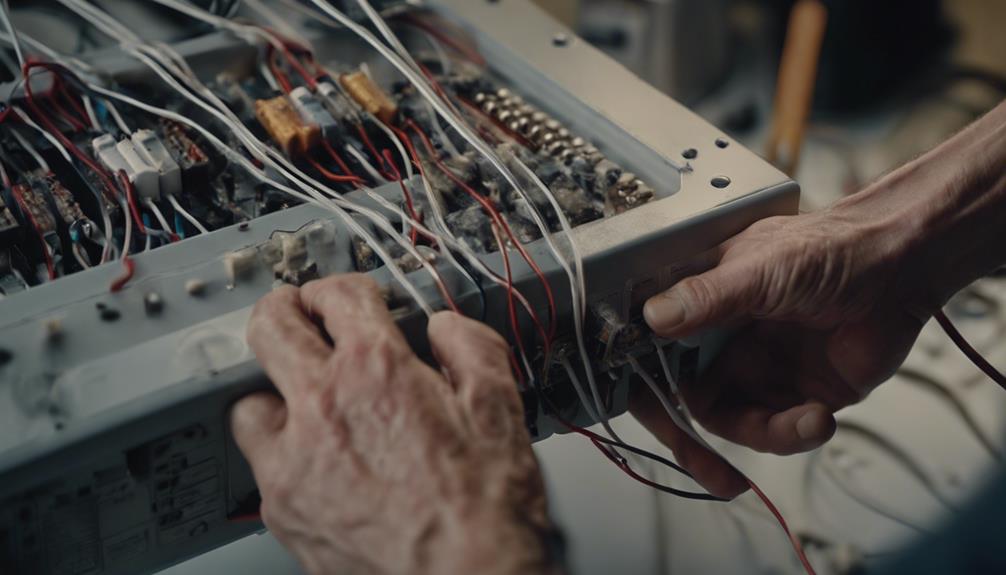
Implementing proper wiring techniques is vital for guaranteeing the safe and efficient operation of your infrared heater. When wiring your infrared heater, it's important to adhere to local wiring codes to assure compliance and safety. Confirm that all electrical connections are secured tightly using appropriate connectors to prevent any loose connections that may lead to overheating or electrical hazards.
When connecting your infrared heater to the power source, make certain to use the correct wire gauge based on the manufacturer's recommendations. This will help prevent voltage drops and confirm that your heater functions at peak performance. Additionally, always install a dedicated circuit breaker for your infrared heater to prevent overloading the circuit and minimize the risk of electrical fires.
Before starting the wiring process, carefully read the installation manual provided by the manufacturer to understand the specific requirements for your infrared heater model. Following these wiring techniques meticulously won't only assure the safe operation of your heater but also extend its lifespan.
Safety Precautions Prior Installation
Guaranteeing your safety prior to the installation of an infrared heater involves conducting a thorough inspection of the installation area for any potential hazards.
Before beginning the installation process, it's essential to identify and address any fire hazards in the vicinity. Check for flammable materials, such as curtains, papers, or furniture, that may be too close to where the heater will be placed. Make certain to follow the manufacturer's clearance requirements to prevent any risks of overheating and potential fires.
Additionally, make sure that there's adequate clearance around the heater to allow for proper ventilation and heat dissipation. Failure to provide sufficient clearance may not only pose a fire hazard but also reduce the efficiency and lifespan of the infrared heater.
It's recommended to leave a minimum of 18 inches of space around the heater to guarantee safe operation.
Regular Maintenance Practices
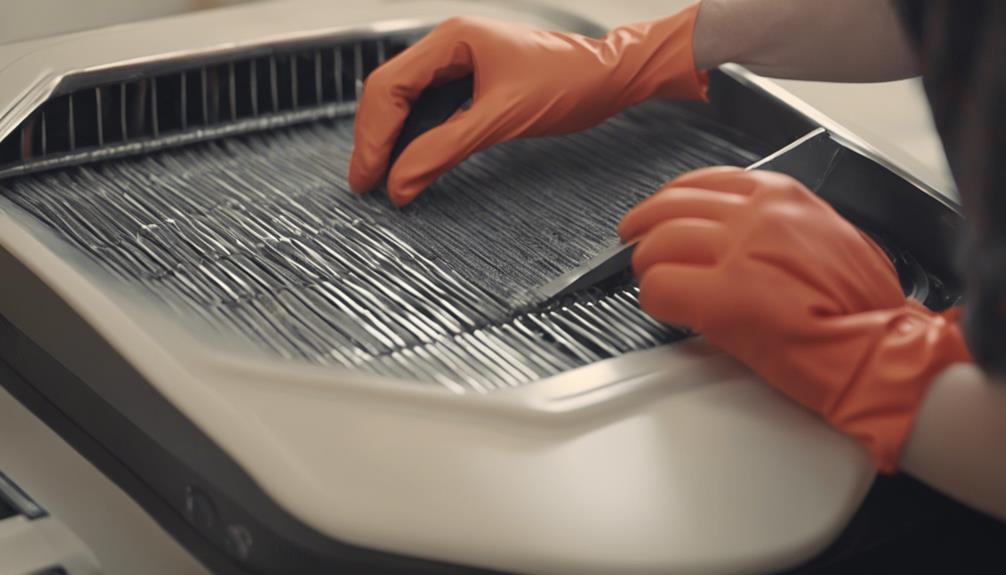
Regular maintenance practices for your infrared heater play an important role in guaranteeing its best performance and longevity. Two significant maintenance tasks are filter cleaning and thermostat calibration.
Filter cleaning is essential for maintaining the efficiency of your infrared heater. Over time, dust and debris can accumulate on the filter, obstructing airflow and reducing the heater's effectiveness. To clean the filter, simply remove it from the unit and gently vacuum or wash it, depending on the type of filter. Regular filter cleaning, ideally every 1-3 months, can greatly improve the heater's performance.
Thermostat calibration is another important maintenance practice. A poorly calibrated thermostat can lead to temperature inconsistencies and energy wastage. To calibrate the thermostat, use a separate thermometer to check the actual room temperature against the thermostat reading. If there's a discrepancy, follow the manufacturer's instructions to adjust the thermostat settings accurately. Regular calibration, at least once a year, guarantees your infrared heater operates efficiently and keeps your space comfortable.
Conclusion
In summary, following these installation tips for your infrared heater will guarantee peak performance and safety.
By selecting the proper location, securely mounting the unit, considering electrical power needs, placing it at the ideal height, using effective wiring techniques, taking safety precautions, and maintaining it regularly, you can enjoy the benefits of a well-functioning and efficient heating system.
Remember, proper installation is key to maximizing the effectiveness of your infrared heater.