Assure a successful infrared heater installation by diagnosing common issues. Check wiring connections to prevent power supply problems; confirm the heater's circuit load matches the requirements. Mount the heater 6 to 8 feet high with 3 feet wall clearance for safety. Improve heating efficiency by addressing insulation problems and matching heater size to the area. Troubleshoot remote control malfunctions by replacing batteries and adjusting interference. Optimize heat distribution through airflow adjustments and heat mapping. Prevent overheating with regular maintenance, assuring proper temperature settings and unobstructed vents. This guide covers key troubleshooting aspects for a seamless heater installation process.
Power Supply Issues
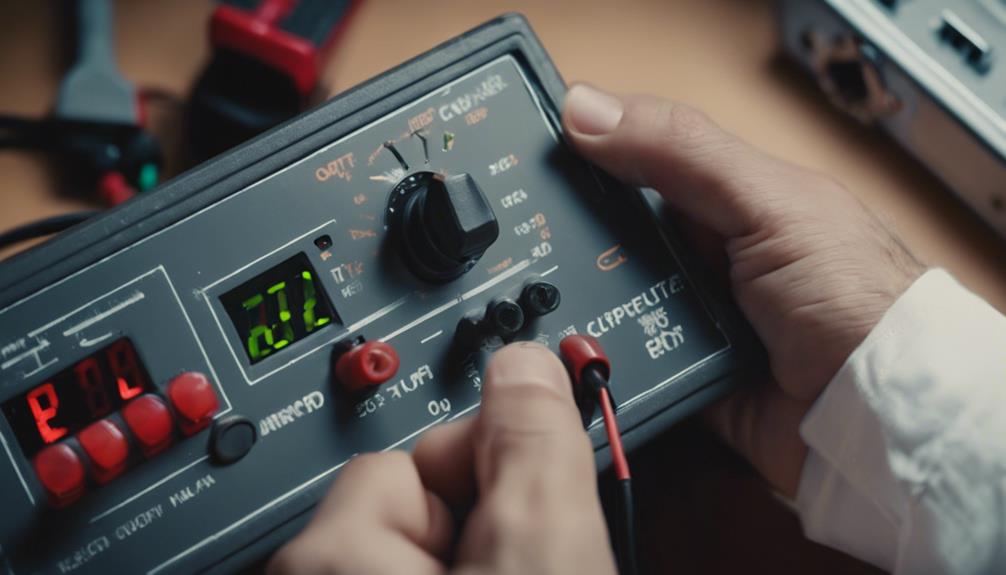
Are you experiencing frequent power supply issues when trying to install your infrared heater? One common reason for this problem could be faulty wiring connections. Make sure that all the wiring connections are secure and properly connected. Loose connections can lead to voltage drops, resulting in your heater not receiving adequate power to function correctly.
Another factor to take into account is the circuit load. Your infrared heater might be drawing more power than the circuit can handle. Check the electrical specifications of your heater and compare them to the circuit's capacity. If the heater's power requirements exceed the circuit's load capacity, it can cause power supply issues.
To troubleshoot power supply problems effectively, use a voltage tester to check the power outlets. Make sure that the voltage matches the requirements of your infrared heater. If the voltage is below or above the specified range, it can cause operational issues.
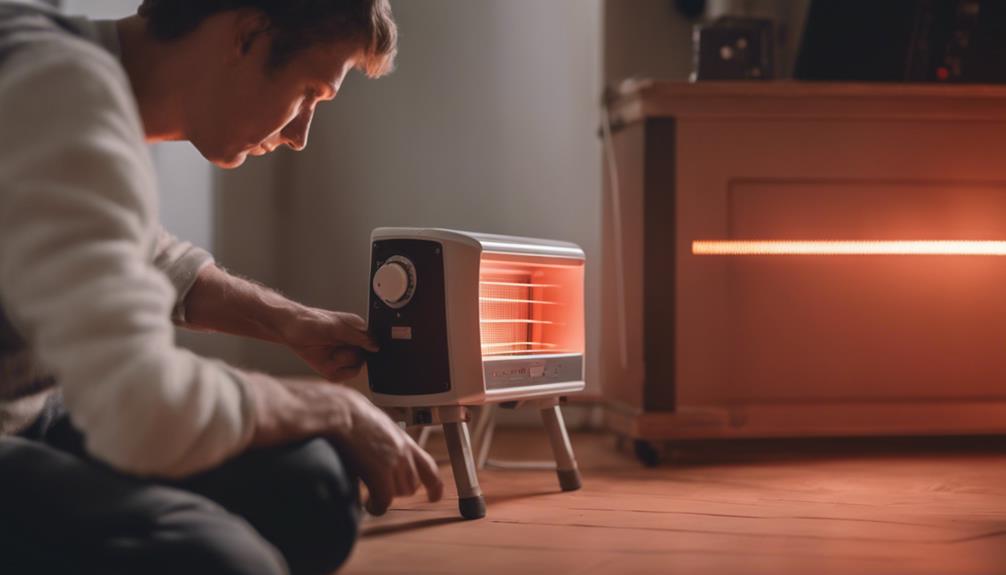
Incorrect Mounting Position
Positioning your infrared heater incorrectly can lead to inefficient heating and potential safety hazards.
When mounting your infrared heater, verify it's positioned at the recommended mounting height for peak performance. The mounting height typically ranges from 6 to 8 feet above the floor, allowing the heater to distribute heat evenly across the room.
Moreover, maintaining proper wall clearance is essential to prevent overheating and potential fire risks. Make sure there's sufficient space between the heater and any combustible materials.
The recommended wall clearance is usually around 3 feet on all sides of the heater. This clearance allows for proper airflow and guarantees that the heater operates safely and efficiently.
Poor Heating Performance
To enhance the heating efficiency of your infrared heater, confirm that it's installed at the recommended mounting height and with adequate wall clearance to avoid poor heating performance.
Poor heating performance can also be attributed to insulation problems within the room where the heater is being used. If the room lacks proper insulation, the heat produced by the infrared heater may dissipate quickly, leading to inefficiency.
Additionally, verify that the size of the heater matches the area you intend to heat. An infrared heater that's too small for the space will struggle to provide sufficient warmth, while one that's too large may consume excess energy without effectively heating the room.
Checking for these factors can greatly improve the performance of your infrared heater, confirming that you receive ideal heating comfort while maximizing energy efficiency.
If poor heating performance persists despite addressing these issues, it may be necessary to consult with a professional to assess any underlying problems.
Remote Control Malfunction
Check the batteries in the remote control if you're experiencing issues with remote control malfunction on your infrared heater.
Remote control malfunctions can often be traced back to low or dead batteries. Replace the batteries with fresh ones to guarantee proper functioning.
If replacing the batteries doesn't resolve the issue, consider the possibility of remote interference.
Electronic devices or other infrared heaters in close proximity can sometimes interfere with the signal from the remote control to the heater. Try moving the remote control closer to the heater or confirming that there are no obstructions blocking the signal path.
In some cases, a simple reset of the remote control and the heater can also help troubleshoot remote control malfunctions.
Follow the manufacturer's instructions on how to reset both devices properly.
Uneven Heating Distribution

If you notice uneven heating distribution in your space when using an infrared heater, adjusting the airflow direction may help optimize heat distribution. Ensuring proper airflow circulation is essential for achieving uniform warmth throughout the room. To address this issue effectively, start by conducting a heat mapping analysis of the area to identify cold spots or areas with inadequate heat coverage.
Additionally, performing an insulation assessment can help determine if heat loss is occurring through poorly insulated walls or windows, causing uneven heating. Properly insulating these areas can greatly improve the overall heat distribution in the room.
Furthermore, positioning the infrared heater strategically can also enhance heat distribution. Placing the heater in a central location or adjusting its angle towards areas that require more warmth can help balance out the temperature throughout the space.
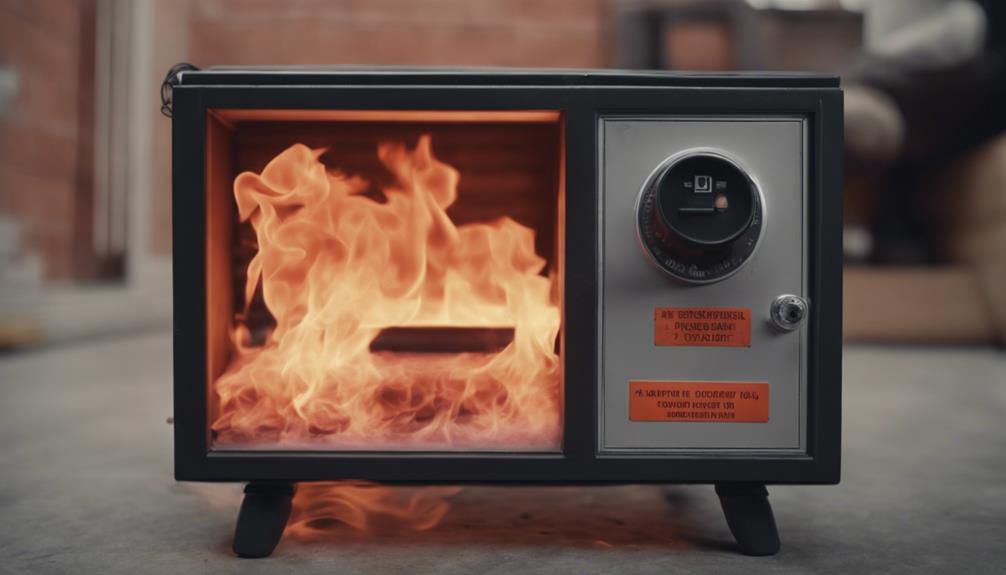
Overheating Concerns
Address potential overheating concerns by monitoring the infrared heater's temperature settings regularly to prevent excessive heat output.
To guarantee safety and maximum performance, follow specific installation guidelines. Place the heater at least three feet away from any combustible materials such as curtains or furniture. Be sure to plug the heater directly into a wall outlet, avoiding the use of extension cords, which can overheat and pose a fire hazard.
Additionally, check that the heater's vents are unobstructed to allow proper airflow and prevent overheating. Avoid placing objects on top of the heater or blocking the airflow with curtains or furniture.
If you notice the heater emitting an unusual smell or if it becomes too hot to touch, immediately turn it off and unplug it. These could be signs of overheating and require prompt attention to prevent any potential fire hazards.
Maintenance and Cleaning Tips
Regular maintenance and cleaning of your infrared heater are essential to guarantee peak performance and longevity.
One important aspect of maintenance is regular filter replacement. Filters can become clogged with dust and debris over time, hindering the heater's efficiency. It's recommended to check and replace the filters according to the manufacturer's guidelines, typically every few months.
In addition to filter replacement, performing routine safety checks is critical. Inspect the heater for any signs of wear and tear, such as frayed wires or loose connections. Verify that the heater is placed on a stable surface and that there are no flammable materials nearby.
Dust and debris buildup can also pose a safety hazard, so it's important to clean the heater regularly using a soft brush or cloth.
Conclusion
In summary, troubleshooting infrared heater installation issues requires attention to detail and a methodical approach.
By addressing common problems such as power supply issues, heating performance, remote control malfunction, uneven heating distribution, and overheating concerns, you can guarantee peak performance and efficiency.
Regular maintenance and cleaning will also help extend the lifespan of your infrared heater.
Remember to consult the manufacturer's guidelines for specific troubleshooting tips and instructions.