Posted on Leave a comment

Ultimate Cleaning Guide for Infrared Heaters: FAQ's Answered

infrared heater cleaning tips

When cleaning your infrared heater, remember safety first: unplug it and wear protective gear before starting. Tools you'll need include a soft cloth, vacuum, and compressed air for effective cleaning. Make sure to disconnect and remove the heater carefully, noting the mounting method. Clean the exterior gently with mild soap and water, avoiding harsh chemicals. Be cautious when cleaning the heating elements; use a dry cloth and soft brush. Reassemble the heater securely, check electrical connections, and test it afterward for proper functionality. Proper maintenance boosts efficiency and extends the lifespan of your heater.

Safety Precautions Before Cleaning

cleaning safety guidelines first

Before cleaning your infrared heater, always remember to unplug it from the power source to prevent any electrical accidents. Ensuring your safety is vital when maintaining your heater.

When it comes to cleaning frequency, it's recommended to clean your infrared heater at least once a month, or more frequently if you notice a buildup of dust or debris. Regular cleaning not only enhances the heater's efficiency but also prolongs its lifespan.

When preparing to clean your infrared heater, make sure to wear the appropriate safety gear. This includes protective gloves to shield your hands from any sharp edges or hot surfaces, safety goggles to prevent dust or debris from entering your eyes, and a face mask to avoid inhaling particles while cleaning.

These safety precautions are essential to safeguard yourself from any potential injuries during the cleaning process.

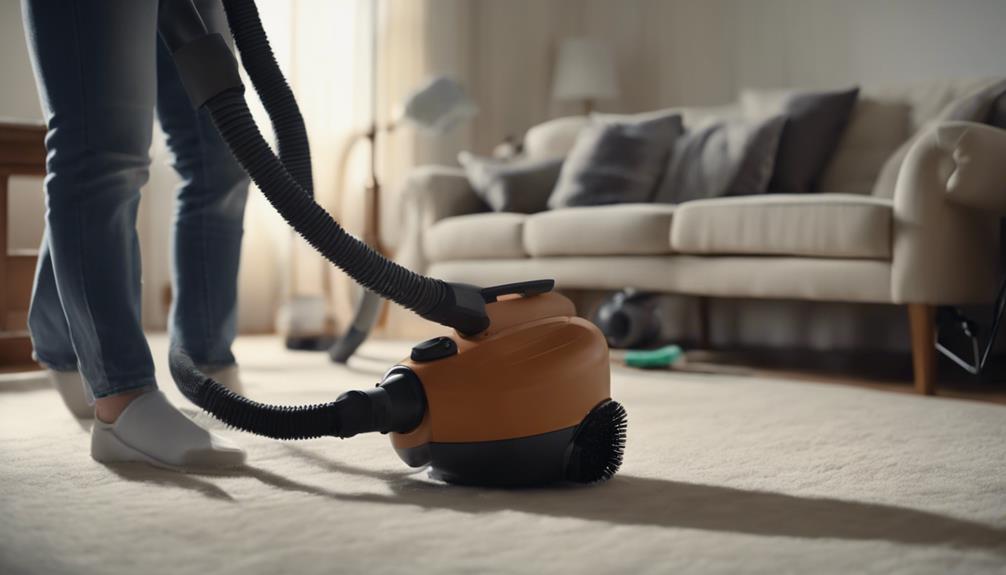
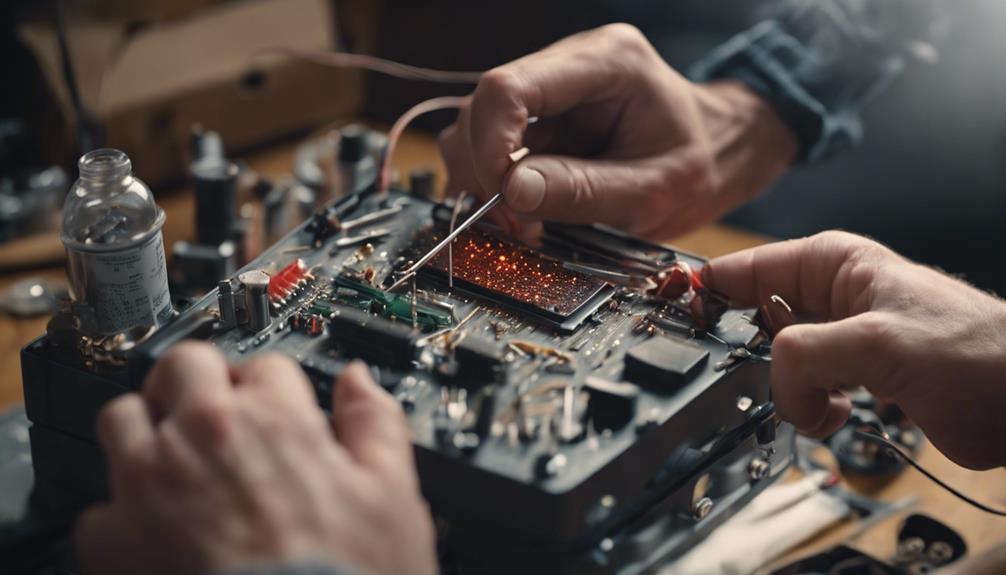
Tools Required for Cleaning Process

To effectively clean your infrared heater, make certain you have the following tools at hand.

First, gather your cleaning supplies, including a soft cloth or microfiber towel, a vacuum cleaner with a brush attachment, and a can of compressed air. These tools will help you remove dust, dirt, and debris from the heater components. Additionally, you may need a screwdriver or wrench to safely access internal parts for thorough cleaning.

It is essential to maintain a regular maintenance schedule for your infrared heater to guarantee peak performance and longevity. By having the necessary tools readily available, you can easily clean your heater as needed without delay.

Regular cleaning and maintenance won't only improve the efficiency of your heater but also extend its lifespan. Remember to unplug the heater and let it cool down before starting the cleaning process to prevent any accidents.

Following these steps will help keep your infrared heater in top condition for efficient heating.

How to Disconnect and Remove Heater

disconnecting and removing heater

Make sure you have unplugged the heater and allowed it to cool down completely before proceeding to disconnect and remove it for cleaning.

To disconnect the heater, locate the power source and unplug it from the electrical outlet. If the heater is hardwired, turn off the circuit breaker before removing it. Verify you follow all safety precautions outlined in the heater installation manual.

When removing the heater, take note of how it's mounted or secured in place. Some heaters are wall-mounted using brackets, while others may be freestanding or ceiling-mounted. Carefully detach the heater from its mounting according to the manufacturer's instructions to avoid damaging the unit or surrounding surfaces.

Remember to keep track of any screws or fasteners that are removed during the process, as they'll be needed for reinstallation. Additionally, this is a good opportunity to inspect the heater for any signs of wear or damage that may require attention during maintenance.

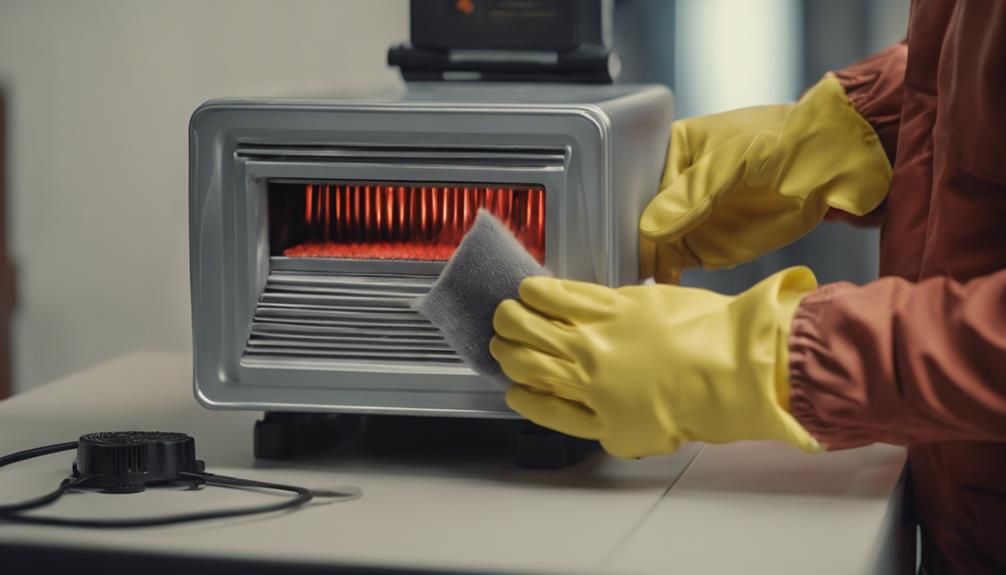
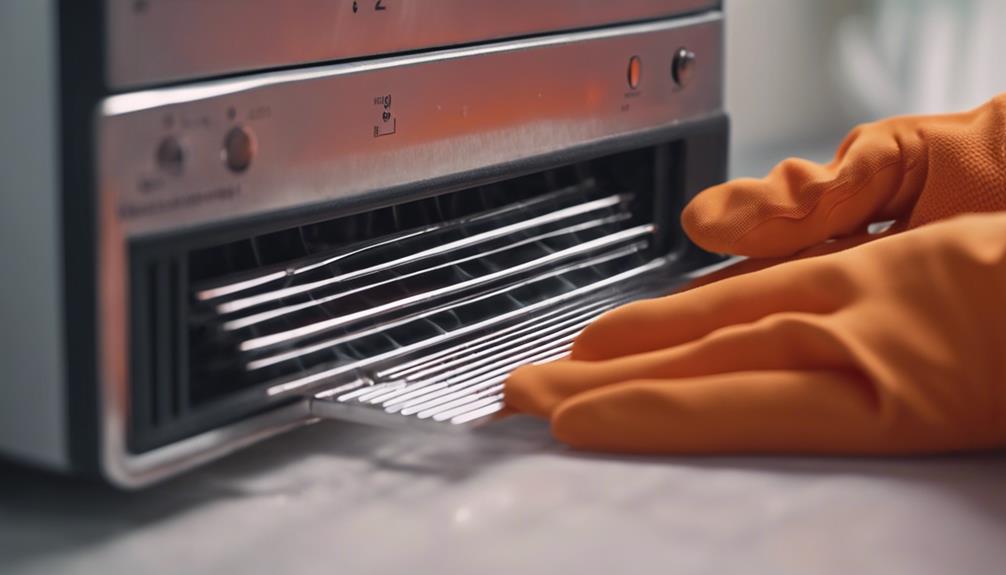
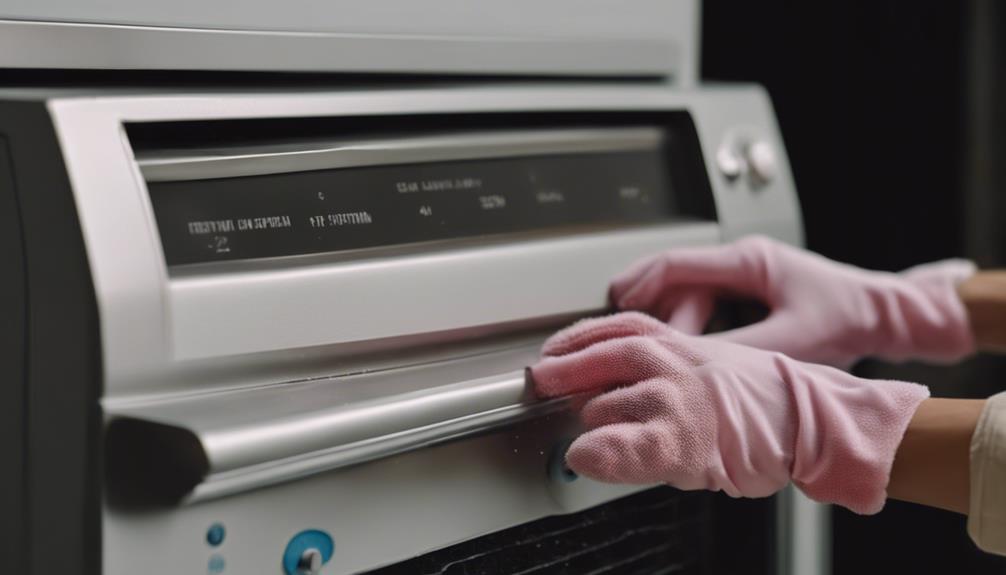
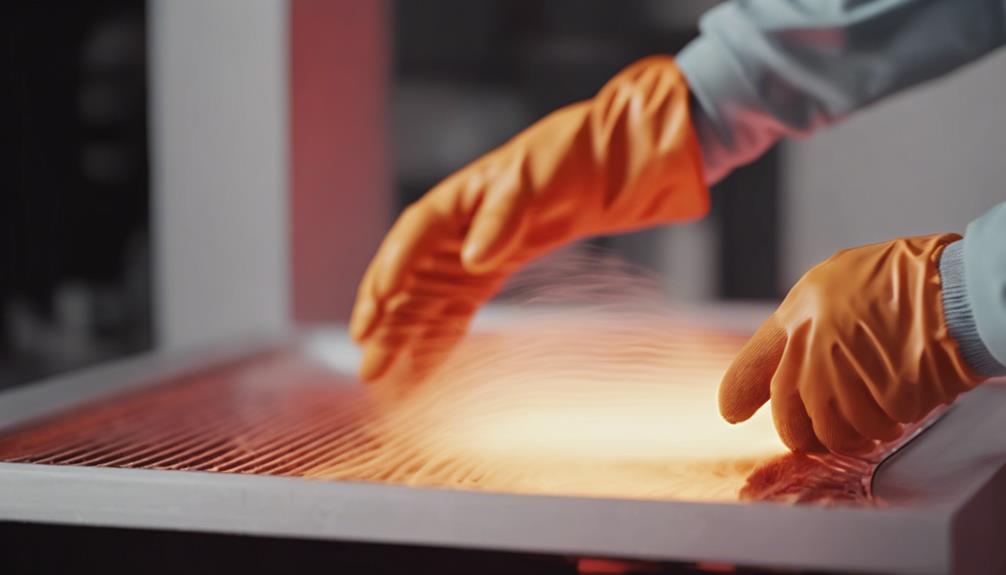
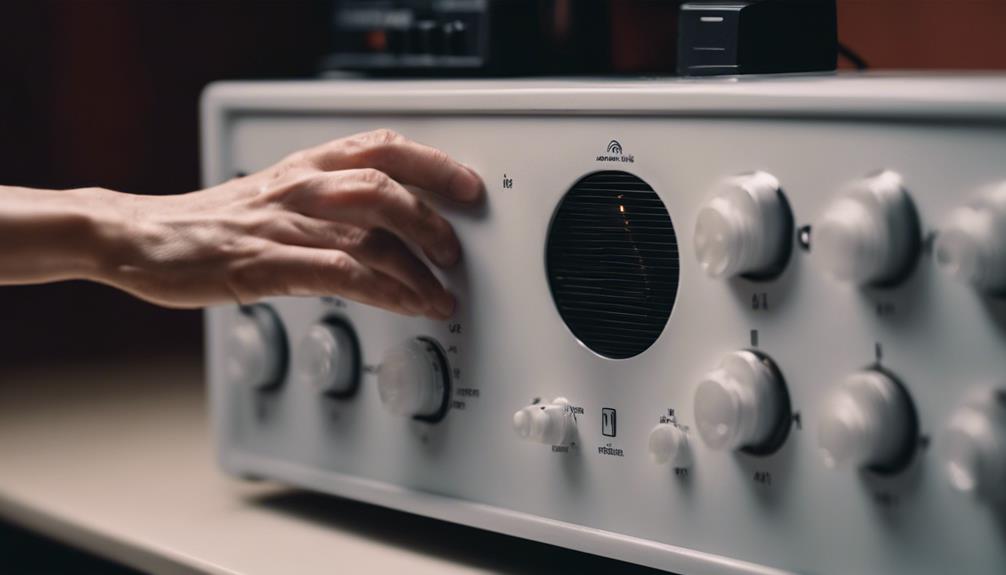
Cleaning the Exterior of the Heater

Start by wiping down the exterior surface of the heater using a clean, dry cloth to remove any dust or debris. Regularly cleaning the outside of your infrared heater not only keeps it looking good but also guarantees peak performance.

When choosing cleaning products, avoid harsh chemicals that could damage the finish. Opt for mild soap and water or specialized electronic device cleaners. Make sure to unplug the heater before cleaning to prevent any accidents.

For metal exteriors, you can use a damp cloth followed by a dry one to prevent water spots. Plastic surfaces can be wiped down with a cloth dampened in a mild soapy solution. Remember never to spray cleaners directly onto the heater to prevent any liquid from seeping into the internal components.

Additionally, consider using a soft brush to gently remove dust from grilles or vents. Following these maintenance tips will help extend the life of your infrared heater and keep it operating effectively.

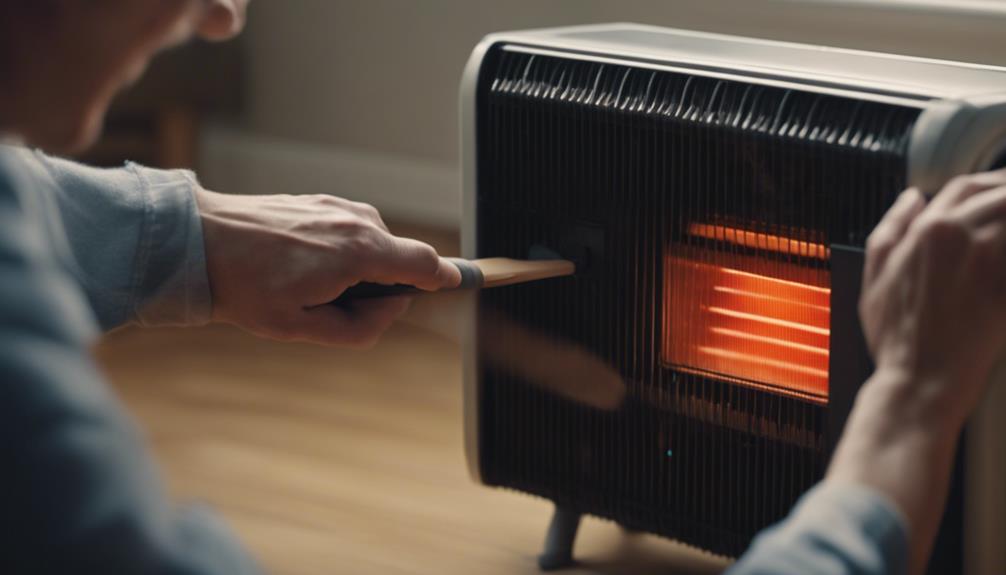
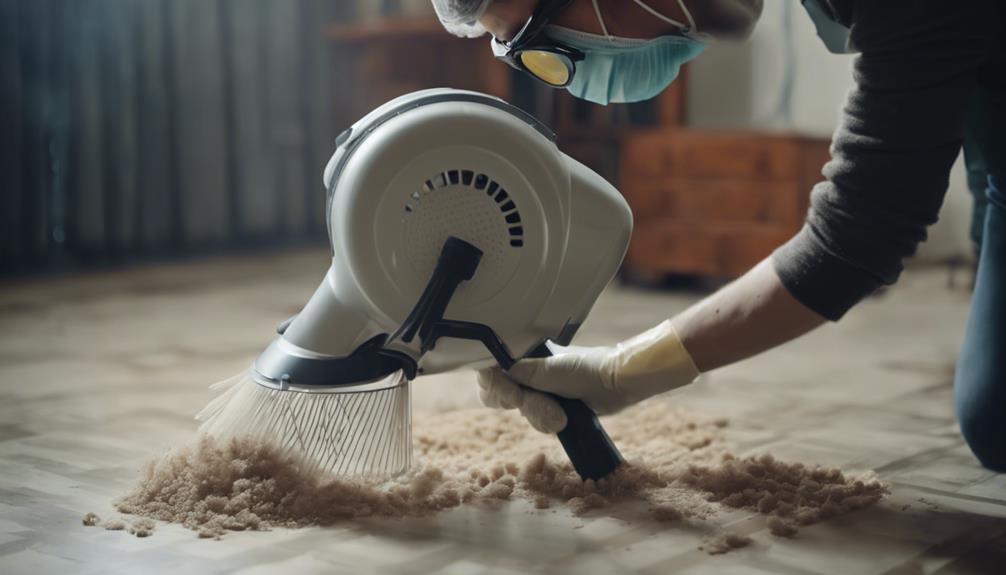
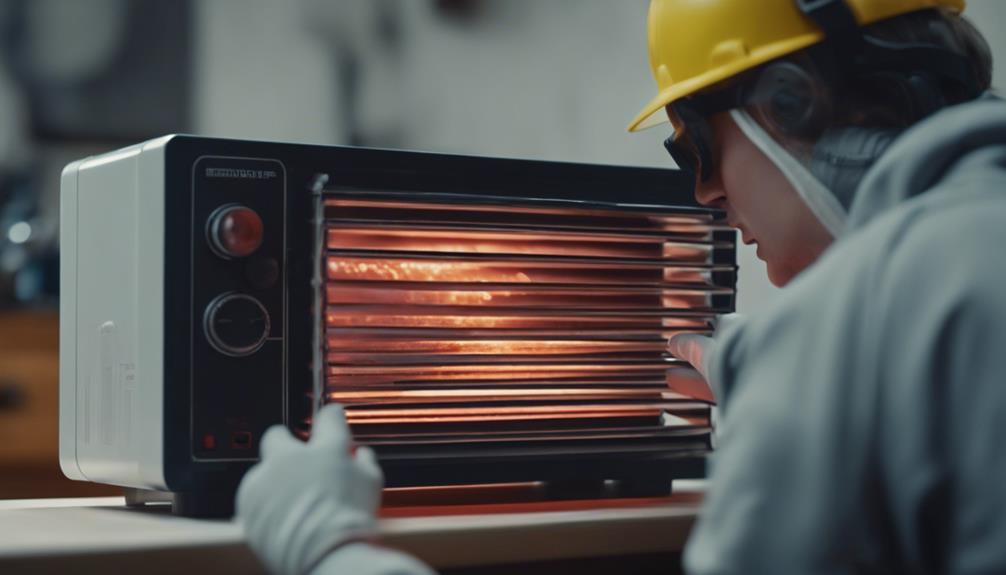
Cleaning the Heating Elements Carefully

cautiously cleaning heating elements

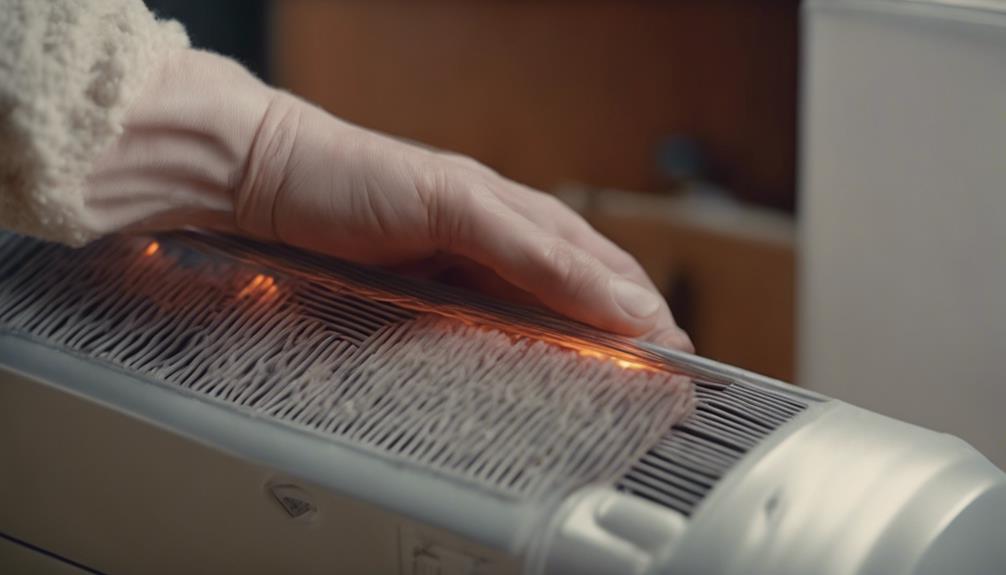
Make sure the heating elements of your infrared heater are cleaned meticulously to maintain peak performance and efficiency.

Proper heating element maintenance is essential for guaranteeing that your infrared heater operates efficiently. Start by turning off and unplugging the heater before cleaning the heating elements. Use a soft, dry cloth to gently wipe away any dust or debris that may have accumulated on the elements. Avoid using water or liquid cleaning solutions on the heating elements, as this can damage the delicate components.

For tougher dirt or grime buildup, you can use a soft brush to carefully remove the debris. Be gentle to avoid damaging the heating elements.

Regular cleaning of the heating elements won't only improve the efficiency of your infrared heater but also prolong its lifespan. Remember to clean the heating elements regularly as part of your overall maintenance routine to guarantee peak performance.

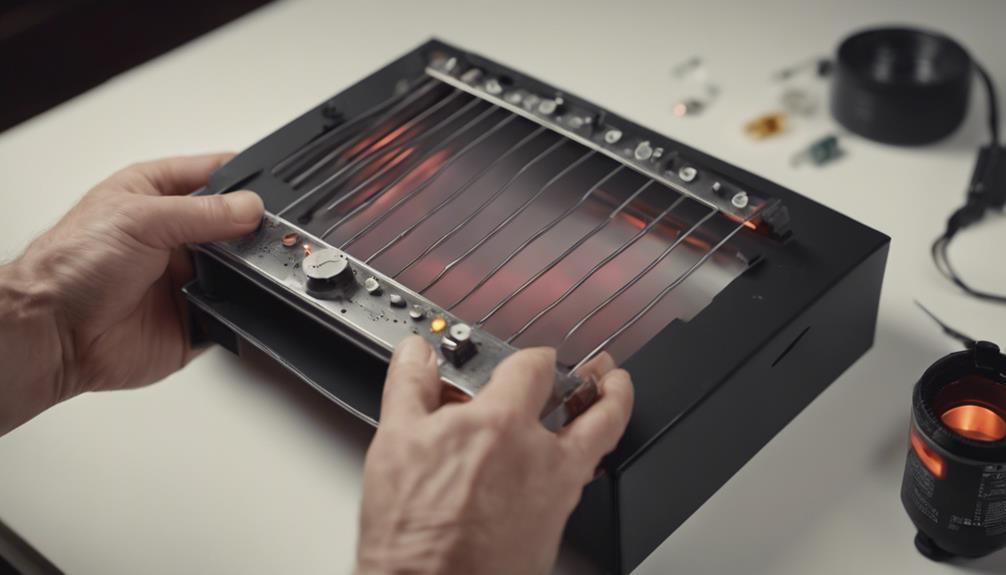
Reassembling and Reconnecting the Heater

Reassemble and reconnect the heater components carefully following the manufacturer's instructions to guarantee proper functionality.

Here are some reassembly tips and connection guidelines to verify everything is put back correctly.

Start by reattaching the heating elements to their designated spots securely, ensuring they're fitted snugly but not overly tight to avoid damage.

Check all electrical connections for any signs of wear or damage, replacing any faulty wires or connectors before proceeding.

When reconnecting the power supply, double-check that all connections are secure and in the right places to prevent any electrical issues.

Take extra care when securing the housing or cover back onto the heater, making sure all screws or fasteners are tightened evenly to avoid any gaps or misalignments that could affect the heater's performance.

Once everything is reassembled, refer to the manufacturer's manual for any specific post-assembly checks or procedures to complete the process successfully.

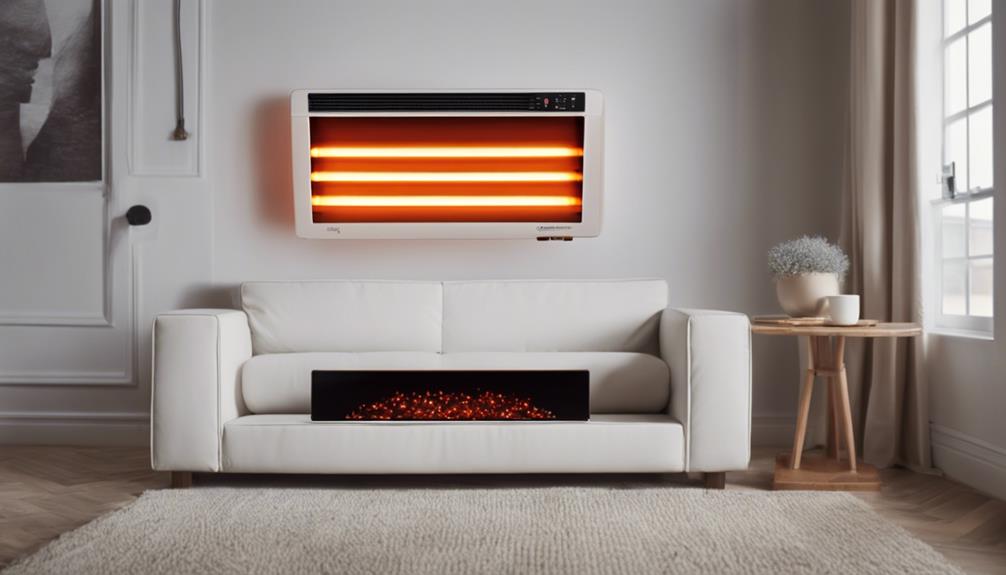
Testing the Heater After Cleaning

heater testing post cleaning

Make certain the heater is thoroughly cleaned before proceeding to test its functionality to avoid any potential issues.

Once reassembled, plug the heater into a power source and turn it on. Allow the heater to run for at least 10-15 minutes to verify it reaches its ideal operating temperature. During this time, observe the heater closely to check for any unusual sounds, smells, or behaviors.

To conduct a performance evaluation, feel the heat output from the heater. It should emit a steady and consistent level of heat.

Use a thermometer to measure the temperature at various distances from the heater to verify it's dispersing heat evenly. Additionally, check if the heater is heating up within a reasonable timeframe compared to its pre-cleaning performance.

If you notice any issues such as uneven heat distribution, fluctuating temperatures, or decreased heat output, it may indicate that further cleaning or maintenance is required.

Refer to the manufacturer's guide for troubleshooting tips or contact a professional for assistance.

Conclusion

In summary, following the proper safety precautions and utilizing the necessary tools, cleaning your infrared heater can help maintain its efficiency and prolong its lifespan.

By carefully cleaning the exterior, heating elements, and reassembling the unit correctly, you can guarantee peak performance.

Remember to test the heater after cleaning to confirm it's functioning properly.

Regular maintenance and cleaning will keep your infrared heater running smoothly for years to come.

Posted on Leave a comment

Step-By-Step Guide to Clean Infrared Heaters

cleaning infrared heaters guide

To guarantee the efficiency and safety of your infrared heater, start by powering it off and gathering cleaning supplies like a microfiber cloth and soft brush. Once everything is cool, remove dust and debris from vents and filters, then carefully clean the heating element with a soft brush. Wipe down the exterior gently, avoiding excess moisture. Reassemble the components properly and test the heater's functionality by plugging it in and checking the heat settings. Following this step-by-step guide will help maintain your infrared heater's performance.

Safety Precautions

ensure safe practices always

Before cleaning your infrared heater, make sure to take proper safety precautions to prevent any accidents or injuries. Infrared heaters can pose fire hazards and electrical safety risks if not maintained correctly.

To begin, verify the heater is turned off and unplugged before any cleaning to avoid electric shock. Additionally, never attempt to clean the heater while it's still hot, as this could lead to burns or other injuries.

When dealing with infrared heaters, be cautious of flammable materials nearby. Keep the area around the heater clear of any objects that could easily catch fire.

Regularly inspect the power cord for any signs of damage, such as fraying or exposed wires, and replace it if necessary to prevent electrical hazards.

Gather Cleaning Supplies

To effectively clean your infrared heater, gather the necessary cleaning supplies such as a microfiber cloth, soft brush, and a vacuum cleaner with a brush attachment. These items are essential for removing dust, dirt, and debris that can accumulate on the heater's surface and affect its performance.

Additionally, consider using cleaning solutions specifically designed for electronics to guarantee a thorough clean without causing damage.

When choosing a microfiber cloth, opt for one that's soft and lint-free to prevent scratching the heater's surface. The soft brush will help you reach into crevices and vents to dislodge trapped particles. A vacuum cleaner with a brush attachment is ideal for efficiently removing loose dirt and dust.

Remember to check the manufacturer's guidelines for any specific cleaning recommendations to maintain your infrared heater properly. Regular cleaning and maintenance are key to guaranteeing your heater operates efficiently and lasts longer.

Power Off the Heater

turn off the heater

Make certain that the infrared heater is switched off before beginning the cleaning process. Ensuring the heater is powered off is essential for your safety during maintenance.

Start by locating the power source of your infrared heater. Typically, this involves unplugging the unit from the electrical outlet.

In some models, you may need to turn off a power switch located on the heater itself. Always refer to the manufacturer's instructions for specific guidance on powering down your particular model.

Remove Dust and Debris

Make certain the infrared heater is completely cool before proceeding to remove any dust and debris from the unit. Dust removal is essential to maintain the efficiency and longevity of your infrared heater. Over time, debris accumulation can hinder the heater's performance by blocking airflow and causing overheating.

To begin the dust removal process, use a soft-bristled brush or a vacuum cleaner with a brush attachment to gently clean the exterior vents and grilles of the heater. Pay close attention to areas where dust tends to accumulate, such as around the control panel and near the fan.

Next, carefully remove the heater's filter if it has one and clean it according to the manufacturer's instructions. Filters are designed to trap dust and debris, preventing them from entering the internal components of the heater. Regularly cleaning or replacing the filter will help maintain peak performance.

Clean the Heating Element

maintain heating element cleanliness

When cleaning the heating component of your infrared heater, make certain it's disconnected from any power source to prevent accidents.

The heating element maintenance is vital for the efficient operation of your infrared heater. The heating element is the core component responsible for emitting the infrared heat that warms your space effectively.

To clean the heating element, use a soft brush or cloth to gently remove any dust or debris that may have accumulated on its surface. Avoid using harsh chemicals or abrasive materials that could damage the heating element.

Regular maintenance of the heating element guarantees that it functions at its best, providing you with the full benefits of infrared technology.

Infrared technology benefits from a clean heating element include increased energy efficiency, consistent heating performance, and prolonged lifespan of the heater.

Wipe Down the Exterior

It's essential to regularly wipe down the exterior of your infrared heater to maintain its appearance and guarantee peak performance. The frequency of cleaning the exterior depends on factors such as the location of the heater and how often it's used. For heaters located in dusty or high-traffic areas, more frequent cleaning may be necessary.

When wiping down the exterior, make sure to use a soft, dry cloth to avoid scratching the surface. For heaters with metal exteriors, you can lightly dampen the cloth with water or a mild cleaner specifically designed for the material. Avoid using abrasive cleaners or chemicals that may damage the exterior materials.

For heaters with plastic or painted exteriors, gentle cleaning with a damp cloth is usually sufficient. Be cautious not to use excessive water that could seep into the heater's internal components.

Regularly cleaning the exterior of your infrared heater not only maintains its aesthetic appeal but also helps in prolonging its lifespan and ensuring peak performance.

Reassemble and Test Operation

reassemble and test functionality

Reassemble the components of your infrared heater carefully to confirm proper functionality before testing its operation.

When reassembling, refer to the manufacturer's manual for specific reassembly techniques to guarantee you put the heater back together correctly.

Make sure all the parts are securely attached and in their proper places to prevent any malfunctions.

Once reassembly is complete, it's time to test the heater's operation.

Plug in the heater and turn it on to check if it heats up properly.

Observe the heating element to confirm it glows evenly and emits heat consistently.

Test the different heat settings to verify that the heater can adjust temperatures accordingly.

Additionally, check the thermostat to see if it accurately regulates the temperature as per your settings.

Listen for any unusual noises or smell any odd odors that could indicate a problem.

If everything functions as expected, your infrared heater is now ready to keep you warm and cozy.

Conclusion

To summarize, following these simple steps will help keep your infrared heater clean and operating efficiently.

Regular maintenance is key to ensuring the longevity and effectiveness of your heater.

By taking the time to clean it properly, you can enjoy a comfortable and warm environment in your home or workspace.

Remember to always prioritize safety and turn off the heater before cleaning.

Posted on Leave a comment

What Are the Steps to Clean Heaters?

heater cleaning step by step

To clean your heater, start by turning it off and allowing it to cool down for safety. Gather supplies like a vacuum with brush attachments, microfiber cloth, and screwdriver. Power off the heater by unplugging (for electric) or turning off the gas/oil source. Use the vacuum and brush to remove dust and debris, focusing on vents and crevices. Clean surfaces with a damp cloth and mild soap, avoiding electrical components. Check and replace filters regularly for efficiency. Reassemble carefully and test for proper function. Proper cleaning enhances performance and longevity of your heater.

Safety Precautions

essential safety guidelines adherence

Before beginning the cleaning process, what essential safety precautions should you take to guarantee your well-being and prevent accidents?

When it comes to heater maintenance, safety is paramount. First, always confirm that the heater is turned off and completely cooled down before attempting any cleaning. This prevents the risk of burns or electrical shocks. Additionally, check the manufacturer's instructions for any specific safety guidelines related to your heater model.

Regarding cleaning frequency, it's recommended to clean your heater at least once a year, preferably before the start of the cold season.

Regular maintenance confirms that the heater operates efficiently and reduces the risk of malfunctions. Dust and debris accumulation can not only affect the heater's performance but also pose fire hazards if left unattended.

Gather Cleaning Supplies

To effectively clean your heaters, the first step is to gather the necessary cleaning supplies. Before starting the seasonal maintenance of your heaters, make certain you have the essential cleaning tools readily available.

You'll need a vacuum cleaner with brush attachments to remove dust and debris from the heater vents and grills. Additionally, prepare a microfiber cloth or a soft brush to wipe down the exterior surfaces of the heater. It's also recommended to have a screwdriver on hand to remove any access panels for thorough cleaning.

When gathering your cleaning supplies, make sure to check that the vacuum cleaner's filters are clean to prevent spreading dust around. It's vital to choose cleaning tools that are suitable for the type of heater you have to avoid causing damage during the cleaning process.

Once you have all the necessary supplies assembled, you'll be ready to move on to the next step of powering off the heater.

Power Off the Heater

turn off the heater

Make certain the heater is powered off before beginning the cleaning process. This step is vital to guarantee your safety and prevent any accidents.

Different heater types may have varying methods to power off. For electric heaters, simply unplug the cord from the power outlet. Gas heaters should be turned off using the shut-off valve. Oil heaters typically have a power switch that needs to be turned off. By disconnecting the power source, you eliminate the risk of electric shock or burns during the cleaning process.

Maintenance tips for powering off the heater include checking the manufacturer's instructions for specific guidance on how to safely turn off your particular heater model. It's advisable to wait for the heater to cool down before attempting to power it off to avoid any burns.

Additionally, verify that the power source is safely disconnected before proceeding with the cleaning steps. Following these guidelines will help maintain the longevity and efficiency of your heater.

Remove Dust and Debris

Begin by using a vacuum cleaner with a brush attachment to effectively remove dust and debris from the surface of the heater. Over time, dust accumulation on heaters can impede their efficiency and pose a potential fire hazard.

Carefully vacuum the exterior of the heater, making sure to reach into crevices and vents where debris tends to collect. Pay close attention to the grill or fins of the heater, as these areas are prone to trapping dust particles.

For a more thorough cleaning, you can also use a soft-bristled brush or a cloth to dislodge any stubborn debris that the vacuum might've missed. Take care not to damage any delicate components while performing this task.

Additionally, verify that the heater is completely powered off and unplugged before attempting any cleaning to prevent accidents.

Regularly removing dust and debris from your heater not only improves its performance but also prolongs its lifespan. By incorporating this simple maintenance step into your routine, you can keep your heater running efficiently and safely.

Clean Heater Surface

heater surface maintenance required

To effectively clean the surface of your heater, focus on removing built-up dirt and grime that can impact its efficiency and safety.

The method of cleaning the surface of your heater will depend on the materials it's made of. For metal surfaces, you can use a damp cloth with mild soap to wipe away dirt and stains. Be sure to dry the surface thoroughly to prevent rusting. For ceramic or glass surfaces, a non-abrasive cleaner can be used to gently remove dirt without scratching the material.

When cleaning, always verify the heater is turned off and unplugged, and avoid getting water into any electrical components. Additionally, never use harsh chemicals or abrasive materials that can damage the surface of the heater.

Regularly cleaning the surface of your heater won't only improve its appearance but also prevent dust and debris from affecting its performance. By using the appropriate cleaning techniques for your heater's surface materials, you can maintain its efficiency and prolong its lifespan.

Check and Replace Filters

Inspecting and replacing filters regularly is essential for maintaining the efficiency and longevity of your heater.

Filters come in various types such as disposable fiberglass, washable electrostatic, and high-efficiency particulate air (HEPA) filters. Each filter type serves a specific purpose, from capturing large particles to filtering out microscopic allergens and pollutants. To guarantee your heater functions at its best, check the manufacturer's recommendations for the appropriate filter type and replacement schedule.

Maintenance tips for filters include inspecting them monthly for dirt buildup and replacing them every 1-3 months depending on usage and filter type. Washable filters should be cleaned according to the manufacturer's instructions, usually with water and mild detergent, and completely dried before reinstallation.

HEPA filters, known for their superior filtration capabilities, are ideal for those with allergies or respiratory conditions. Regularly changing filters not only improves indoor air quality but also prevents dust and debris buildup within the heater, promoting better performance and energy efficiency.

Reassemble and Test Heater

reassemble and test heater

To guarantee your heater operates efficiently, reassemble all components after inspecting and replacing the filters, then test the unit thoroughly for peak performance.

Start by carefully following the user manual to verify each part is correctly reattached. Pay close attention to the filter placement, making sure it's secure and clean. Double-check all connections and screws to prevent any loose ends that could impact heater functionality.

When reassembling, remember to reconnect any electrical components safely and securely. Take note of any specific instructions regarding the reassembly process provided in the manual.

Once everything is put back together, turn on the heater and observe its performance. Check for any unusual noises, smells, or malfunctions. This step is essential to confirm the heater functions effectively and safely.

As you test the heater, pay attention to the heat output, thermostat accuracy, and overall performance. Make any necessary adjustments as needed.

Following these reassembly tips and conducting a thorough test will help maintain your heater's efficiency and longevity.

Conclusion

To summarize, cleaning your heater is a simple process that can help improve its performance and efficiency.

By following the steps outlined in this guide, you can guarantee that your heater is free of dust and debris, maintaining a safe and comfortable environment in your home.

Remember to always prioritize safety and turn off the power before beginning the cleaning process.

Regular maintenance will prolong the life of your heater and keep it running smoothly.