To install an infrared heater correctly, first, verify a 3-foot clearance from flammable materials. Plug directly into a wall outlet, avoid extension cords. Find a central position in smaller rooms for even heat. Mount securely using provided brackets, toggle bolts for heavy units. Wire cautiously, matching gauge and circuit capacity. Follow the manufacturer's instructions for live, neutral, and ground connections. Test temperatures and adjust settings accordingly. Secure the heater with proper brackets for stability. Keep up with maintenance by checking filters, cleaning the exterior, and inspecting vents. These steps will help you set up your infrared heater effectively for warmth and comfort.
Safety Precautions
Prior to installing an infrared heater, verify that all safety precautions are carefully followed to prevent any accidents or mishaps.
When dealing with fire safety, ascertain that the heater is placed at least three feet away from any flammable materials such as curtains, furniture, or bedding. It's essential to never leave the heater unattended while in use to reduce the risk of fire. Regularly inspect the heater for any signs of damage to the cord or plug, and refrain from using the unit if any issues are detected to prevent electrical hazards.
Additionally, always plug the infrared heater directly into a wall outlet, avoiding the use of extension cords or power strips to prevent overheating and potential fires. Make sure the outlet is grounded properly to reduce the risk of electric shock.
When not in use, unplug the heater and store it in a safe, dry location. By adhering to these fire safety and electrical hazard guidelines, you can install and operate your infrared heater safely and efficiently.
Choosing the Right Location
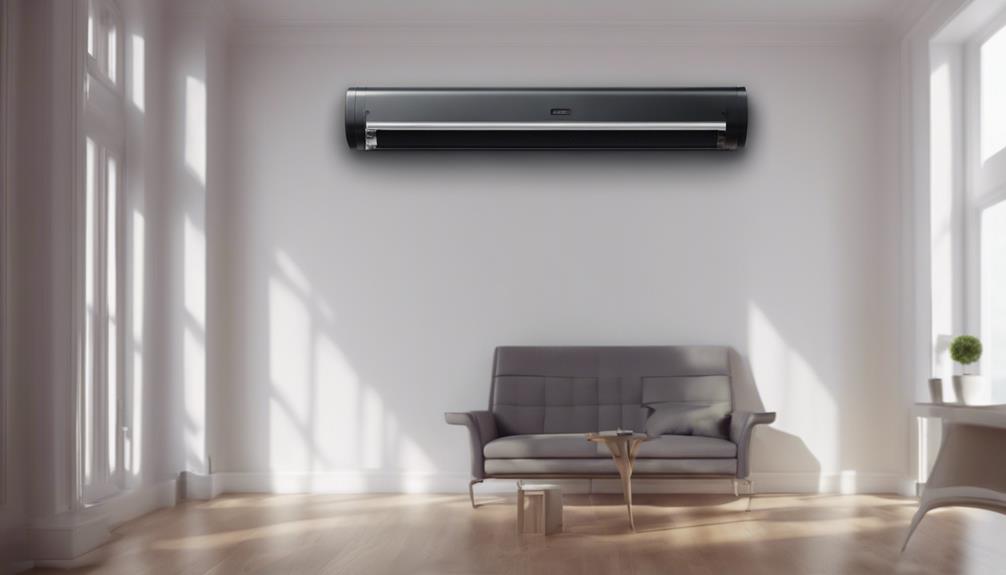
To guarantee ideal performance and safety of your infrared heater, carefully select a suitable location that meets specific criteria for efficient heat distribution.
The best placement of your infrared heater is vital for maximizing its effectiveness. Consider the dimensions of the room where the heater will be installed. For smaller rooms, a centralized location that allows for even heat distribution is recommended. In larger rooms, it may be beneficial to install multiple heaters strategically placed to cover the entire area adequately.
When determining the best location, make sure that there are no obstructions blocking the infrared waves emitted by the heater. Keep the heater away from curtains, furniture, or any other objects that may absorb or block the heat.
Additionally, avoid installing the heater near sources of moisture or flammable materials to prevent safety hazards. By carefully evaluating the room dimensions and choosing the right location for your infrared heater, you can guarantee efficient heat distribution and a safe environment for operation.
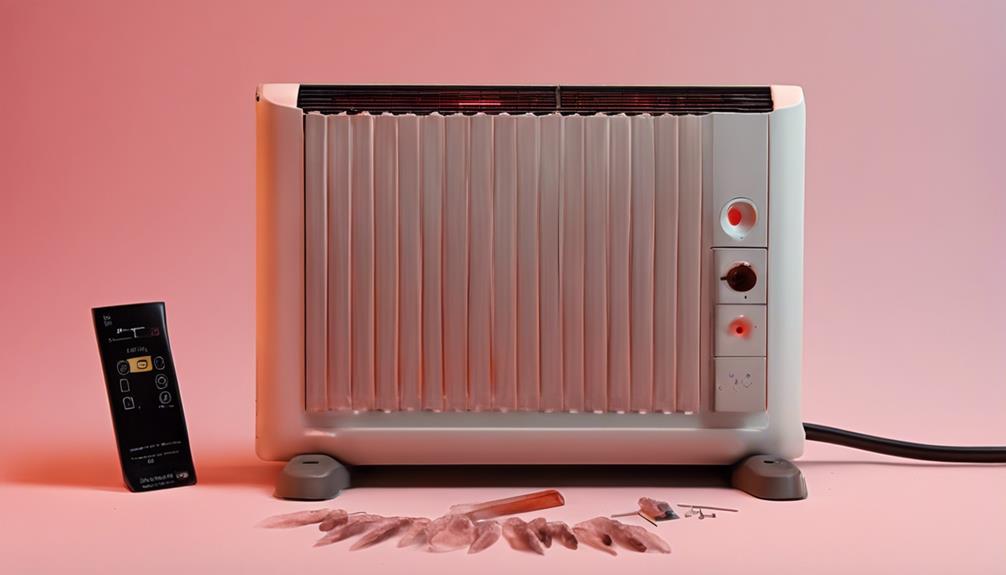
Mounting the Heater
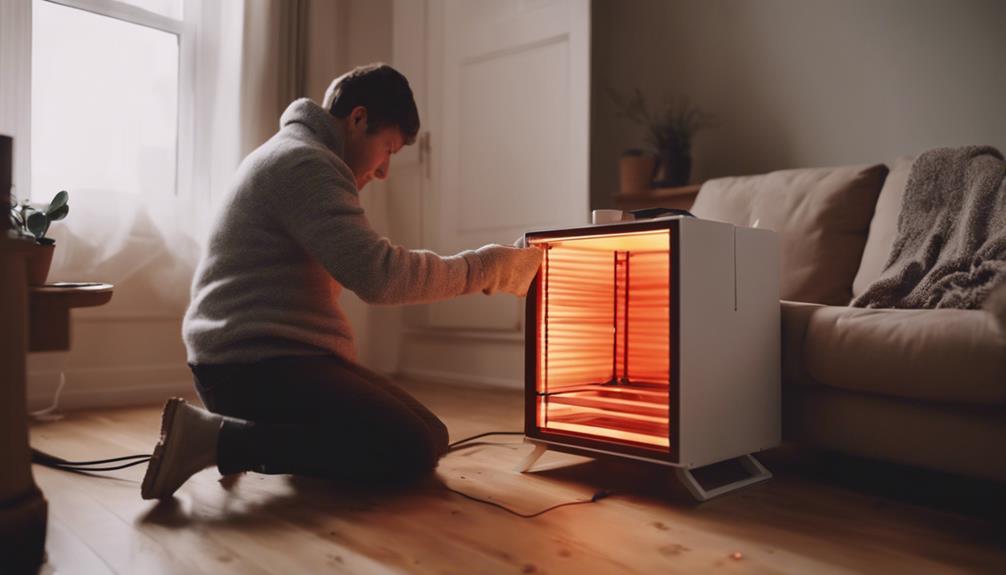
When mounting the infrared heater, verify that it's securely attached to the wall or ceiling according to the manufacturer's instructions for safe and efficient operation.
To mount the heater, first, identify the appropriate location verifying proper clearance from any obstructions. Use wall brackets or mounting templates provided by the manufacturer to mark the positions for drilling. Make sure to drill into wall studs or ceiling joists for secure attachment.
Choose the correct mounting techniques based on the heater's weight and design. For heavier units, consider using toggle bolts or anchors for additional support.
Once the brackets are secured, lift the heater into place and align it with the mounting holes. Insert the mounting screws through the heater's brackets and into the wall or ceiling anchors.
Tighten the screws securely, but avoid over-tightening to prevent damage. Double-check the heater's stability before turning it on to verify safe operation.
Electrical Wiring Installation
Begin by confirming that the power to the designated electrical circuit is turned off before proceeding with the installation of the infrared heater.
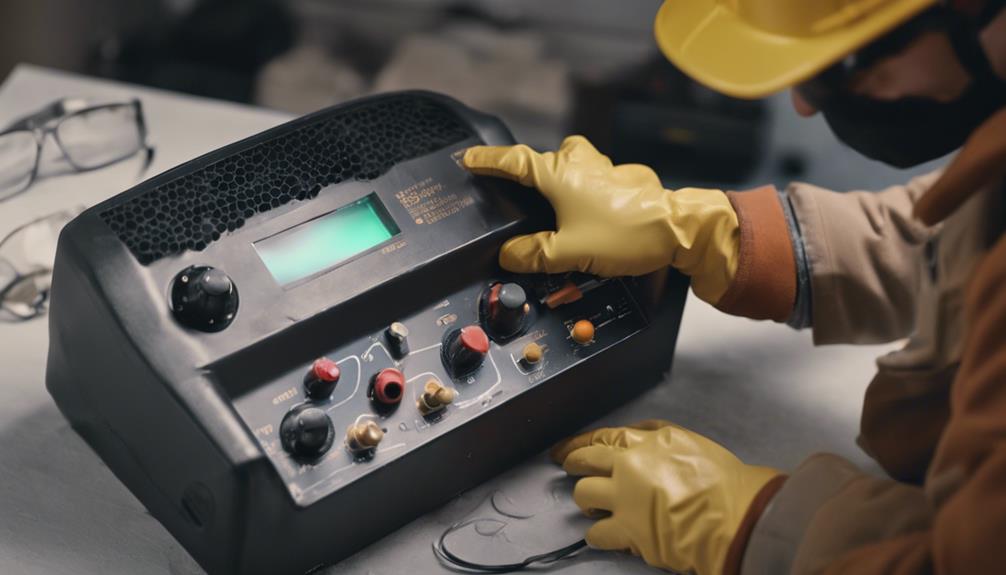
The electrical wiring installation is a vital step in setting up your heater correctly. Check the wiring requirements provided by the manufacturer, confirming that the wires are of the appropriate gauge to handle the heater's power consumption. It's essential to verify that the circuit capacity matches the specifications of the infrared heater. If the existing circuit doesn't meet the requirements, consult with a qualified electrician to upgrade the wiring and circuit breaker to guarantee safe and efficient operation.
When connecting the wiring, follow the manufacturer's instructions carefully. Typically, this involves connecting the live, neutral, and ground wires to their corresponding terminals on the heater.
Double-check all connections to prevent any loose or exposed wires that could lead to electrical hazards. After the wiring is securely in place, proceed to the next step of the installation process.
Testing and Adjusting Settings

How do you guarantee the proper functioning of your infrared heater by conducting thorough testing and making necessary adjustments to the settings?
Once the infrared heater is installed and powered on, the next vital step is to test and calibrate its temperature settings. Refer to the user manual provided by the manufacturer to understand the specific procedures for testing and adjusting the settings accurately.
To begin, turn on the infrared heater and set it to the lowest temperature setting. Allow the heater to run for a sufficient amount of time to ascertain it reaches a stable operating condition.
Then, using a thermometer, measure the temperature output at various distances from the heater to verify its accuracy.
If the temperature readings aren't consistent with the settings on the heater, you may need to recalibrate the temperature settings following the instructions in the user manual.
Make incremental adjustments and retest until the desired temperature output is achieved.
Securing the Heater in Place
To guarantee proper installation and safety, securely fasten the infrared heater in place using the provided mounting hardware and following the manufacturer's guidelines.
Begin by attaching the wall brackets to the wall at the predetermined height and spacing as recommended by the manufacturer. Ascertain the wall surface is suitable for mounting and use appropriate anchors if needed to support the weight of the heater.
Once the brackets are securely in place, lift the heater and align it with the brackets. Gently slide the heater onto the brackets, making sure it sits snugly and level. Double-check that all mounting screws are tightened to prevent any movement that could compromise heater stability.
It's essential to verify that the heater is firmly attached to the wall to avoid any accidents or damage.
Periodically inspect the heater's position and the integrity of the wall brackets to maintain peak heater stability over time.
Maintenance and Cleaning Tips
For ideal performance and longevity of your infrared heater, regular maintenance and cleaning are essential tasks that shouldn't be overlooked.
One vital aspect of maintaining your infrared heater is confirming the filter is clean and free of debris. It's recommended to check and replace the filter every 3-6 months, depending on usage, to maintain peak heater efficiency.
To clean the exterior of your infrared heater, use a soft, dry cloth to wipe away any dust or dirt. Avoid using harsh chemicals or abrasive materials that could damage the heater's surface.
Additionally, inspect the heater's vents regularly to verify they aren't blocked by any obstructions, as this can reduce the heater's performance.
Periodically, check the power cord and plug for any signs of wear or damage. If any issues are detected, refrain from using the heater until it has been repaired or replaced to prevent any safety hazards.
Conclusion
In summary, following the proper steps for installing an infrared heater is essential to guarantee safe and efficient operation.
By taking precautions, choosing the right location, mounting the heater securely, and testing the electrical wiring, you can enjoy the benefits of infrared heating in your space.
Remember to regularly maintain and clean the heater to prolong its lifespan and maintain peak performance.