To guarantee the efficiency and safety of your infrared heater, start by powering it off and gathering cleaning supplies like a microfiber cloth and soft brush. Once everything is cool, remove dust and debris from vents and filters, then carefully clean the heating element with a soft brush. Wipe down the exterior gently, avoiding excess moisture. Reassemble the components properly and test the heater's functionality by plugging it in and checking the heat settings. Following this step-by-step guide will help maintain your infrared heater's performance.
Safety Precautions
Before cleaning your infrared heater, make sure to take proper safety precautions to prevent any accidents or injuries. Infrared heaters can pose fire hazards and electrical safety risks if not maintained correctly.
To begin, verify the heater is turned off and unplugged before any cleaning to avoid electric shock. Additionally, never attempt to clean the heater while it's still hot, as this could lead to burns or other injuries.
When dealing with infrared heaters, be cautious of flammable materials nearby. Keep the area around the heater clear of any objects that could easily catch fire.
Regularly inspect the power cord for any signs of damage, such as fraying or exposed wires, and replace it if necessary to prevent electrical hazards.
Gather Cleaning Supplies
To effectively clean your infrared heater, gather the necessary cleaning supplies such as a microfiber cloth, soft brush, and a vacuum cleaner with a brush attachment. These items are essential for removing dust, dirt, and debris that can accumulate on the heater's surface and affect its performance.
Additionally, consider using cleaning solutions specifically designed for electronics to guarantee a thorough clean without causing damage.
When choosing a microfiber cloth, opt for one that's soft and lint-free to prevent scratching the heater's surface. The soft brush will help you reach into crevices and vents to dislodge trapped particles. A vacuum cleaner with a brush attachment is ideal for efficiently removing loose dirt and dust.
Remember to check the manufacturer's guidelines for any specific cleaning recommendations to maintain your infrared heater properly. Regular cleaning and maintenance are key to guaranteeing your heater operates efficiently and lasts longer.
Power Off the Heater

Make certain that the infrared heater is switched off before beginning the cleaning process. Ensuring the heater is powered off is essential for your safety during maintenance.
Start by locating the power source of your infrared heater. Typically, this involves unplugging the unit from the electrical outlet.
In some models, you may need to turn off a power switch located on the heater itself. Always refer to the manufacturer's instructions for specific guidance on powering down your particular model.
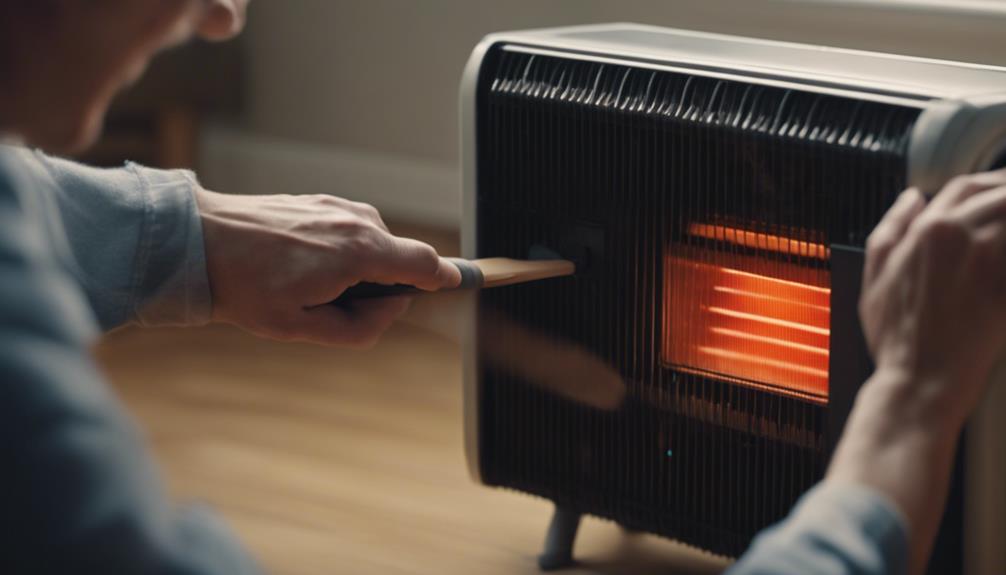
Remove Dust and Debris
Make certain the infrared heater is completely cool before proceeding to remove any dust and debris from the unit. Dust removal is essential to maintain the efficiency and longevity of your infrared heater. Over time, debris accumulation can hinder the heater's performance by blocking airflow and causing overheating.
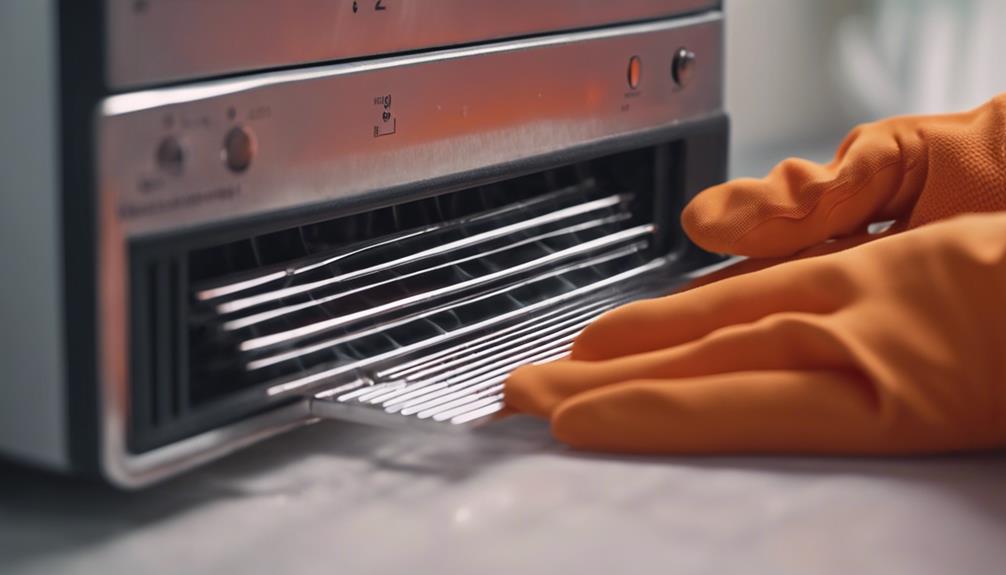
To begin the dust removal process, use a soft-bristled brush or a vacuum cleaner with a brush attachment to gently clean the exterior vents and grilles of the heater. Pay close attention to areas where dust tends to accumulate, such as around the control panel and near the fan.
Next, carefully remove the heater's filter if it has one and clean it according to the manufacturer's instructions. Filters are designed to trap dust and debris, preventing them from entering the internal components of the heater. Regularly cleaning or replacing the filter will help maintain peak performance.
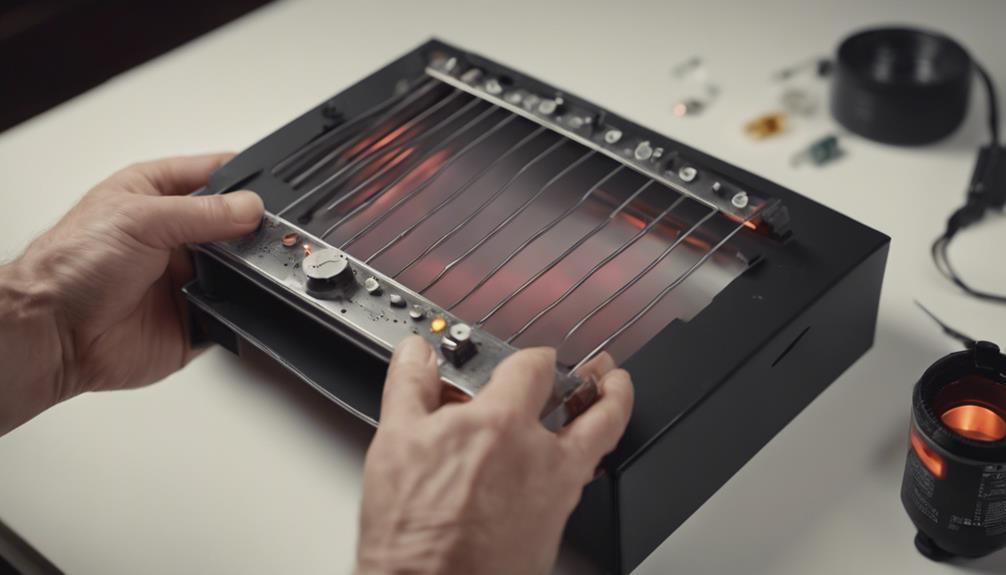
Clean the Heating Element
When cleaning the heating component of your infrared heater, make certain it's disconnected from any power source to prevent accidents.
The heating element maintenance is vital for the efficient operation of your infrared heater. The heating element is the core component responsible for emitting the infrared heat that warms your space effectively.
To clean the heating element, use a soft brush or cloth to gently remove any dust or debris that may have accumulated on its surface. Avoid using harsh chemicals or abrasive materials that could damage the heating element.
Regular maintenance of the heating element guarantees that it functions at its best, providing you with the full benefits of infrared technology.
Infrared technology benefits from a clean heating element include increased energy efficiency, consistent heating performance, and prolonged lifespan of the heater.
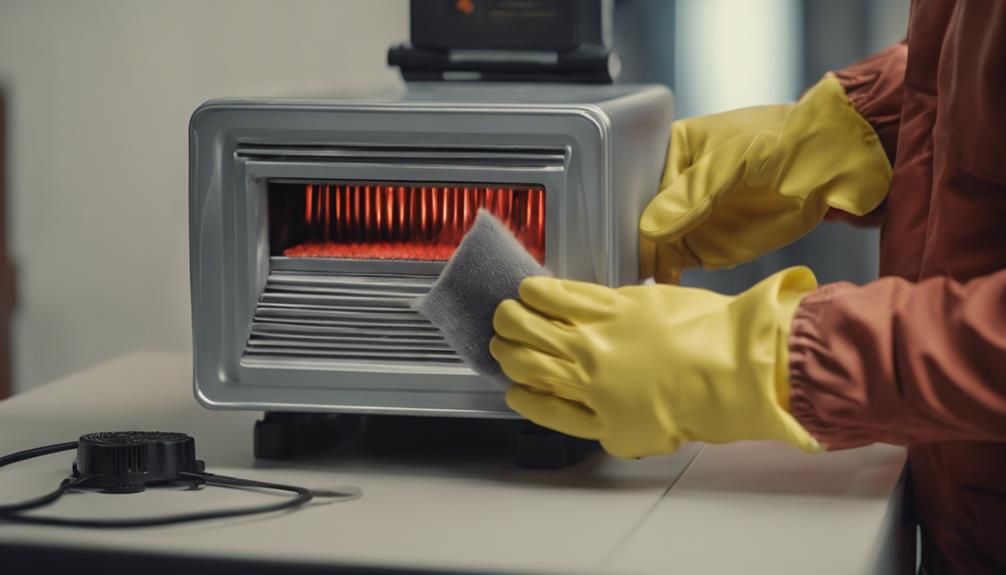
Wipe Down the Exterior
It's essential to regularly wipe down the exterior of your infrared heater to maintain its appearance and guarantee peak performance. The frequency of cleaning the exterior depends on factors such as the location of the heater and how often it's used. For heaters located in dusty or high-traffic areas, more frequent cleaning may be necessary.
When wiping down the exterior, make sure to use a soft, dry cloth to avoid scratching the surface. For heaters with metal exteriors, you can lightly dampen the cloth with water or a mild cleaner specifically designed for the material. Avoid using abrasive cleaners or chemicals that may damage the exterior materials.
For heaters with plastic or painted exteriors, gentle cleaning with a damp cloth is usually sufficient. Be cautious not to use excessive water that could seep into the heater's internal components.
Regularly cleaning the exterior of your infrared heater not only maintains its aesthetic appeal but also helps in prolonging its lifespan and ensuring peak performance.
Reassemble and Test Operation
Reassemble the components of your infrared heater carefully to confirm proper functionality before testing its operation.
When reassembling, refer to the manufacturer's manual for specific reassembly techniques to guarantee you put the heater back together correctly.
Make sure all the parts are securely attached and in their proper places to prevent any malfunctions.
Once reassembly is complete, it's time to test the heater's operation.
Plug in the heater and turn it on to check if it heats up properly.
Observe the heating element to confirm it glows evenly and emits heat consistently.
Test the different heat settings to verify that the heater can adjust temperatures accordingly.
Additionally, check the thermostat to see if it accurately regulates the temperature as per your settings.
Listen for any unusual noises or smell any odd odors that could indicate a problem.
If everything functions as expected, your infrared heater is now ready to keep you warm and cozy.
Conclusion
To summarize, following these simple steps will help keep your infrared heater clean and operating efficiently.
Regular maintenance is key to ensuring the longevity and effectiveness of your heater.
By taking the time to clean it properly, you can enjoy a comfortable and warm environment in your home or workspace.
Remember to always prioritize safety and turn off the heater before cleaning.