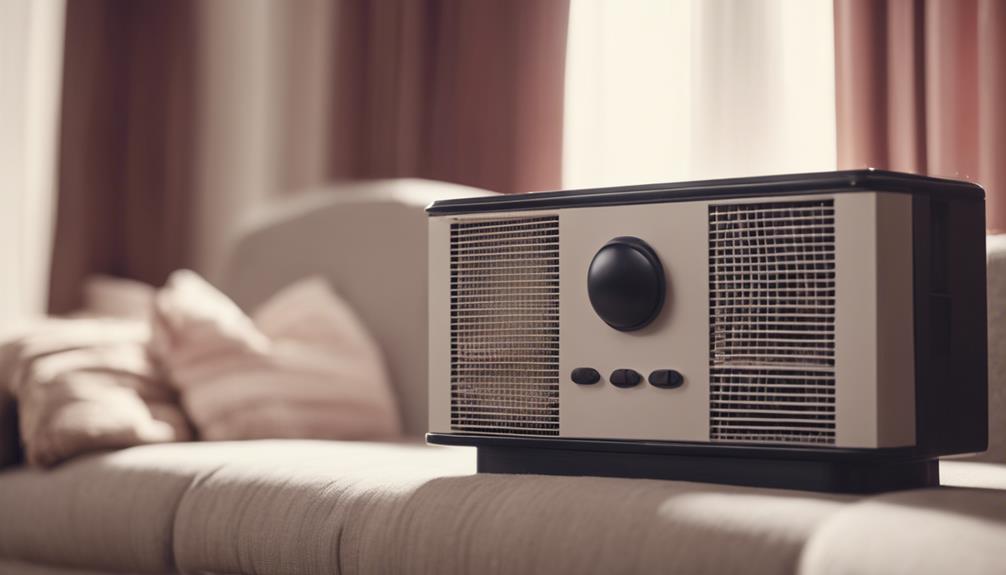
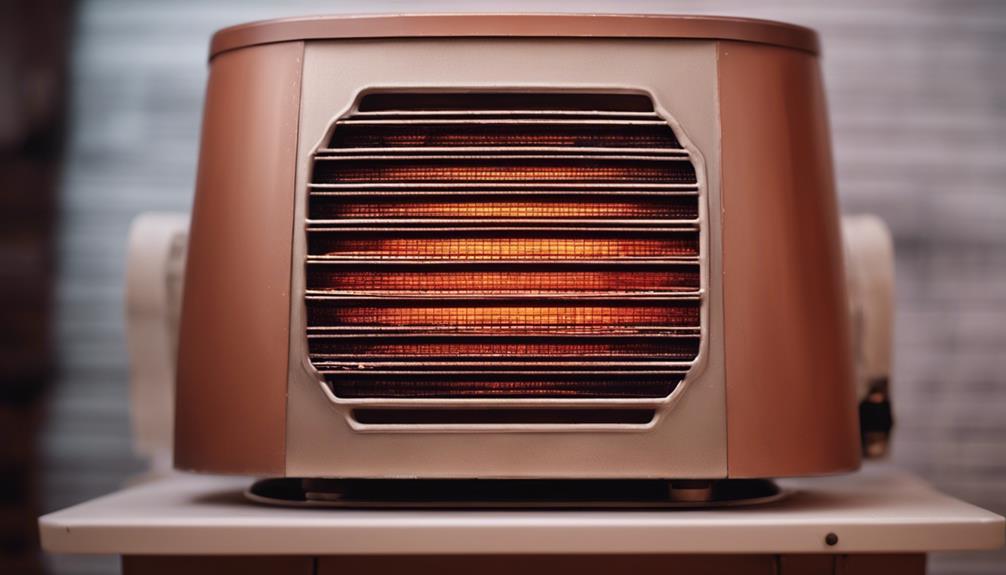
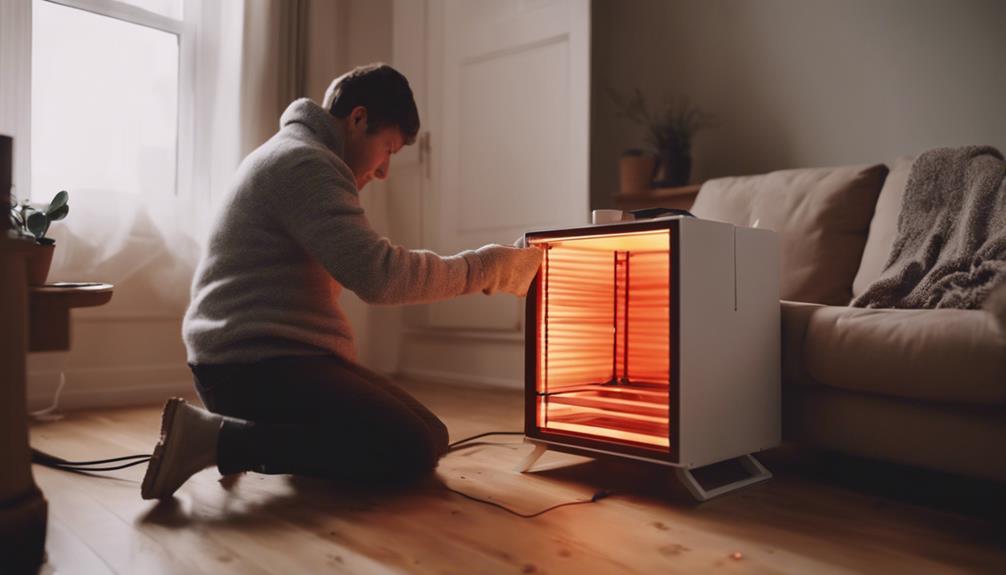
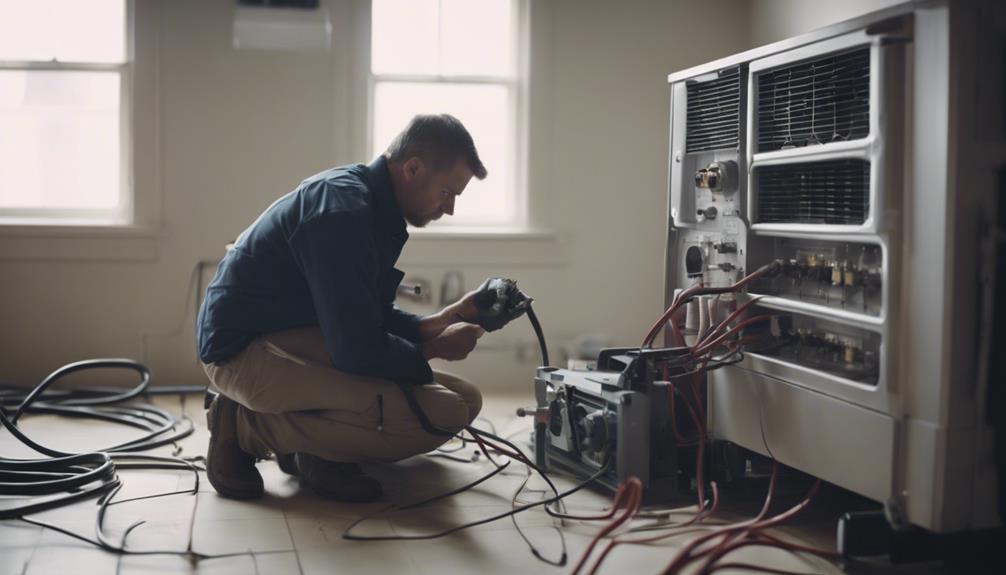
For a successful heater installation, carefully choose the right location by guaranteeing proper clearance, matching room size, and identifying airflow obstacles. Confirm the power supply compatibility, verify circuit requirements, and secure mounting with appropriate hardware for stability. Follow ventilation guidelines, check for blockages, and maintain air filters. Test the thermostat for accuracy and troubleshoot sensors if needed. Inspect wiring for wear and connection security, addressing any issues promptly. If experiencing uneven heating, check airflow, consider insulation, and rearrange objects for better distribution. These vital steps guarantee a smooth heater installation process for peak performance.
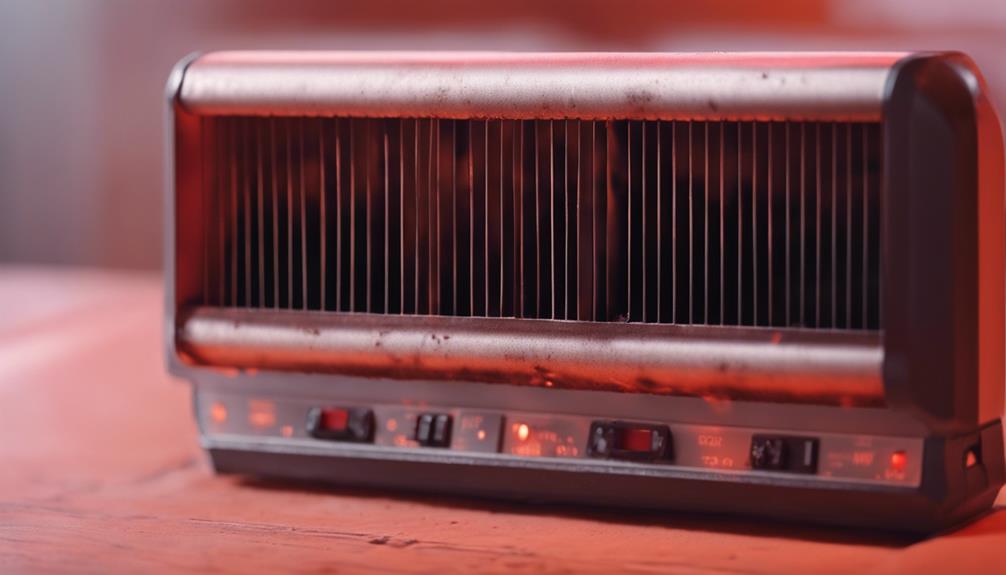
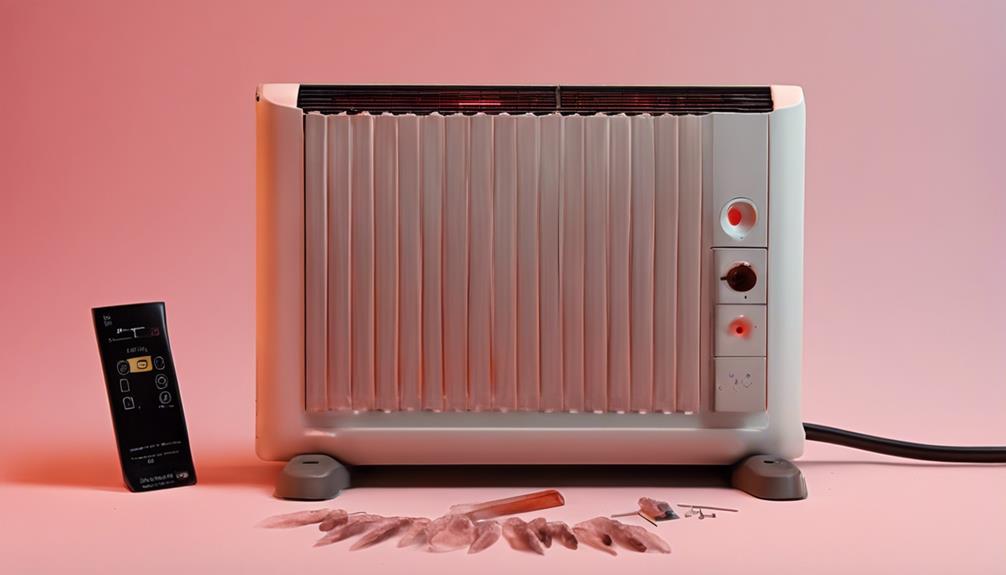
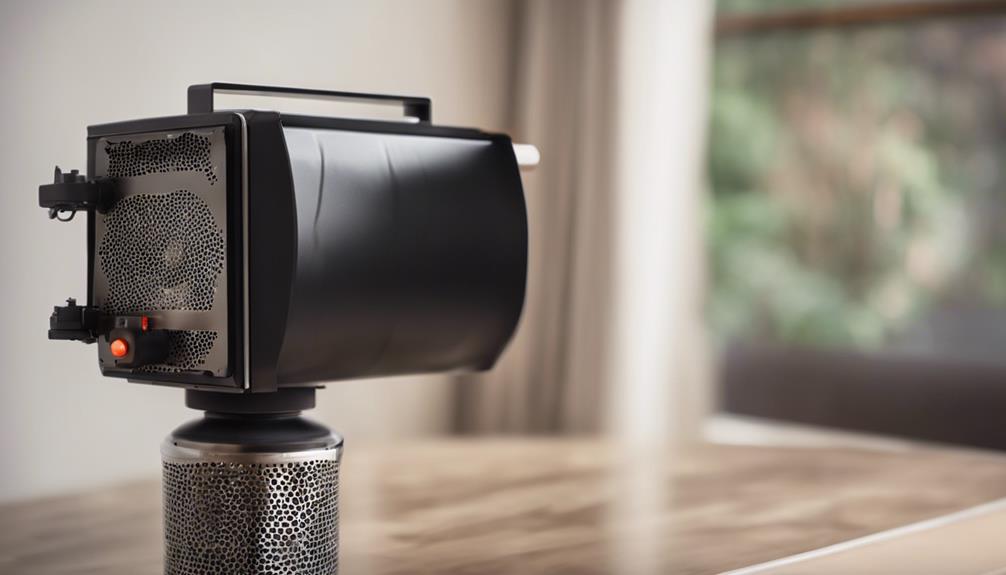
Proper Location Selection
When selecting a location for your heater installation, confirm adequate clearance around the unit for proper ventilation and maintenance access. Ideal placement is significant to guarantee efficient heating in the designated space.
Consider the size of the room where the heater will be installed. A heater that's too small for the space will struggle to reach the desired temperature, while a heater that's too large may lead to overheating and discomfort.
To determine the ideal placement, measure the dimensions of the room. Calculate the square footage to match it with the heater's heating capacity. Additionally, take note of any obstacles that could obstruct airflow, such as furniture or curtains. The goal is to allow unrestricted air circulation around the heater for even heat distribution.
Keep in mind that heaters require proper ventilation to function effectively and safely. Choose a location with access to fresh air intake and an exhaust vent to prevent the buildup of carbon monoxide.
Checking Power Supply
Ascertain the power source for the heater installation is compatible and meets the required specifications before proceeding with the setup.
Begin by checking the power capacity of the heater and confirming it aligns with the power supply available. Verify that the circuit compatibility matches the electrical requirements of the heater to prevent any potential issues.
To check the power capacity, refer to the heater's manual or specifications sheet for the wattage or voltage requirements. Inspect the power supply in the installation area to confirm it can support the heater's needs without overloading the circuit.
If necessary, consult with an electrician to assess the circuit compatibility and make any adjustments needed to meet the heater's power requirements.
Failure to verify the power capacity and circuit compatibility can result in malfunctions, damage to the heater, or even pose a safety hazard.
Taking the time to confirm these elements align will contribute to a successful and safe heater installation.
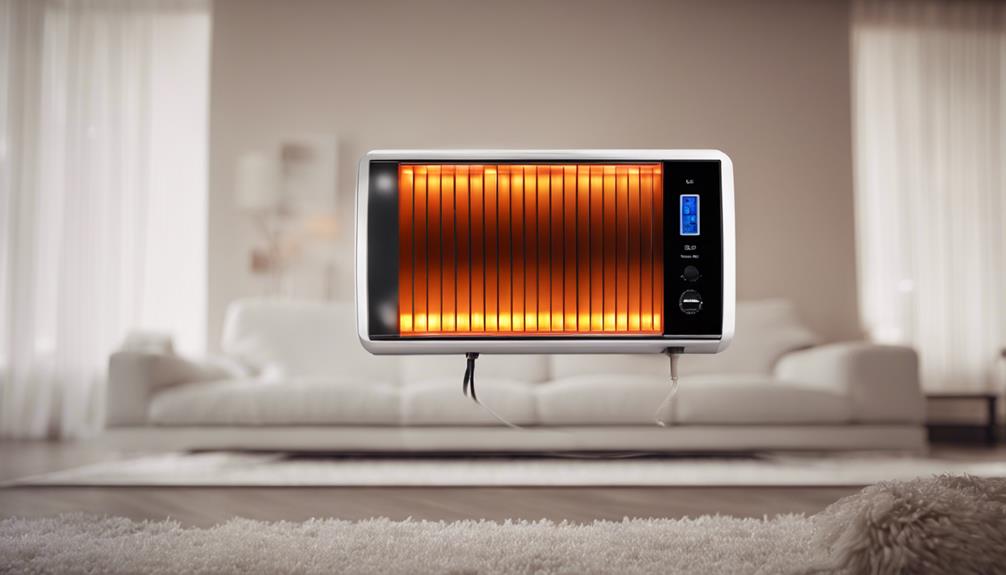
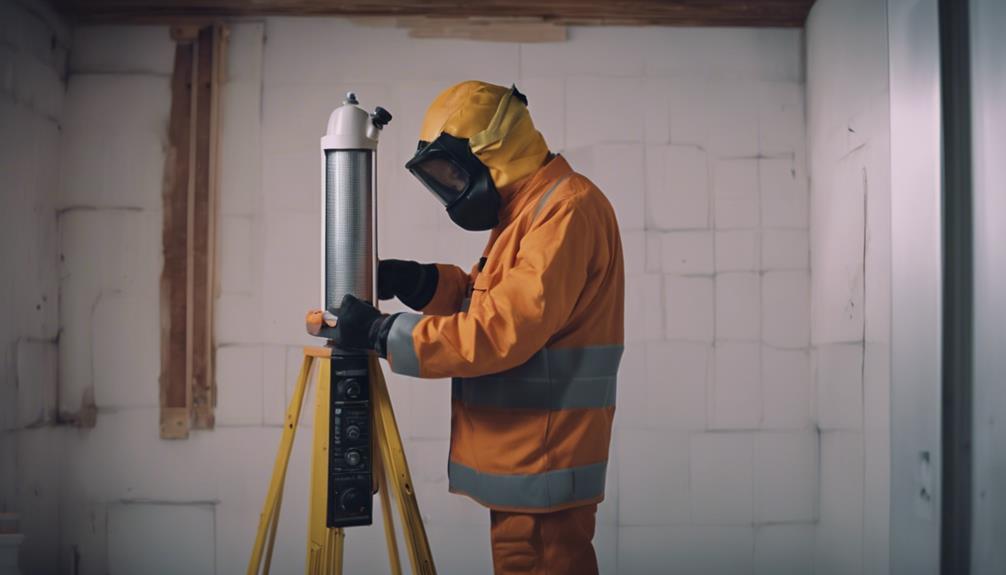
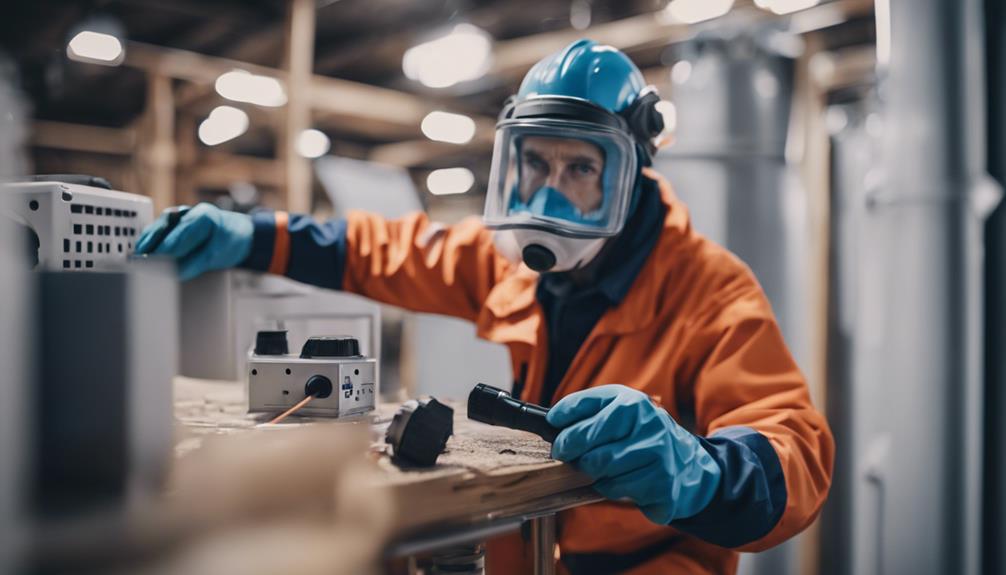
Ensuring Secure Mounting

To guarantee a stable and safe installation, securely mounting the heater is vital for best performance and longevity. Properly securing the heater to the wall requires the use of appropriate mounting hardware. Before beginning the installation process, verify that the wall stability can support the weight of the heater. Use a stud finder to locate the wall studs, as mounting the heater to studs provides the most secure attachment.
When selecting mounting hardware, opt for screws or bolts that are strong enough to hold the weight of the heater securely. It's essential to follow the manufacturer's guidelines regarding the type and size of hardware to use for mounting. Make sure to tighten the screws or bolts firmly to prevent the heater from shifting or becoming loose over time.
Additionally, consider the material of the wall when choosing the mounting hardware. Different wall materials may require specific anchors or screws for a secure attachment. By verifying the heater is securely mounted, you can prevent accidents and guarantee the efficient operation of the unit.
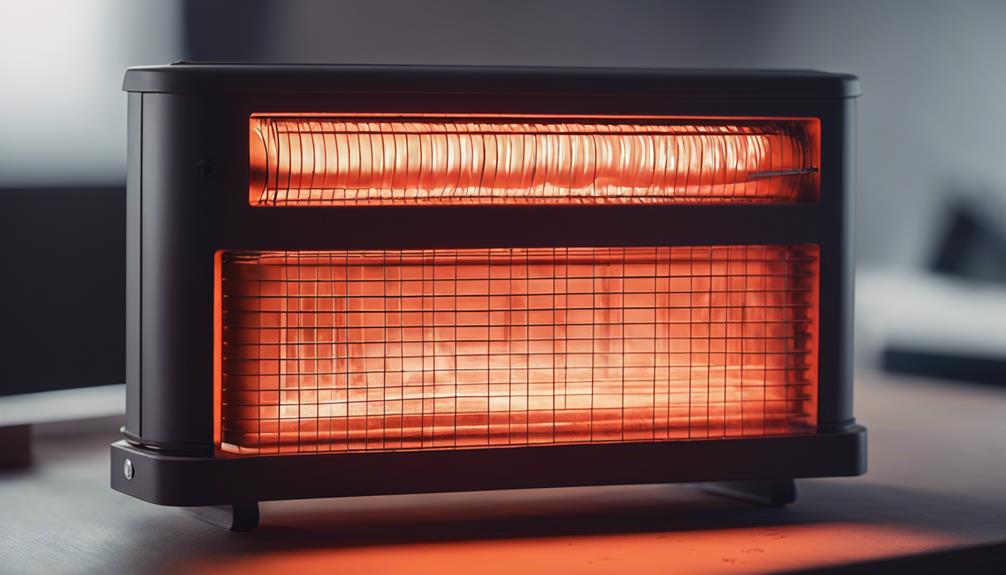
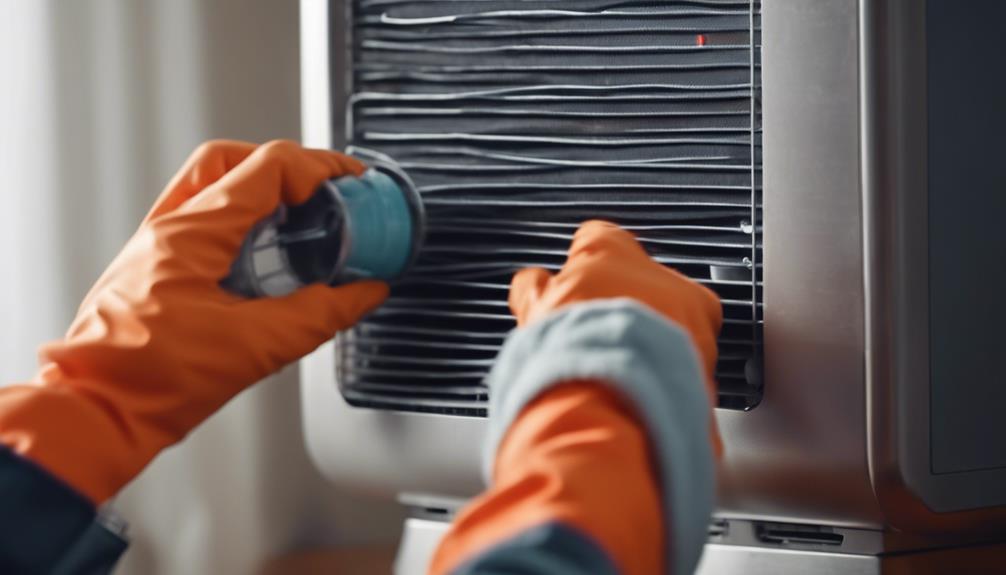
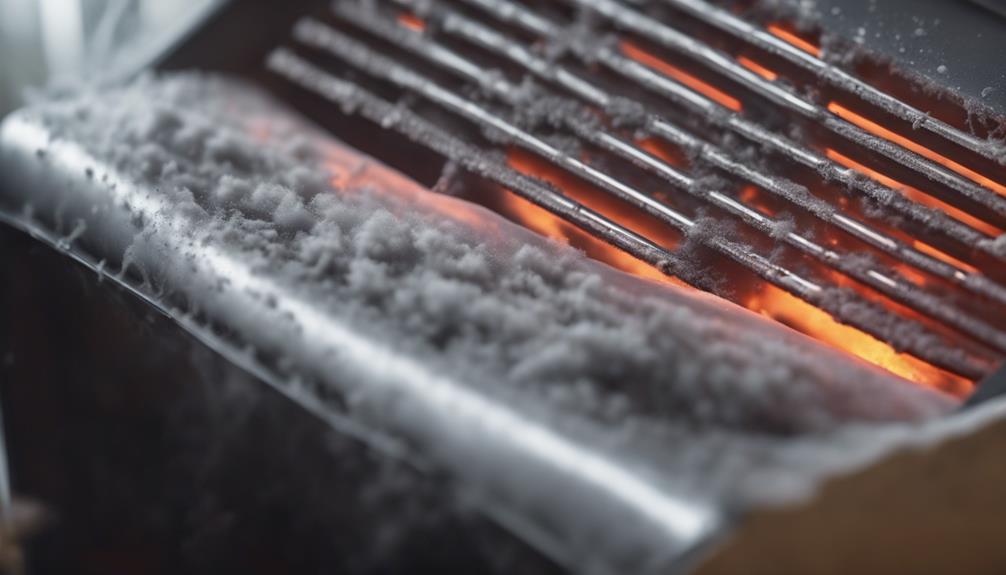
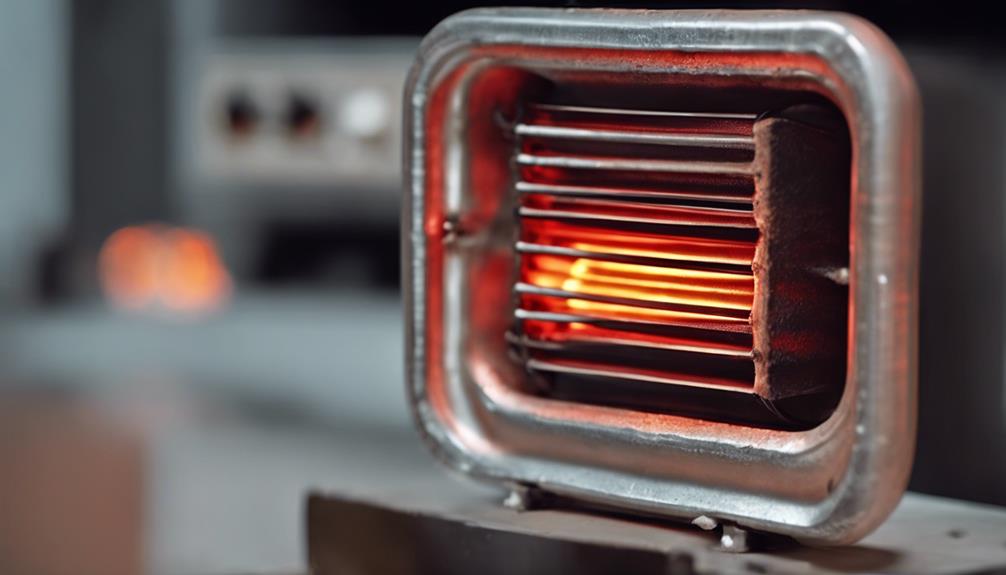
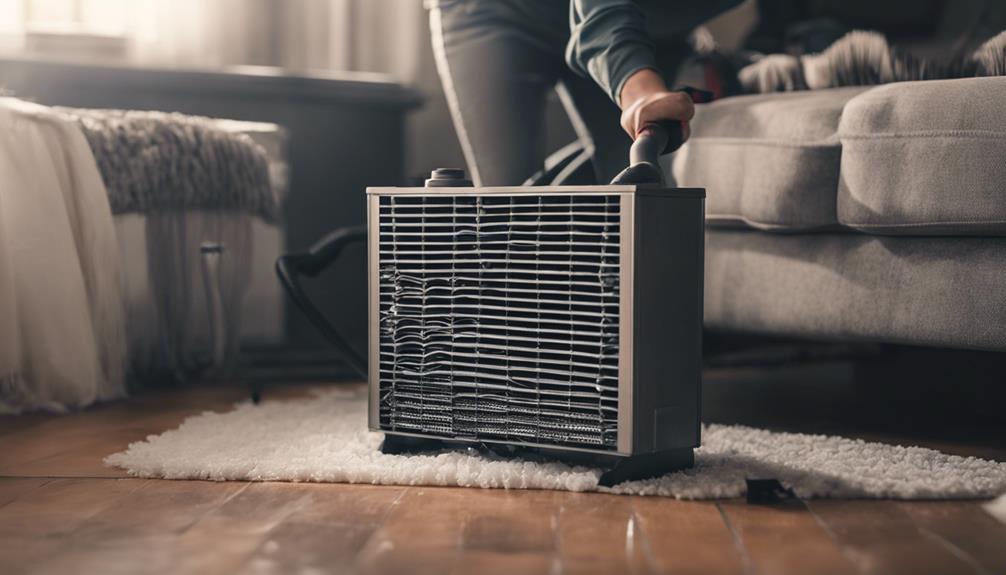
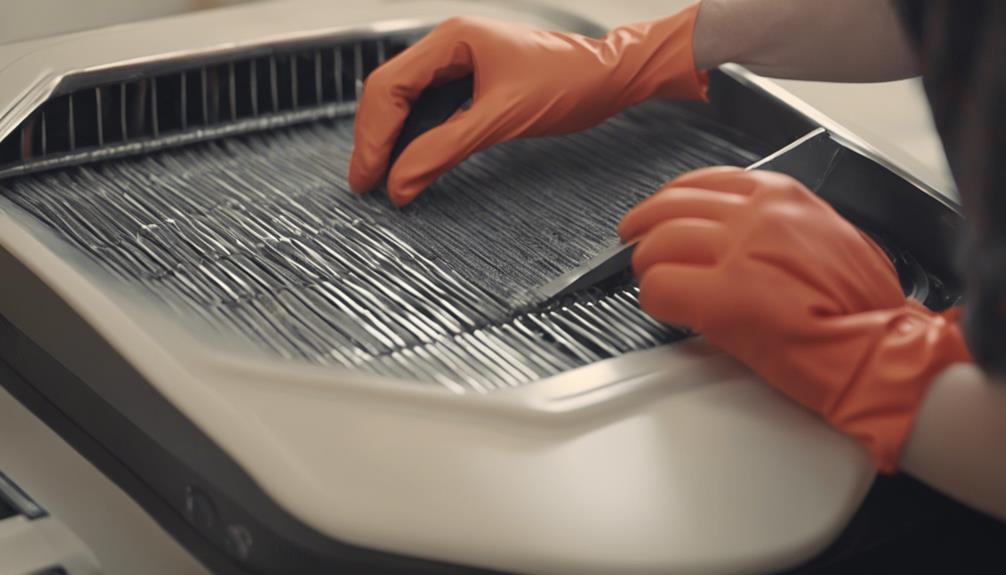
Verifying Proper Ventilation
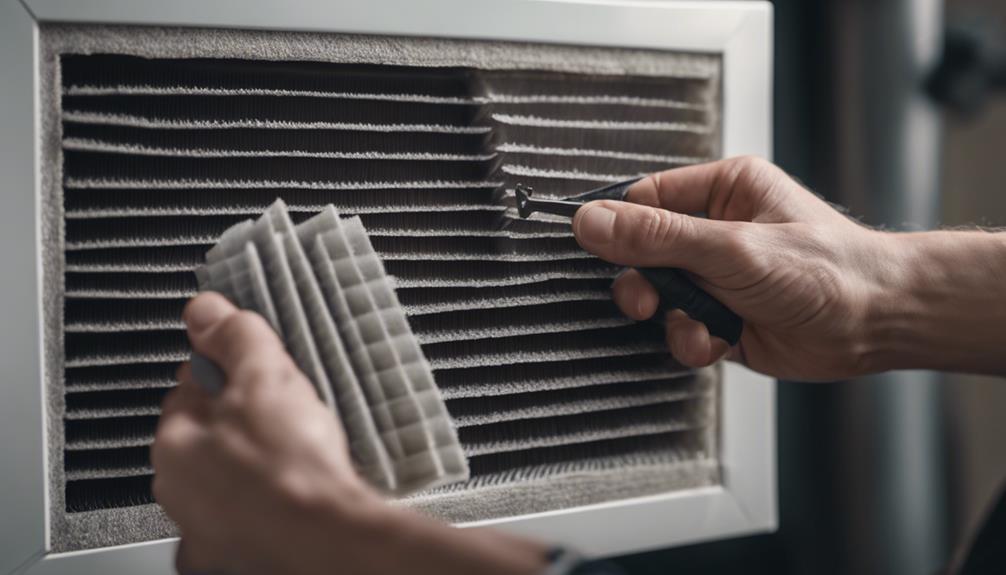
Guarantee proper ventilation for your heater installation by following specific guidelines to enhance performance and safety. Adequate ventilation is vital to guarantee efficient operation and maintain good indoor air quality. When installing a heater, it's essential to adhere to ventilation requirements outlined by the manufacturer. Improper ventilation can lead to a build-up of harmful gases like carbon monoxide, posing serious health risks.
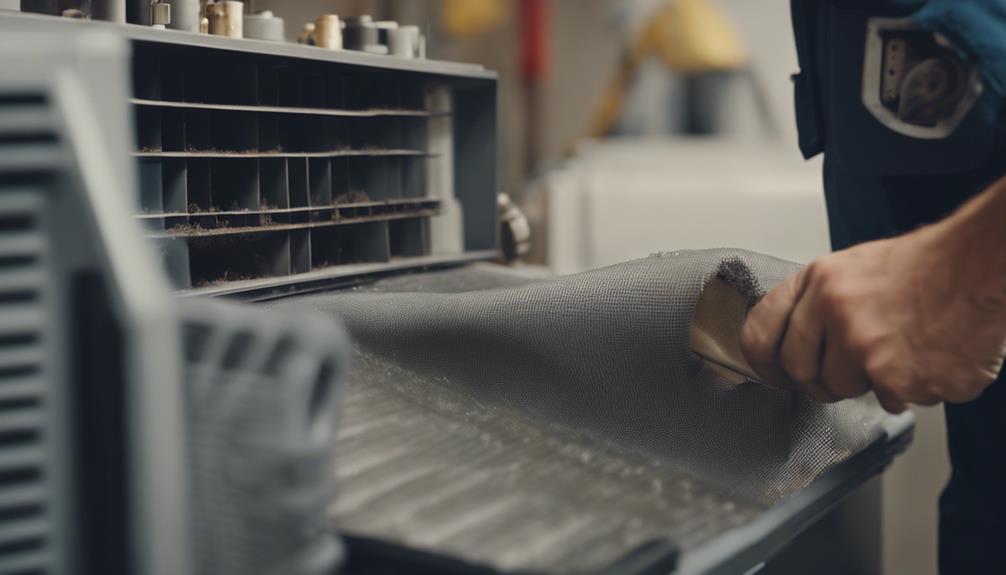
Verify that the heater is installed in a well-ventilated area with sufficient airflow to prevent the accumulation of combustion byproducts. Check the manufacturer's specifications for the recommended clearance distances around the heater to allow for proper air circulation. Additionally, inspect the venting system for any blockages or leaks that could impede the flow of exhaust gases.
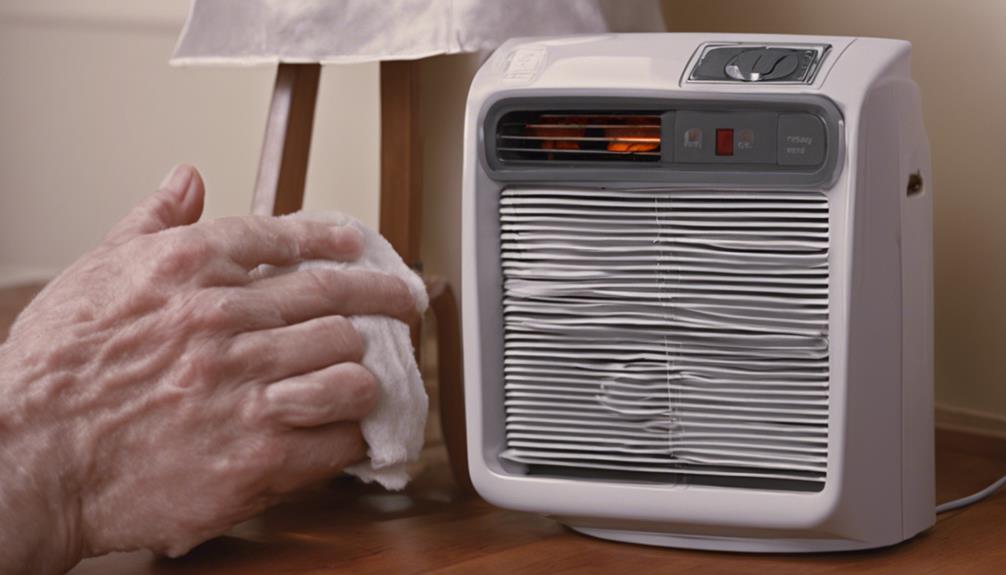
Regular maintenance of the ventilation system is also important to uphold air quality standards. Clean or replace air filters as recommended to prevent dust and debris buildup that can affect the heater's efficiency and air quality.
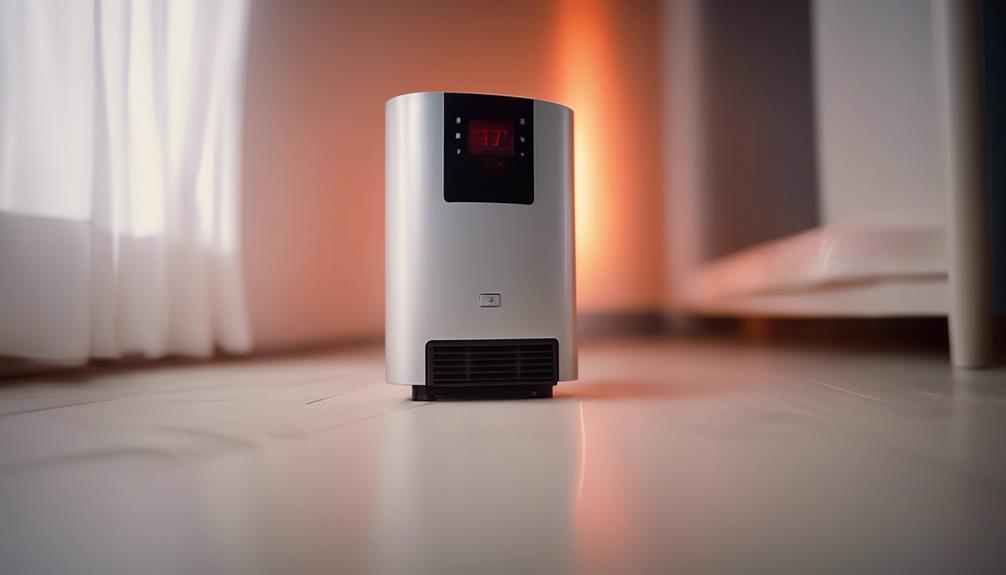
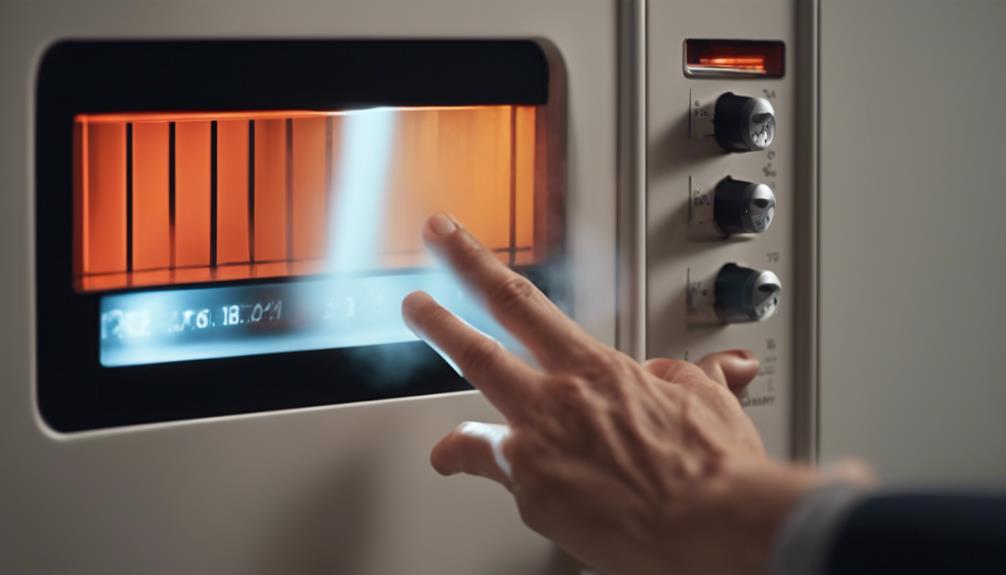
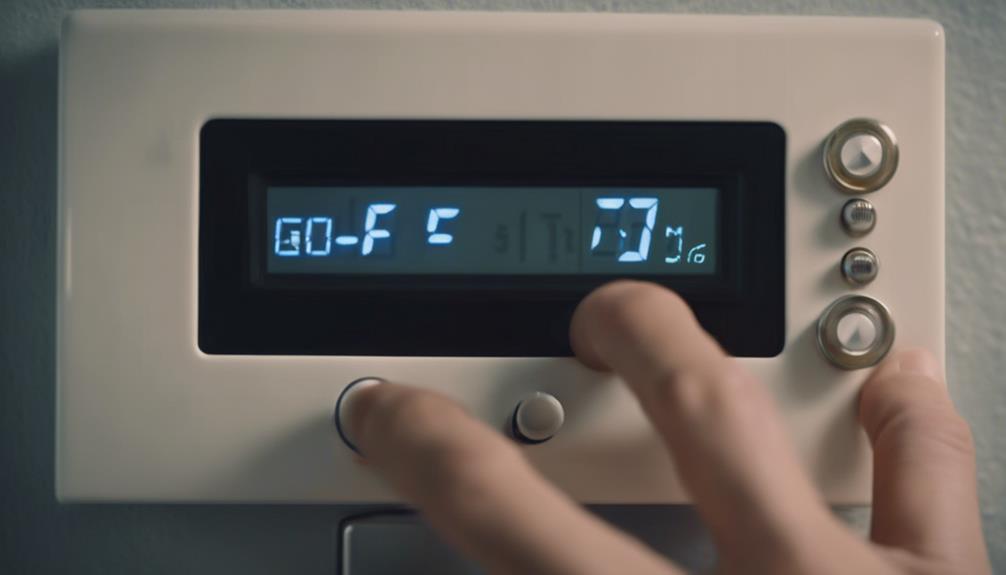
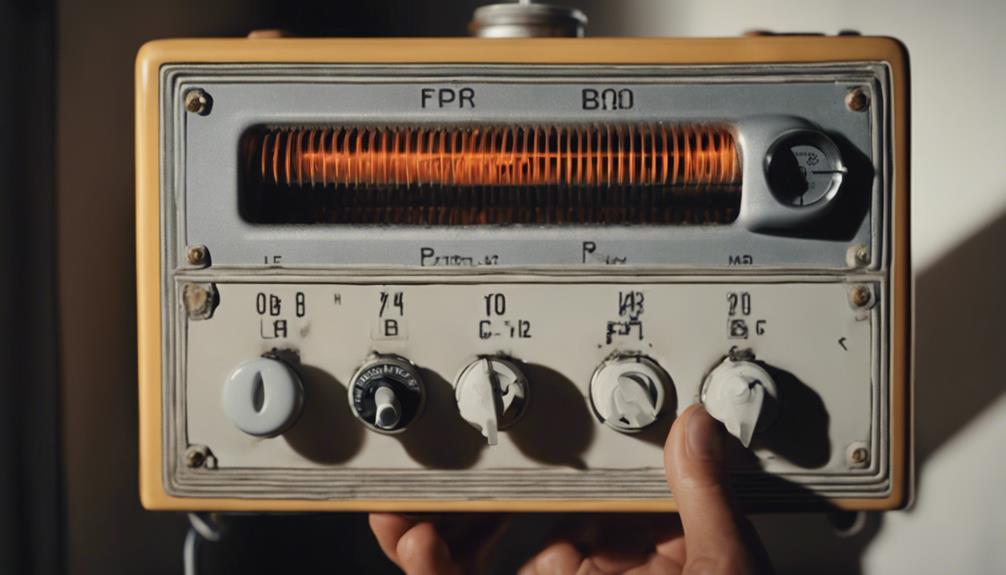
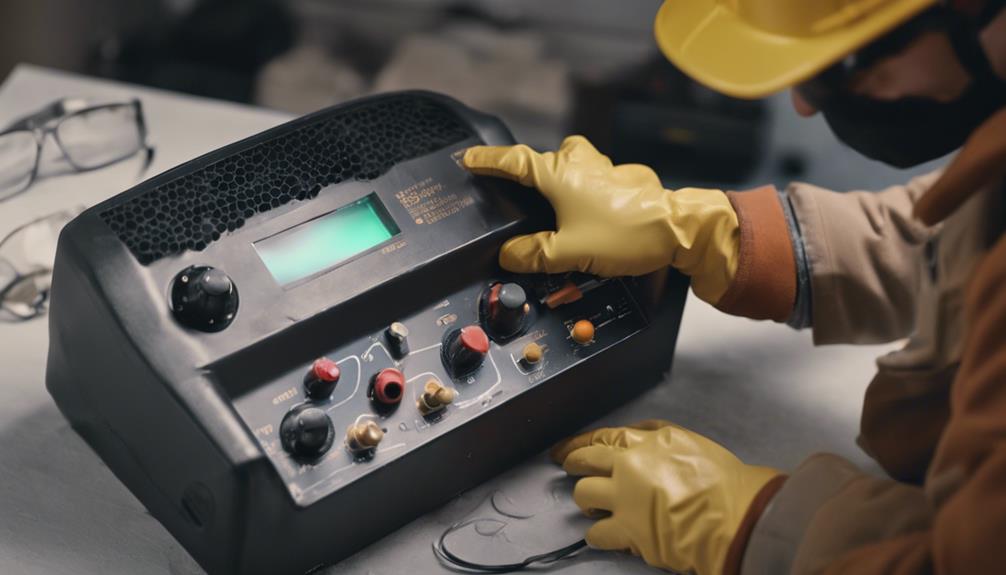
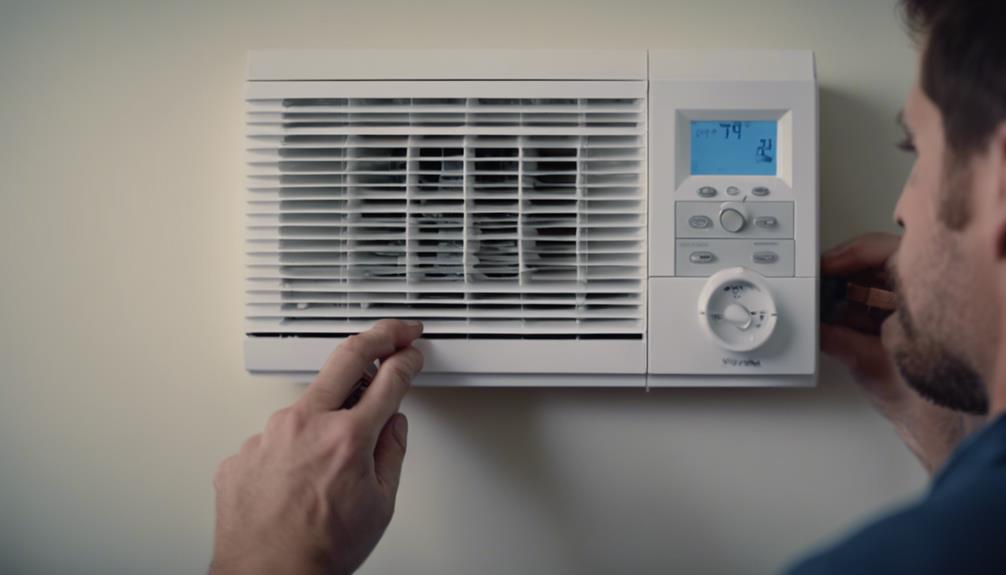
Testing Thermostat Functionality
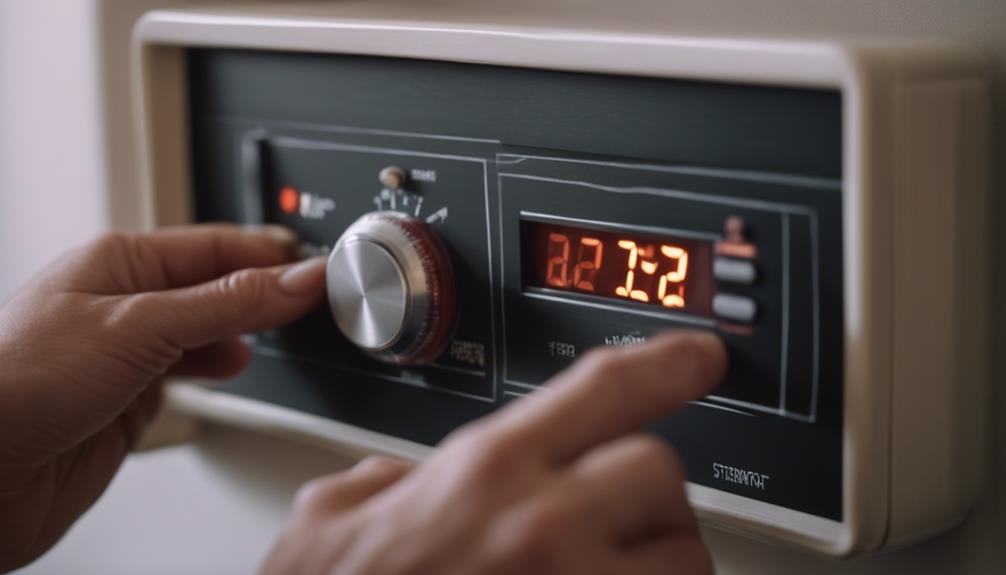
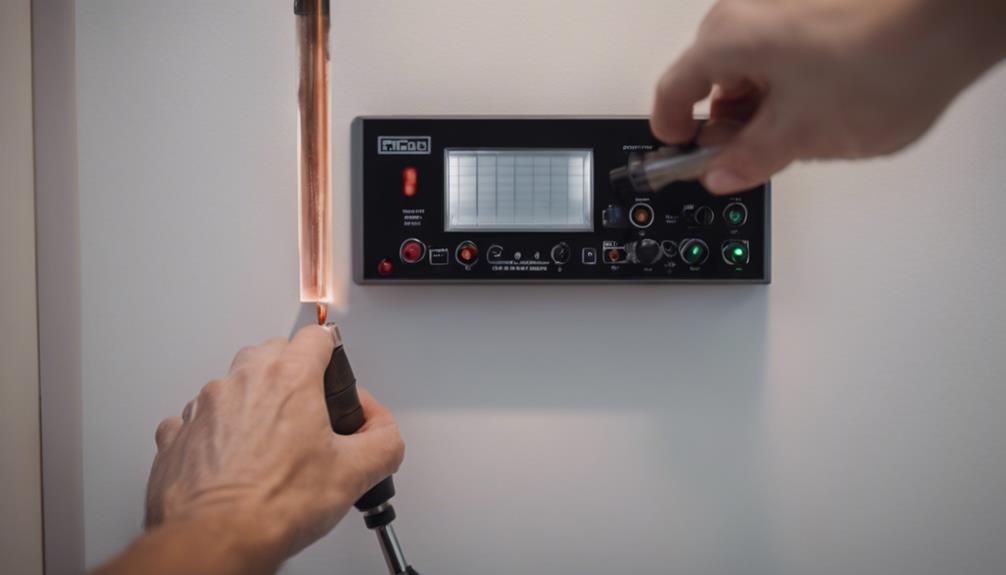
Guarantee proper functionality of the thermostat by conducting thorough testing procedures before completing the heater installation process.
Begin by calibrating the thermostat to guarantee accurate temperature readings. Follow the manufacturer's instructions for calibration, usually involving adjusting the temperature settings to match a separate thermometer. Once calibrated, test the thermostat by setting it to different temperatures and verifying that the heater responds accordingly.
If the thermostat doesn't seem to be functioning correctly, troubleshoot the sensors. Dust and debris can accumulate over time, affecting sensor accuracy. Use a clean, soft cloth to gently wipe the sensors clean. Additionally, check for any obstructions that may be blocking the sensors' ability to detect temperature changes accurately.
After calibrating and troubleshooting the sensors, retest the thermostat to confirm proper functionality. Guarantee that the temperature settings are accurate and that the heater responds promptly to adjustments.
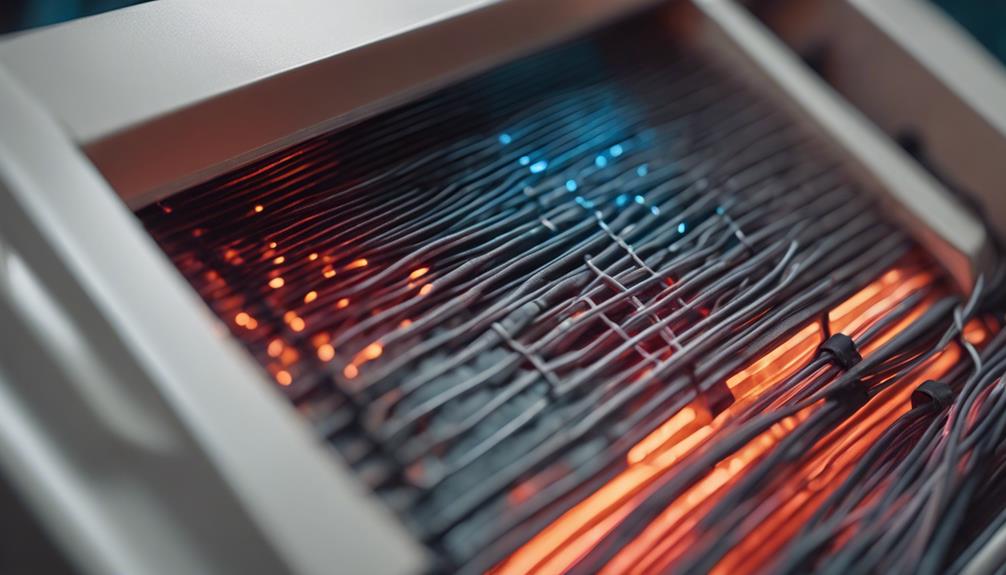
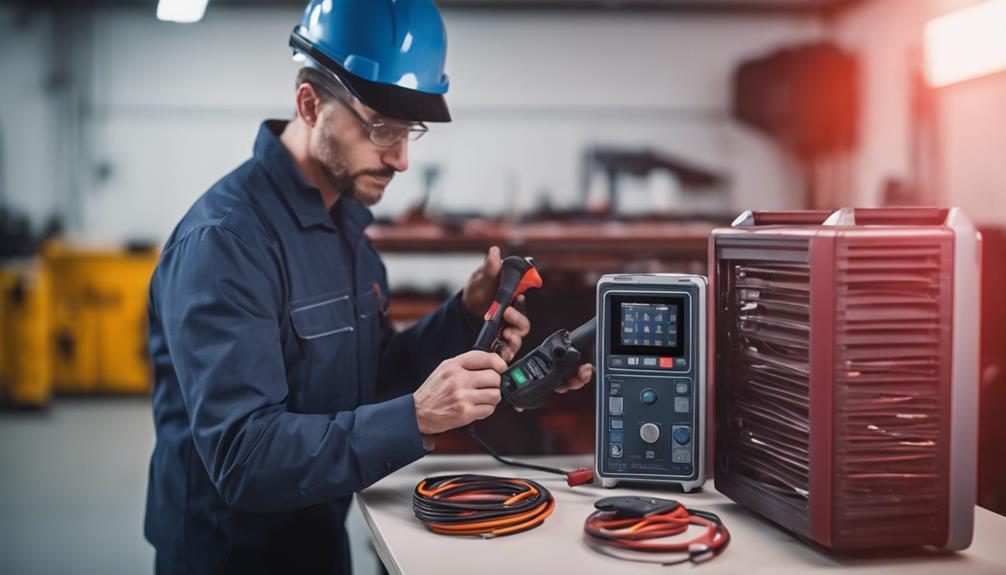
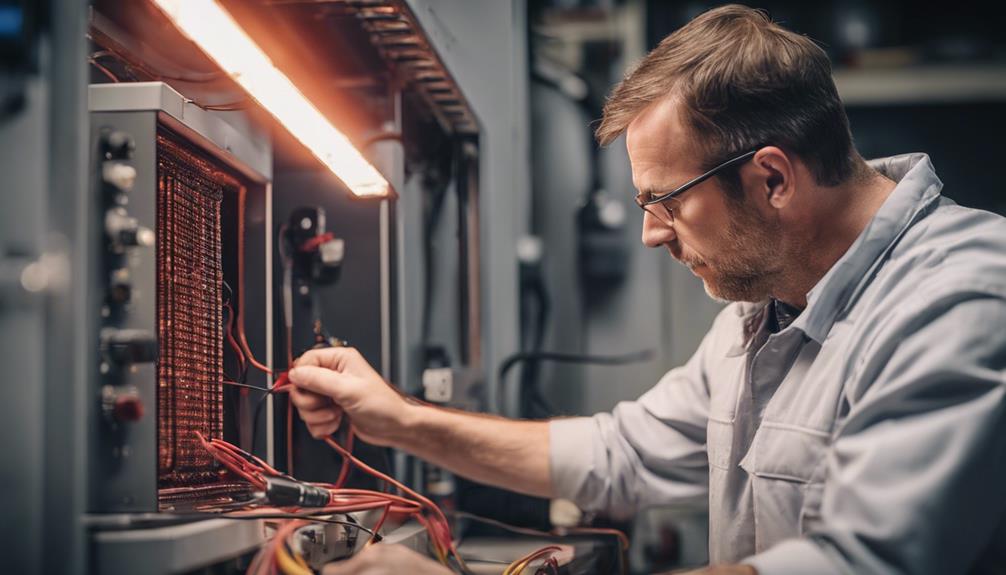
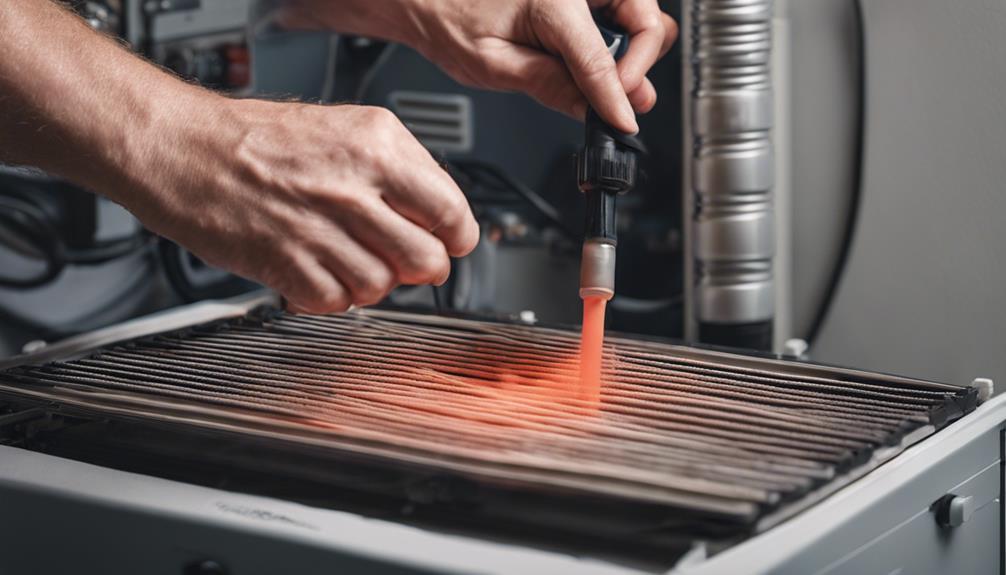
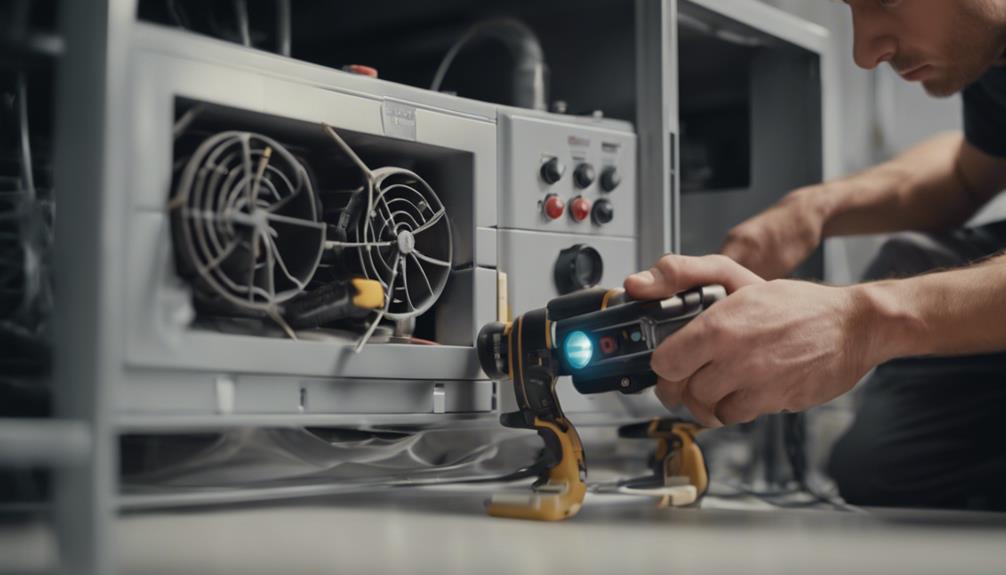
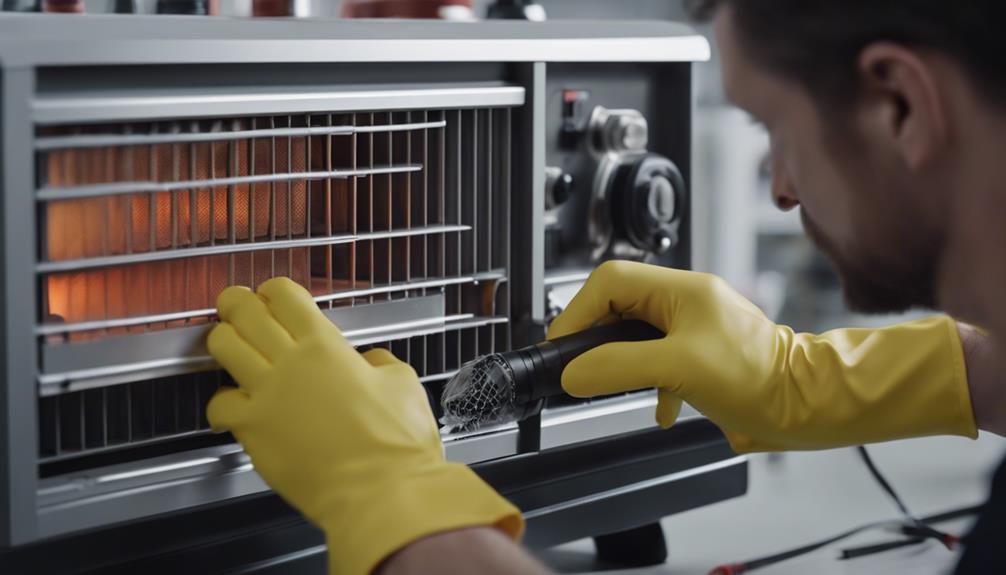
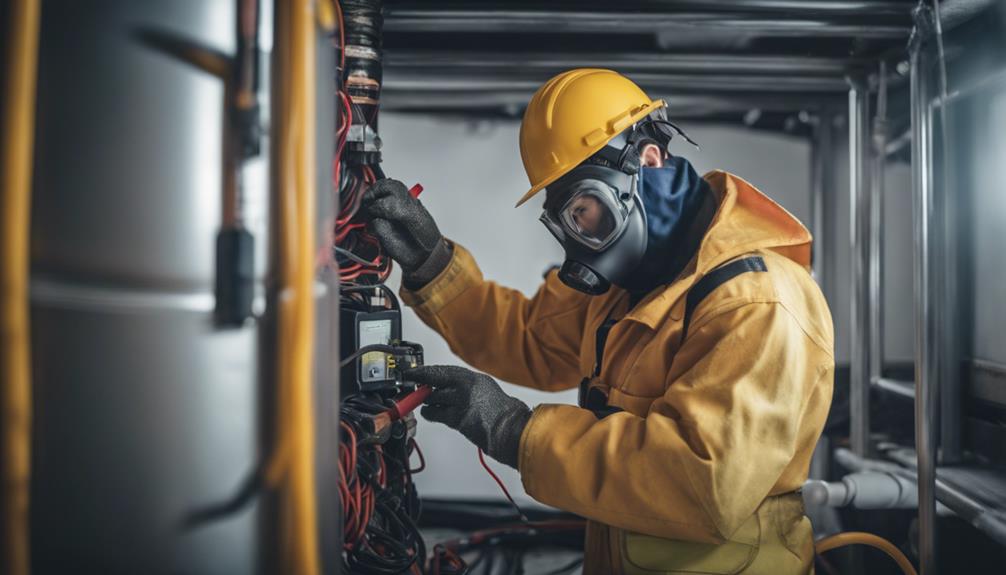
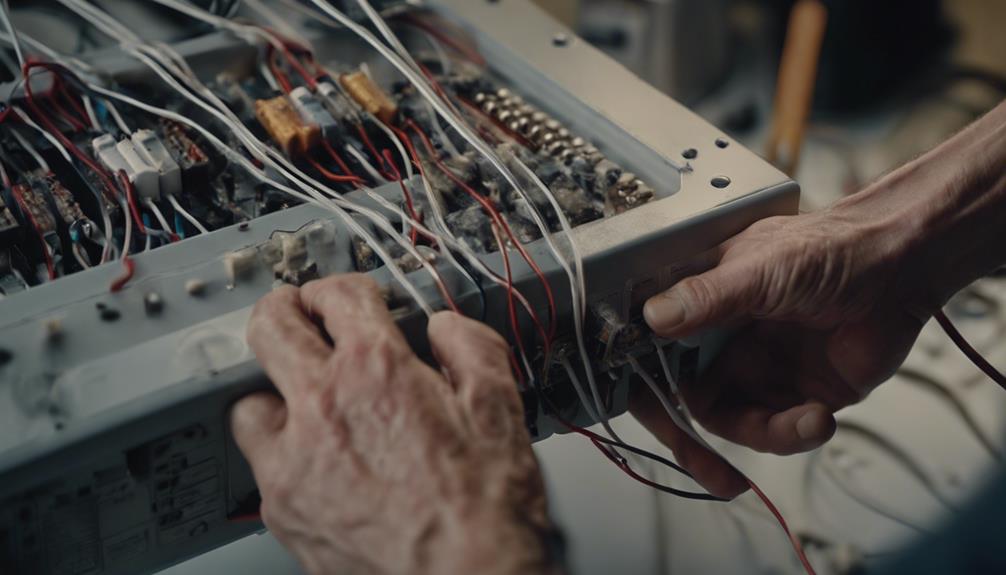
Inspecting Wiring Connections
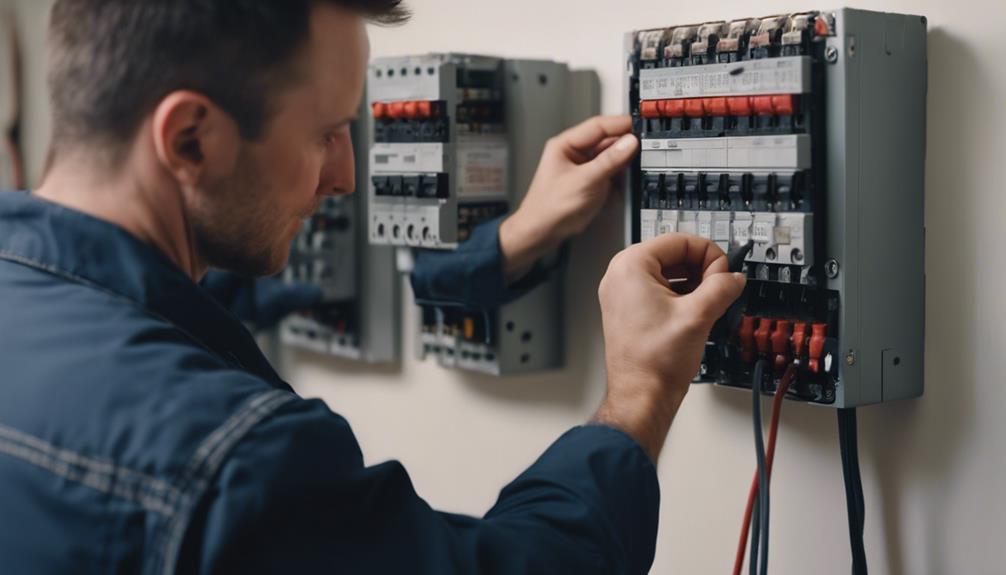
Check each wiring connection carefully for any signs of wear, looseness, or damage before proceeding with the heater installation. Confirming wiring safety is vital for the proper functioning of your heater.
Start by examining each wire for any visible wear on the insulation or exposed metal. Look out for loose connections that could lead to electrical hazards or heating inefficiencies. It's important to maintain connection integrity to prevent potential malfunctions down the line.
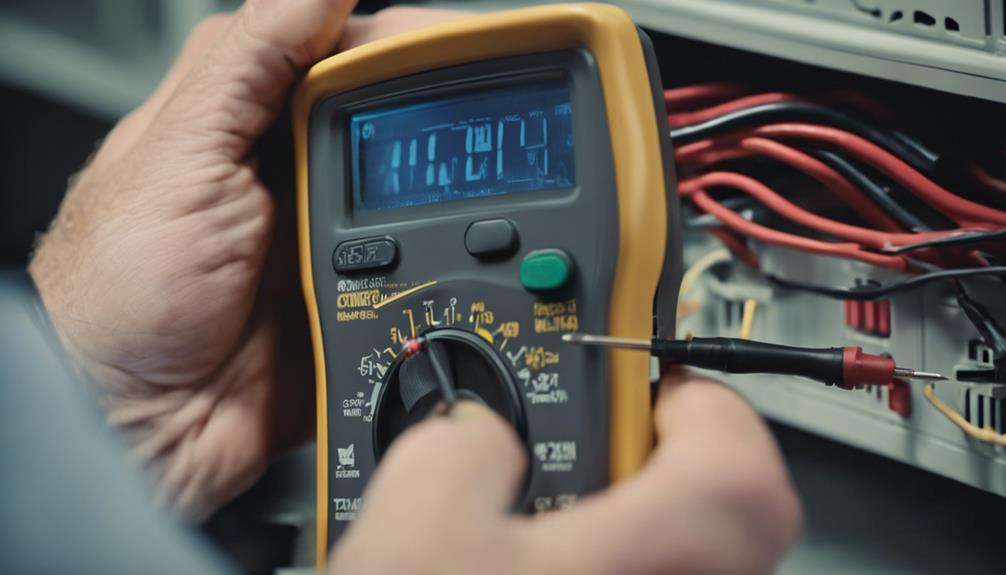
Use a multimeter to test the continuity of the wires and confirm that each connection is secure. Tighten any loose connections and replace any damaged wires to guarantee a safe and effective heater installation.
Make sure all wires are correctly matched and connected according to the manufacturer's instructions to avoid any short circuits or overheating risks. Prioritize wiring safety throughout the installation process to promote the longevity and efficiency of your heating system.
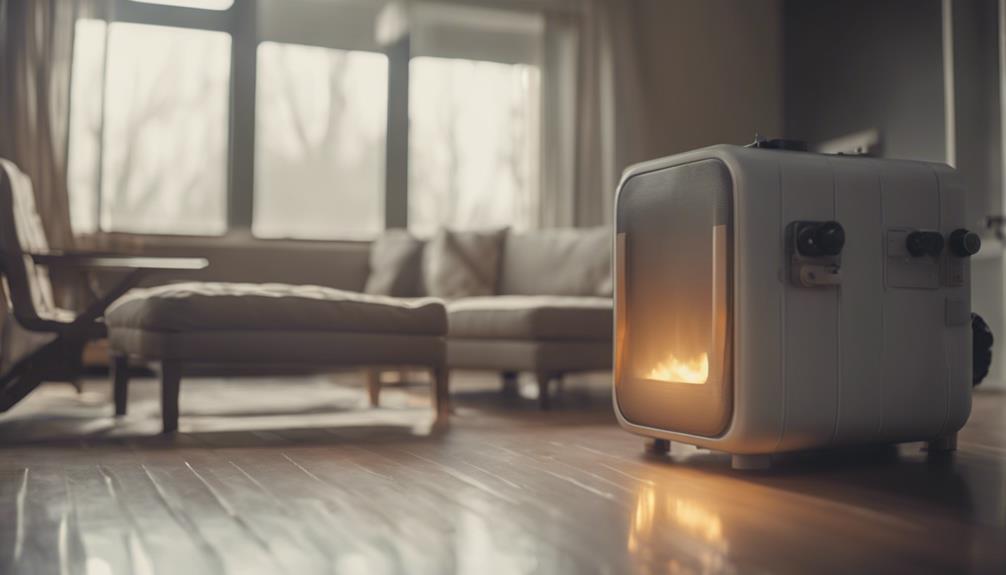
Addressing Uneven Heating
Inspect the airflow and distribution patterns in your heating system to identify and address any sources of uneven heating.
Start by checking for any blockages or obstructions in the vents or ductwork that could be impeding the proper flow of warm air. Ascertain that all vents are open and unobstructed to allow for efficient heat distribution throughout your space.
Next, conduct an insulation assessment in your home to determine if there are any areas where heat may be escaping or where cold air is infiltrating. Poor insulation can lead to temperature variations in different areas of your home, causing uneven heating. Consider adding insulation to areas such as attics, walls, and floors to improve heat retention and distribution.
Additionally, check the positioning of your furniture and other objects in the room. Large items blocking vents or radiators can disrupt the flow of warm air, leading to uneven heating. By rearranging furniture and ascertaining that air vents are unobstructed, you can help promote better heat distribution and achieve more consistent temperatures throughout your home.
Conclusion
In summary, following these top troubleshooting tips for heater installation will guarantee a successful and efficient heating system in your space.
By carefully selecting the location, checking power supply, securing mounting, confirming proper ventilation, testing thermostat functionality, inspecting wiring connections, and addressing any issues with uneven heating, you can assure a comfortable and safe environment for your home or workplace.
Stay proactive and thorough in your heater installation process for ideal results.