Guarantee a safe and efficient heater installation by initially prioritizing safety precautions like maintaining proper distance from flammable materials and never leaving the heater unattended. When choosing a location, guarantee no obstructions for adequate ventilation and ideal heat distribution. Follow manufacturer guidelines for electrical connections, matching wire colors and testing afterward. Mount securely on wall studs, checking for obstructions, and testing calibration for uniform heat distribution. Remember to maintain your heater by regularly replacing air filters and scheduling seasonal checkups. These precise tips will help you set up your heater effectively for peak performance.
Safety Precautions
Before beginning the installation process, make certain you have read and understood all safety precautions outlined in the user manual provided with your heater. Ignoring these guidelines could lead to severe fire hazards and endanger both property and lives.
It's essential to have a clear understanding of the emergency procedures in case of a malfunction or accident. Familiarize yourself with the shutdown process and how to safely turn off the heater in case of an emergency.
Ensure that your heater is placed away from any flammable materials such as curtains, furniture, or papers. Keep a minimum distance of at least three feet around the heater to prevent accidental fires.
Additionally, never leave the heater unattended while in operation. Regularly check for any signs of damage to the heater's cord or plug, and refrain from using it if there are any issues.
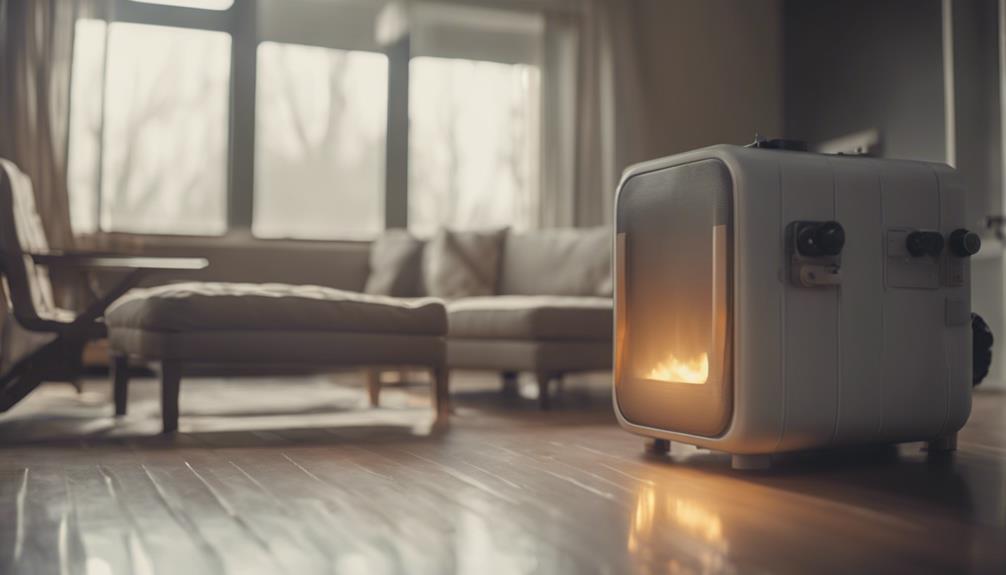
Choosing the Right Location
Select a location for your heater that's free from obstructions and provides adequate ventilation to guarantee safe and efficient operation.
When considering heater placement, make certain that the unit is placed in a central location within the room to maximize heat distribution. For peak performance, take into account the size of the room. Larger rooms may require heaters with higher heating capacities or the installation of multiple units to evenly heat the space.
Avoid placing the heater near curtains, furniture, or other flammable materials to prevent potential fire hazards. Additionally, keep the heater away from high-traffic areas to reduce the risk of accidental contact or tripping. Adequate spacing around the heater is essential for proper airflow and heat circulation.
Before finalizing the location, consider the proximity to electrical outlets to guarantee easy access for power connection.
Remember that proper heater placement not only guarantees efficient heating but also enhances overall safety in your living space.
Proper Ventilation Requirements
Positioning your heater to confirm proper ventilation is key to its safe and efficient operation. There are two main types of ventilation systems to evaluate: natural ventilation, which relies on airflow through windows, doors, or vents, and mechanical ventilation, which involves fans or duct systems to circulate air. Both types play an essential role in maintaining good indoor air quality, making sure the combustion process in your heater functions correctly, and preventing the buildup of harmful gases like carbon monoxide.
When installing your heater, verify that it's placed in an area with an adequate air supply to support combustion. This includes following manufacturer guidelines on clearance distances from walls and furniture to allow for proper airflow. Additionally, it's vital to check for any obstructions that could block vents or air intakes.
Regular maintenance of your ventilation system is also important to uphold air quality and the overall efficiency of your heater. By adhering to proper ventilation requirements, you can enjoy a safe and comfortable environment while maximizing your heater's performance.
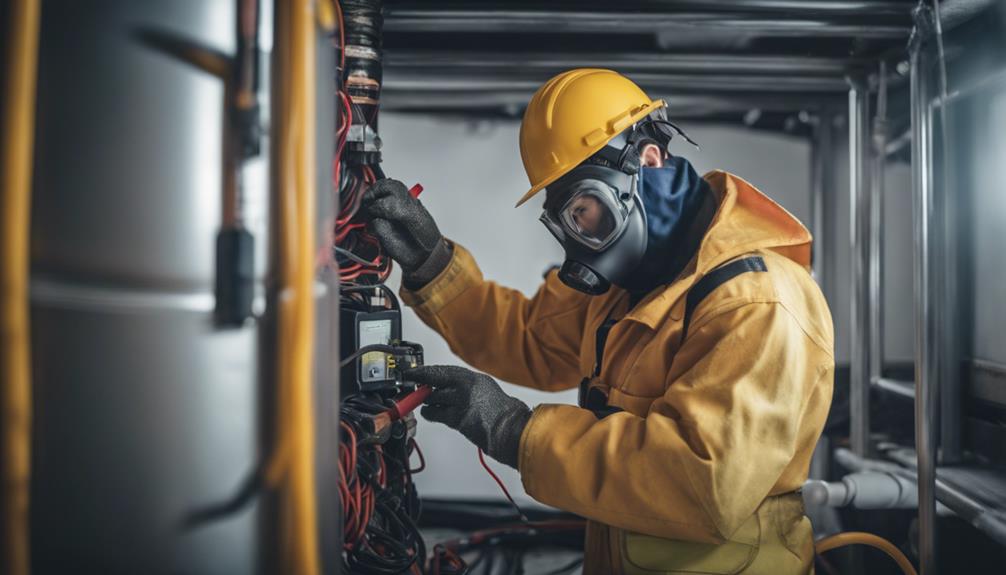
Electrical Connection Instructions
Make certain that the electrical connection for your heater is carried out according to the manufacturer's specifications for safe and ideal performance.
Before proceeding, verify that the power to the circuit is switched off at the main electrical panel. Always refer to the wiring diagrams provided by the manufacturer to correctly identify the different wires for the heater connection.
When connecting the heater, match the corresponding wire colors as per the manufacturer's guidelines. Use appropriate wire connectors to secure the connections and prevent any loose wiring.
Once all connections are made, verify that the wires are tucked away neatly to avoid any interference with the heater's components.
After the electrical connections are secure, turn the power back on and test the heater to verify it's functioning correctly. If the heater doesn't operate as expected, immediately turn off the power and recheck all connections.
Remember to never exceed the electrical load specified for the circuit to prevent tripping circuit breakers or causing damage to the heater.
Mounting the Heater
Verify the heater is securely mounted to the designated location on the wall or ceiling using the appropriate mounting hardware provided by the manufacturer.
When mounting your heater, consider the type of wall materials you're dealing with. For drywall, it's crucial to locate the wall studs for secure mounting. Utilize a stud finder to locate the studs and confirm the mounting screws penetrate into them for stability. In the case of concrete or brick walls, specialized anchors may be required to provide the necessary support.
Before drilling any holes, double-check the designated location to avoid any obstructions such as electrical wiring or pipes. Use a level to confirm the heater is mounted straight.
Additionally, consider the weight of the heater and verify the mounting surface can support it. Follow the manufacturer's instructions for specific mounting techniques based on the model of your heater.
Testing and Calibration
To guarantee ideal functionality, conduct thorough testing and calibration of your heater post-installation.
Begin by verifying the heat distribution is uniform across all areas of the room. Use a thermometer to measure the temperature at various points to identify any hot or cold spots. Adjust the heater's positioning or settings accordingly to optimize heat distribution.
Next, focus on the temperature control of the heater. Test the accuracy of the thermostat by setting it to different temperatures and verifying if the heater responds correctly. Calibrate the thermostat if necessary to verify it accurately reflects the room's temperature.
Conduct a runtime test by running the heater for an extended period to check for any fluctuations in heat output or irregularities in performance. Make adjustments as needed to maintain consistent heating throughout the testing period.
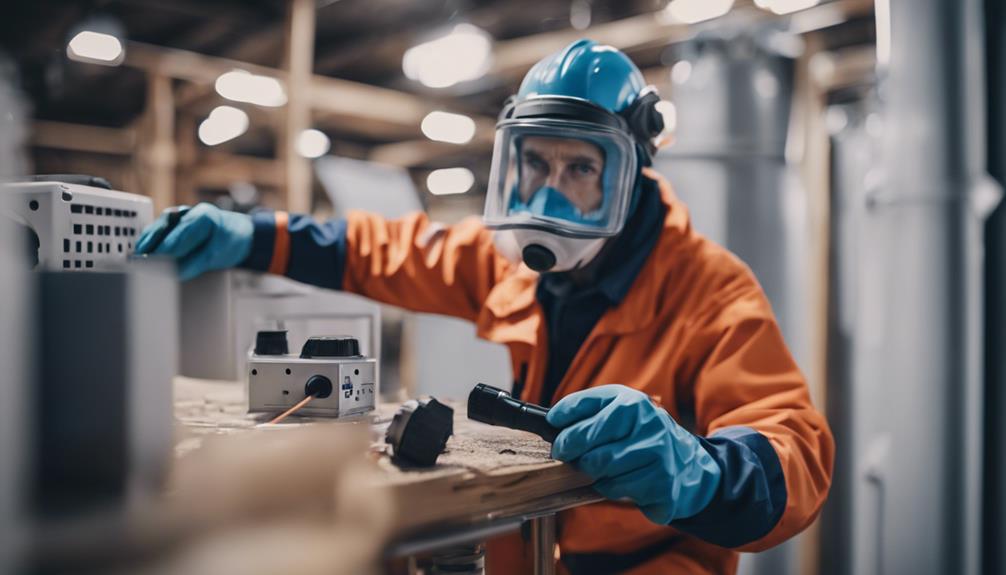
Maintenance and Cleaning
Regular maintenance and cleaning of your heater is essential to guarantee peak performance and longevity.
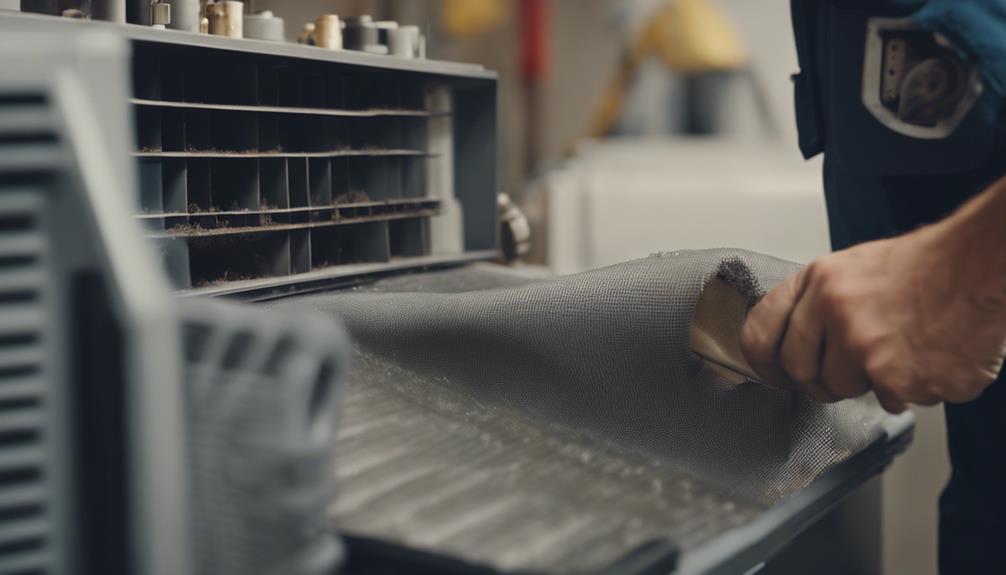
One vital aspect of maintenance is the regular replacement of air filters. Clogged filters restrict airflow, reducing efficiency and potentially causing damage to the system. It's recommended to replace disposable filters every 1-3 months, depending on usage and air quality. For reusable filters, follow manufacturer guidelines for proper cleaning and maintenance.
In addition to filter replacement, scheduling a seasonal checkup with a professional technician is highly advisable. During these checkups, the technician will inspect and clean critical components of the heater, ensuring everything is in prime condition.
They'll also perform safety checks to identify any potential hazards or malfunctions that could compromise the system's operation.
Conclusion
In summary, following proper installation tips for your heater is vital to guarantee safe and efficient operation.
By taking the necessary precautions, selecting the right location, providing proper ventilation, and correctly connecting the electrical components, you can prevent potential hazards and extend the lifespan of your heater.
Remember to regularly test, calibrate, and maintain your heater to keep it running smoothly and effectively.
Stay safe and warm with your properly installed heater.