
Position your infrared heater centrally in consideration of room size and insulation for ideal heat distribution. Guarantee airflow by maintaining space around the heater and utilizing fans for circulation. Securely mount the heater using quality brackets matched to the model, reinforcing the wall for stability. Choose the right wiring gauge and comply with building codes for safety. Equip yourself with essential tools and safety gear for installation. Test the functionality meticulously before regular maintenance like filter replacements and cleaning for longevity. Master these tips for efficient infrared heater installation.
Choosing the Right Location

When selecting the ideal location for your infrared heater, consider factors such as room size, insulation quality, and proximity to electrical outlets. To maximize heat distribution, place the heater in a central location within the room. This guarantees that heat is evenly distributed throughout the space, avoiding cold spots and ensuring the best comfort.
Additionally, take into account the room layout. If the room has high ceilings or is open-concept, you may need to adjust the positioning of the heater to compensate for these factors. In rooms with poor insulation, such as those with drafty windows or doors, placing the heater near these areas can help counteract heat loss.
Confirm that the heater isn't obstructed by furniture or other objects that could block the infrared waves from reaching all corners of the room.
Ensuring Proper Ventilation
For ideal performance and safety, guaranteeing proper ventilation is vital when installing an infrared heater.
Adequate airflow management is important to maintain peak temperature regulation and prevent overheating. When positioning your infrared heater, make sure there's ample space around the unit for air to circulate effectively. Avoid obstructing vents or placing the heater in a confined area that restricts airflow.
To enhance ventilation, consider installing a ceiling fan or using a standalone fan to improve air circulation in the room. This will help distribute the heat evenly and prevent any hotspots from forming. Additionally, opening doors or windows periodically can help refresh the air and promote better airflow management.
Regularly check the vents and filters of your infrared heater to verify they're clean and free from dust or debris. Clogged vents can impede airflow and impact the heater's performance.
Mounting the Heater Securely

Guarantee secure mounting of the infrared heater to the wall using appropriate mounting brackets and hardware for ideal stability and safety.
Start by selecting high-quality mounting brackets designed to support the weight of the heater. Confirm the brackets are compatible with the specific model of your infrared heater. Prior to mounting, consider reinforcing the wall with suitable wall reinforcements like plywood or studs.
Position the mounting brackets at the desired location on the wall, confirming they're level and securely anchored. Use appropriate hardware such as screws and anchors to fasten the brackets to the wall. Double-check the alignment and stability of the brackets before proceeding.
After the brackets are securely in place, carefully lift the infrared heater and align it with the brackets. Slide the heater onto the brackets and secure it according to the manufacturer's instructions.
Test the stability of the mounted heater by gently applying pressure. A properly mounted infrared heater provides efficient heating while confirming safety for you and your space.
Electrical Wiring Considerations
To guarantee the safe and efficient operation of your infrared heater, meticulous consideration of electrical wiring is imperative.
When wiring your infrared heater, it's essential to select the appropriate wiring gauge to handle the electrical load without overheating. Consult the manufacturer's guidelines to determine the correct gauge for your specific model. Additionally, confirm that your electrical circuit meets the heater's power requirements. Inadequate circuit capacity can lead to tripped breakers or even electrical fires.
Selecting the correct wiring gauge is determined by the heater's wattage and the distance to the power source. Heavier gauges, such as 10-gauge wire, are typically recommended for higher wattage heaters or longer distances, while lighter gauges like 14-gauge wire may suffice for smaller heaters or shorter distances. Always adhere to local building codes and regulations when performing electrical installations to confirm compliance and safety.
Before starting the installation process, verify that your existing electrical system can support the additional load of the infrared heater. If in doubt, consult a qualified electrician to assess your circuit requirements and make any necessary upgrades to prevent electrical hazards.
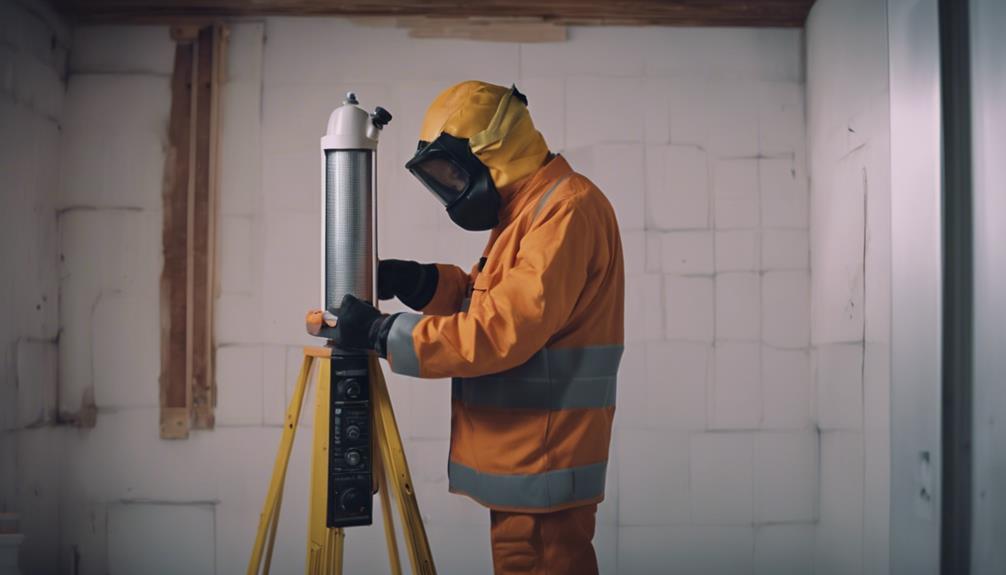
Using the Correct Tools

Make certain that you have the appropriate tools available for the successful installation of your infrared heater. Essential installation tools include a screwdriver, pliers, wire strippers, a voltage tester, a drill with bits, and a stud finder.
Additionally, safety equipment such as gloves, safety goggles, and a mask should be worn during the installation process to prevent any accidents.
Before starting the installation, verify that all tools are in good working condition and suitable for the task. The screwdriver will be used for securing brackets and panels, while pliers are handy for twisting wires together.
Wire strippers are necessary for removing insulation from wires, and a voltage tester is vital for checking if the power is off before working on electrical connections. A drill with the appropriate bits will come in handy for mounting the heater securely, and a stud finder will help locate solid structures within walls for safe and stable installation.
Testing for Proper Functionality
Make certain that all electrical connections are properly secured before proceeding with the testing of the infrared heater's functionality. Safety precautions are vital during this phase.
Begin by turning on the infrared heater and allowing it to run for a few minutes. Check for any unusual sounds, smells, or overheating.
To test the heat distribution, place a hand several feet away from the heater and move it around to feel the warmth evenly spread. If you notice any cold spots or uneven heating, there may be an issue with the heater's reflectors or elements.
Additionally, you can use a thermal imaging camera to visually inspect the heat distribution across the heating elements. Confirm that the heater reaches the desired temperature and maintains it consistently.
Monitor the heater for an extended period to confirm its reliability. Remember to always follow safety guidelines and manufacturer recommendations when testing the functionality of your infrared heater.
Regular Maintenance Practices
Performing routine maintenance on your infrared heater is vital to guarantee its best performance and longevity. Two key maintenance practices for your infrared heater are filter replacement and heater cleaning.
Regularly replacing the filter is essential to make certain that your infrared heater operates efficiently. Clogged filters can obstruct airflow, reducing the heater's effectiveness and potentially causing overheating. To replace the filter, first, verify the heater is turned off and unplugged. Locate the filter compartment, remove the old filter, and insert a new one according to the manufacturer's instructions.
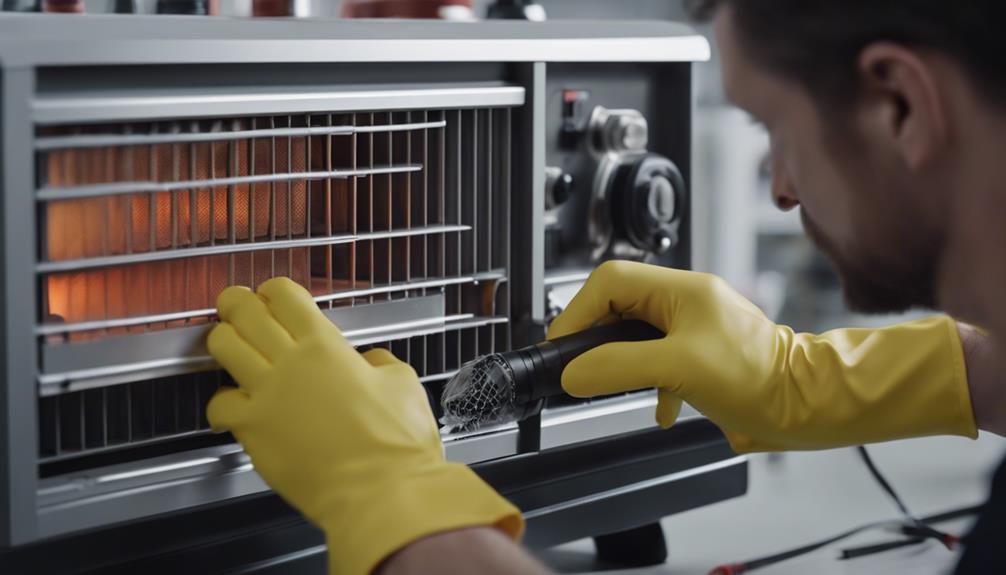
In addition to filter replacement, regular heater cleaning is important to prevent dust and debris buildup, which can impact the heater's performance. Use a soft cloth to gently wipe down the heater's exterior and grille. For interior cleaning, carefully vacuum any accumulated dust inside the heater. Avoid using harsh chemicals or abrasive materials that may damage the heater.
Conclusion
In summary, following these ideal installation tips for infrared heaters will guarantee maximum efficiency and safety in your space.
By choosing the right location, confirming proper ventilation, securely mounting the heater, considering electrical wiring, using the correct tools, testing functionality, and maintaining the unit regularly, you can enjoy a reliable and effective heating solution for years to come.
Remember to always consult the manufacturer's instructions and guidelines for proper installation procedures.