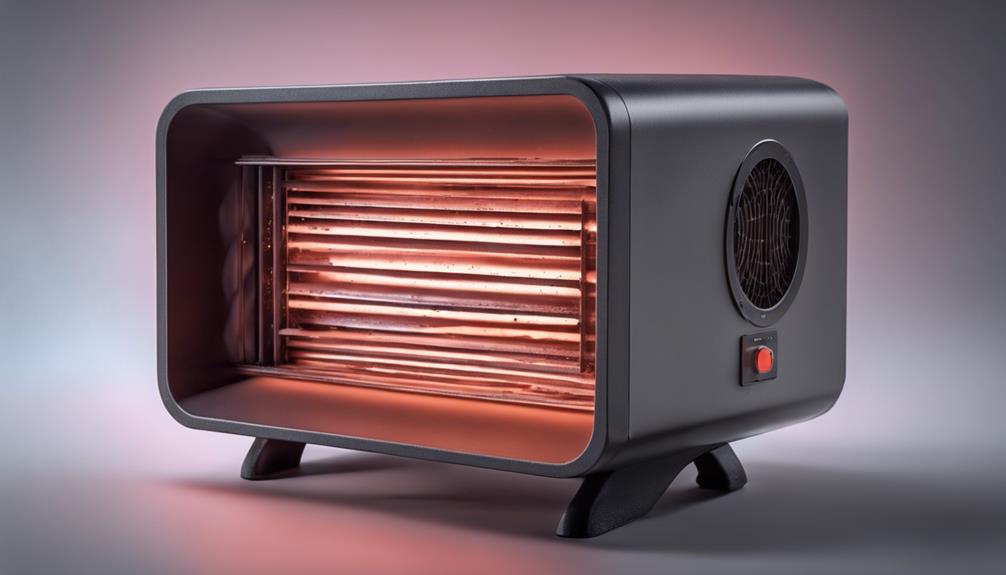
Regularly cleaning your infrared heater is crucial to maintain peak performance and safety. Dust accumulation can pose hazards and decrease air quality, leading to respiratory issues. Routine cleaning not only enhances energy efficiency, lowering bills, but also reduces your carbon footprint. Using tools like a soft cloth, vacuum, and compressed air guarantees thorough cleaning. Remember to unplug and allow the heater to cool before starting. Cleaning the exterior, heating element, and air filters is essential for longevity and efficiency. Reassemble properly, test, and monitor for any unusual signs for a well-functioning heater.
Importance of Regular Cleaning
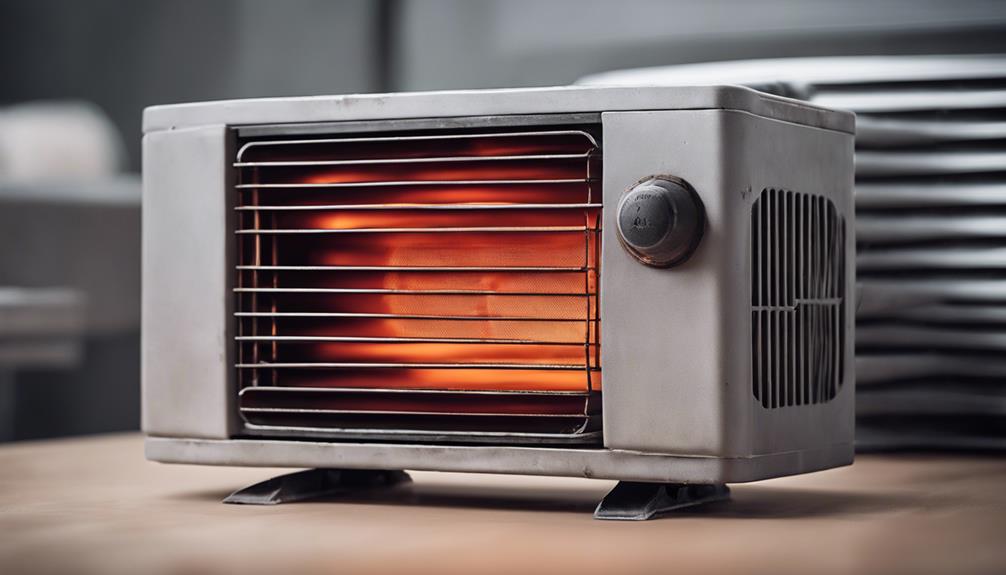
Regularly cleaning your infrared heater is vital to guarantee peak performance and prevent potential safety hazards. Not only does cleaning your heater make sure that it operates efficiently, but it also contributes to your health benefits and energy efficiency. Dust and debris accumulation on the heating elements can hinder the infrared heat distribution, reducing the heater's effectiveness and increasing energy consumption.
By maintaining a clean heater, you promote better air quality in your living space, reducing the risk of respiratory issues caused by circulating dust particles. Additionally, a clean infrared heater operates more efficiently, requiring less energy to produce the same amount of heat. This not only saves you money on energy bills but also reduces your carbon footprint.
Regular cleaning of your infrared heater is a simple yet essential task that can greatly impact your health, comfort, and energy savings. By incorporating this maintenance routine into your household chores, you can enjoy the full benefits of your heater while guaranteeing a safe and efficient heating system.
Tools Required for Cleaning
To effectively clean your infrared heater, you'll need a few essential tools. The primary cleaning materials required include a soft cloth or sponge, a vacuum cleaner with a brush attachment, a can of compressed air, and a screwdriver for removing any necessary parts. These tools will help you efficiently remove dust, debris, and other particles that can accumulate on the heater's surface and affect its performance.
When using these tools, it's vital to take some safety precautions. Make sure that the infrared heater is unplugged and completely cooled down before starting the cleaning process to prevent any risk of electric shock or burns.
Additionally, when using the vacuum cleaner or compressed air, hold them at a reasonable distance from the heater to avoid causing any damage to the unit.
Preparing for Cleaning
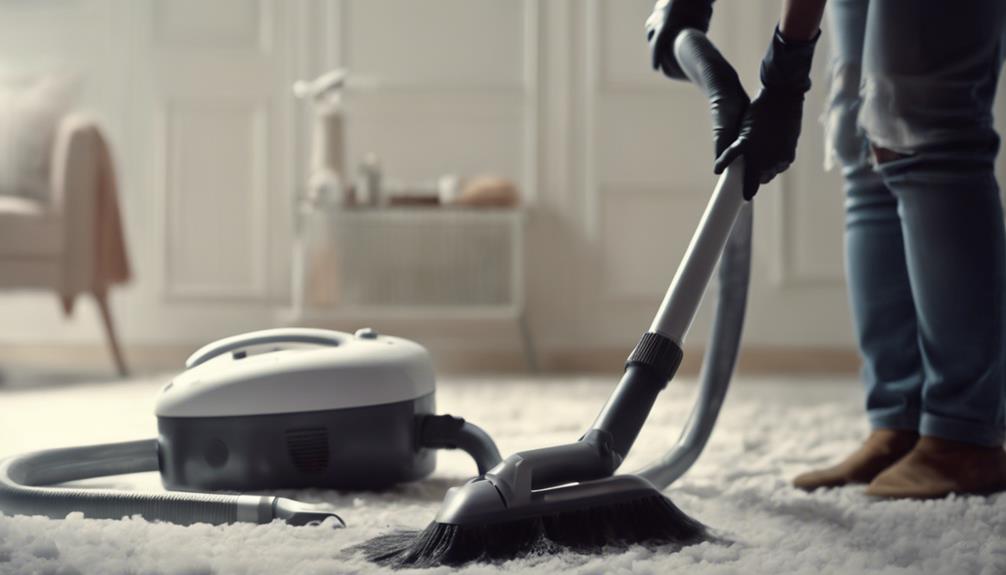
Before initiating the cleaning process on your infrared heater, verify that you have gathered all the necessary tools as mentioned in the previous section. To guarantee a safe cleaning experience, it's vital to follow a regular cleaning schedule for your infrared heater.
Start by turning off the heater and allowing it to cool down completely before beginning the cleaning process. This reduces the risk of burns or electrical shocks. Remember to unplug the heater from the power source to prevent any accidents while cleaning.
Next, gather safety precautions such as wearing protective gloves and a mask to avoid inhaling dust particles or debris. Position the heater in a well-ventilated area to dissipate any fumes that may arise during the cleaning.
It's essential to refer to the manufacturer's guidelines for specific cleaning instructions and any precautions to take. By following these steps and incorporating them into a routine cleaning schedule, you can maintain the efficiency and longevity of your infrared heater while guaranteeing a safe cleaning process.
Cleaning the Exterior Surface
Initiate the cleaning process on your infrared heater by focusing on the exterior surface to maintain its appearance and functionality.
To keep your heater looking new and performing efficiently, follow these maintenance tips. Start by unplugging the heater and allowing it to cool down completely before cleaning.
For general cleaning, use a soft, dry cloth to wipe down the exterior surface. If there are stubborn stains or dirt buildup, dampen the cloth slightly with water or a gentle cleaner specifically designed for the material of your heater.
When choosing a cleaning solution, consider the material of your heater. For example, if your heater is made of wood, avoid using harsh chemicals that could damage the finish. Similarly, for metal heaters, opt for a cleaner that's safe for metal surfaces.
Regularly cleaning the exterior surface not only enhances the aesthetics of your infrared heater but also guarantees its longevity and efficient operation.
Cleaning the Heating Element
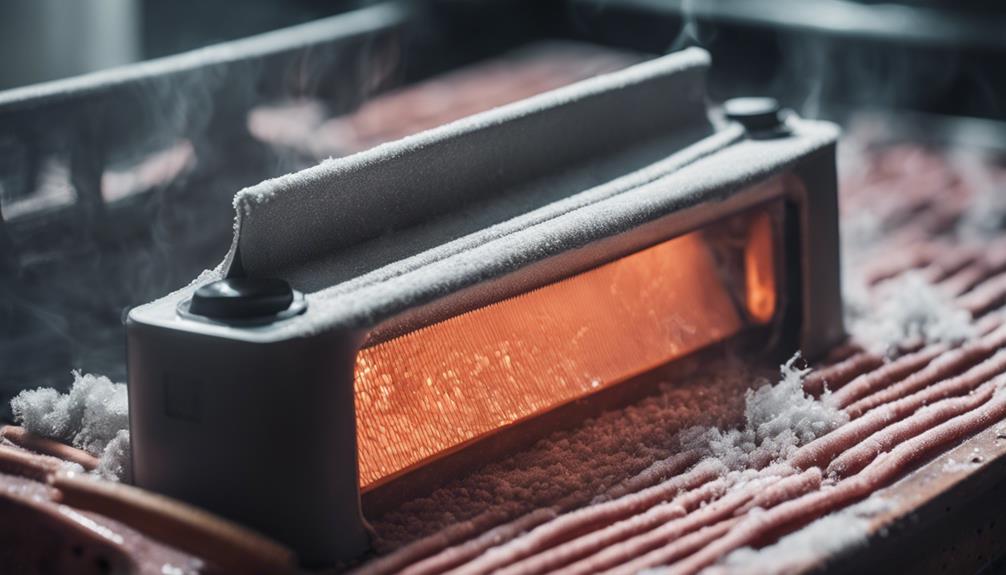
Start by verifying the heater is unplugged and completely cooled down before proceeding to clean the heating element.
The heating element is vital for the efficiency of your infrared heater. Over time, dust accumulation on the heating element can hinder its performance and reduce heating efficiency. To clean the heating element, use a soft brush or a vacuum cleaner with a brush attachment to gently remove any dust or debris. Be careful not to damage the delicate heating element during the cleaning process.
Regularly cleaning the heating element of your infrared heater can help maintain its effectiveness and prolong its lifespan. By keeping the heating element free from dust accumulation, you guarantee that the heater operates at its ideal efficiency, providing you with the warmth and comfort you need.
Remember to schedule this cleaning task periodically to prevent any buildup that could affect the performance of your heater.
Cleaning the Air Filters
Make certain you unplug the infrared heater and allow it to cool completely before cleaning the air filters to maintain peak performance.
Proper filter maintenance is essential for ensuring good air quality and efficient operation of your infrared heater. To clean the air filters, locate them on the back or sides of the unit. Gently remove the filters from their housing; depending on the model, they may be washable or replaceable.
For washable filters, use a vacuum cleaner with a brush attachment to remove dust and debris. Then, rinse the filter under warm water and allow it to dry completely before reinstalling.
If your filters are replaceable, check the manufacturer's instructions for the correct filter type and size. Regularly cleaning or replacing the air filters every few months will help prevent dust buildup, improve air quality, and maintain the heater's efficiency.
Reassembling and Testing the Heater
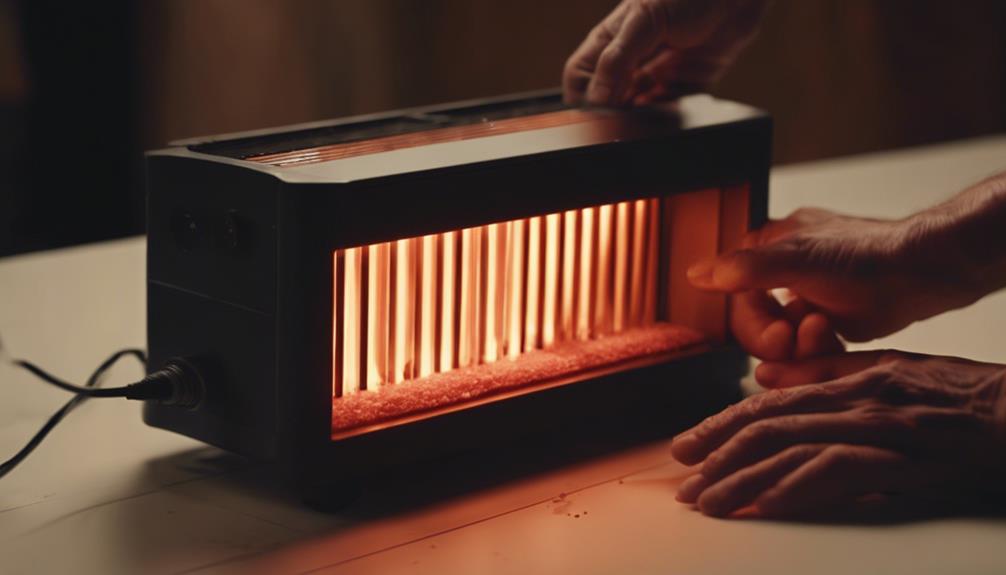
After cleaning the air filters of your infrared heater, carefully reassemble the unit and perform a test run to confirm proper functionality.
To start, ascertain all components are correctly put back together according to the manufacturer's instructions. Check that the heating elements, reflectors, and housing are securely in place. Make sure all screws or fasteners are tightened but avoid over-tightening to prevent damage.
Before powering up the heater, remember to follow safety precautions. Plug the unit into a suitable outlet and switch it on. Monitor the startup process closely for any unusual noises, smells, or malfunctions. If you notice anything out of the ordinary, immediately turn off the heater and refer to troubleshooting tips provided in the user manual.
During the test run, pay attention to the heat output and distribution. Feel the warmth across the room to confirm that the heater is working efficiently.
If everything appears to be functioning correctly, congratulations on successfully cleaning, reassembling, and testing your infrared heater.
Conclusion
Regularly cleaning your infrared heater is essential to guarantee it functions efficiently and safely.
By keeping the exterior surface, heating element, and air filters clean, you can prevent dust buildup, maintain peak heat output, and improve air quality in your space.
With the right tools and a simple cleaning routine, you can prolong the lifespan of your heater and enjoy its benefits for years to come.
