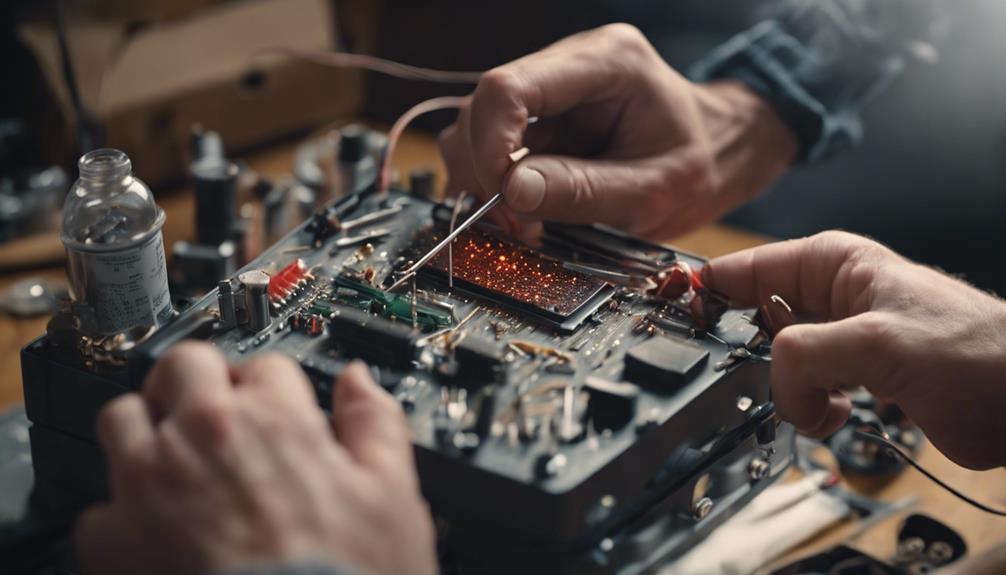
To clean your heater, start by turning it off and allowing it to cool down for safety. Gather supplies like a vacuum with brush attachments, microfiber cloth, and screwdriver. Power off the heater by unplugging (for electric) or turning off the gas/oil source. Use the vacuum and brush to remove dust and debris, focusing on vents and crevices. Clean surfaces with a damp cloth and mild soap, avoiding electrical components. Check and replace filters regularly for efficiency. Reassemble carefully and test for proper function. Proper cleaning enhances performance and longevity of your heater.
Safety Precautions
Before beginning the cleaning process, what essential safety precautions should you take to guarantee your well-being and prevent accidents?
When it comes to heater maintenance, safety is paramount. First, always confirm that the heater is turned off and completely cooled down before attempting any cleaning. This prevents the risk of burns or electrical shocks. Additionally, check the manufacturer's instructions for any specific safety guidelines related to your heater model.
Regarding cleaning frequency, it's recommended to clean your heater at least once a year, preferably before the start of the cold season.
Regular maintenance confirms that the heater operates efficiently and reduces the risk of malfunctions. Dust and debris accumulation can not only affect the heater's performance but also pose fire hazards if left unattended.
Gather Cleaning Supplies
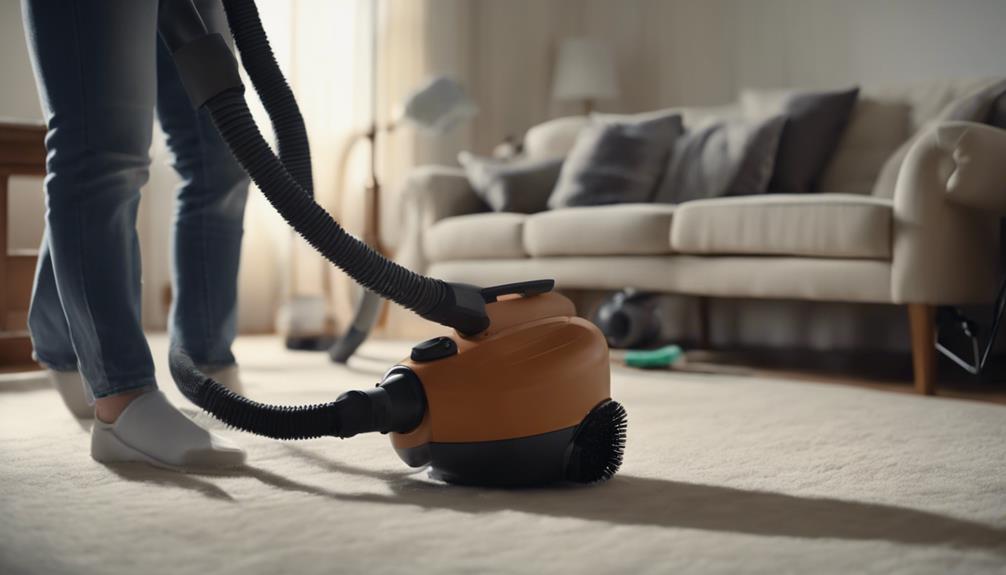
To effectively clean your heaters, the first step is to gather the necessary cleaning supplies. Before starting the seasonal maintenance of your heaters, make certain you have the essential cleaning tools readily available.
You'll need a vacuum cleaner with brush attachments to remove dust and debris from the heater vents and grills. Additionally, prepare a microfiber cloth or a soft brush to wipe down the exterior surfaces of the heater. It's also recommended to have a screwdriver on hand to remove any access panels for thorough cleaning.
When gathering your cleaning supplies, make sure to check that the vacuum cleaner's filters are clean to prevent spreading dust around. It's vital to choose cleaning tools that are suitable for the type of heater you have to avoid causing damage during the cleaning process.
Once you have all the necessary supplies assembled, you'll be ready to move on to the next step of powering off the heater.
Power Off the Heater
Make certain the heater is powered off before beginning the cleaning process. This step is vital to guarantee your safety and prevent any accidents.
Different heater types may have varying methods to power off. For electric heaters, simply unplug the cord from the power outlet. Gas heaters should be turned off using the shut-off valve. Oil heaters typically have a power switch that needs to be turned off. By disconnecting the power source, you eliminate the risk of electric shock or burns during the cleaning process.
Maintenance tips for powering off the heater include checking the manufacturer's instructions for specific guidance on how to safely turn off your particular heater model. It's advisable to wait for the heater to cool down before attempting to power it off to avoid any burns.
Additionally, verify that the power source is safely disconnected before proceeding with the cleaning steps. Following these guidelines will help maintain the longevity and efficiency of your heater.
Remove Dust and Debris
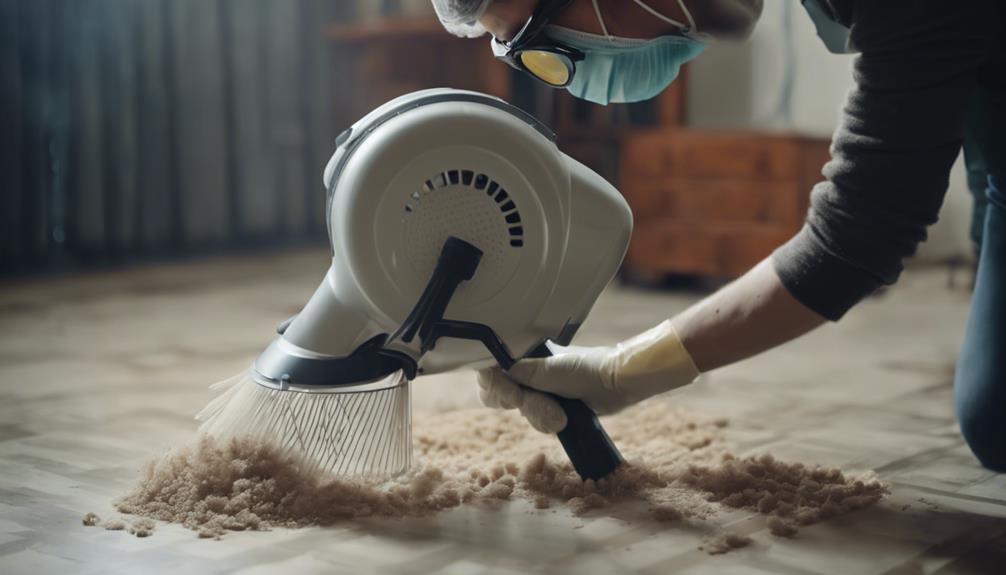
Begin by using a vacuum cleaner with a brush attachment to effectively remove dust and debris from the surface of the heater. Over time, dust accumulation on heaters can impede their efficiency and pose a potential fire hazard.
Carefully vacuum the exterior of the heater, making sure to reach into crevices and vents where debris tends to collect. Pay close attention to the grill or fins of the heater, as these areas are prone to trapping dust particles.
For a more thorough cleaning, you can also use a soft-bristled brush or a cloth to dislodge any stubborn debris that the vacuum might've missed. Take care not to damage any delicate components while performing this task.
Additionally, verify that the heater is completely powered off and unplugged before attempting any cleaning to prevent accidents.
Regularly removing dust and debris from your heater not only improves its performance but also prolongs its lifespan. By incorporating this simple maintenance step into your routine, you can keep your heater running efficiently and safely.
Clean Heater Surface
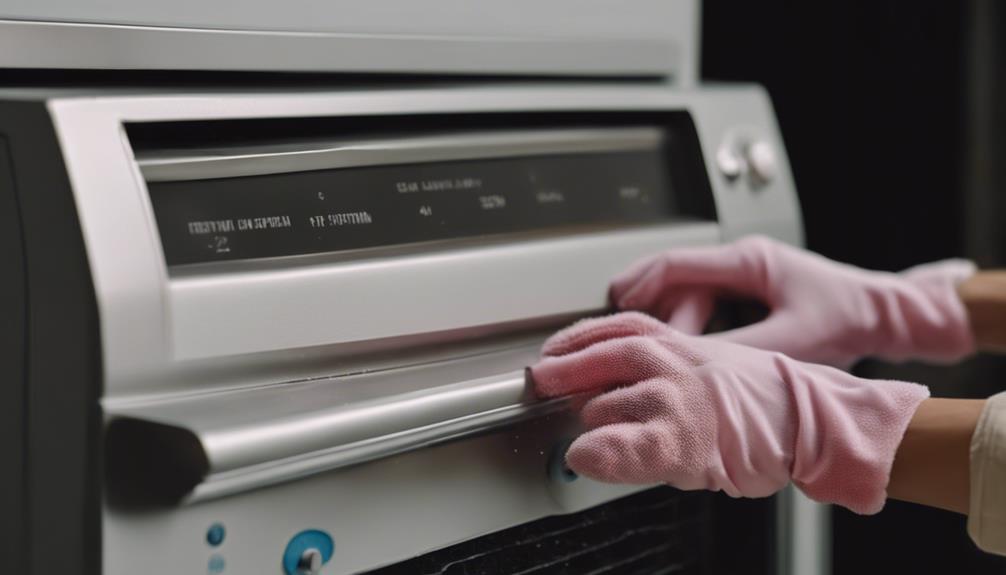
To effectively clean the surface of your heater, focus on removing built-up dirt and grime that can impact its efficiency and safety.
The method of cleaning the surface of your heater will depend on the materials it's made of. For metal surfaces, you can use a damp cloth with mild soap to wipe away dirt and stains. Be sure to dry the surface thoroughly to prevent rusting. For ceramic or glass surfaces, a non-abrasive cleaner can be used to gently remove dirt without scratching the material.
When cleaning, always verify the heater is turned off and unplugged, and avoid getting water into any electrical components. Additionally, never use harsh chemicals or abrasive materials that can damage the surface of the heater.
Regularly cleaning the surface of your heater won't only improve its appearance but also prevent dust and debris from affecting its performance. By using the appropriate cleaning techniques for your heater's surface materials, you can maintain its efficiency and prolong its lifespan.
Check and Replace Filters
Inspecting and replacing filters regularly is essential for maintaining the efficiency and longevity of your heater.
Filters come in various types such as disposable fiberglass, washable electrostatic, and high-efficiency particulate air (HEPA) filters. Each filter type serves a specific purpose, from capturing large particles to filtering out microscopic allergens and pollutants. To guarantee your heater functions at its best, check the manufacturer's recommendations for the appropriate filter type and replacement schedule.
Maintenance tips for filters include inspecting them monthly for dirt buildup and replacing them every 1-3 months depending on usage and filter type. Washable filters should be cleaned according to the manufacturer's instructions, usually with water and mild detergent, and completely dried before reinstallation.
HEPA filters, known for their superior filtration capabilities, are ideal for those with allergies or respiratory conditions. Regularly changing filters not only improves indoor air quality but also prevents dust and debris buildup within the heater, promoting better performance and energy efficiency.
Reassemble and Test Heater
To guarantee your heater operates efficiently, reassemble all components after inspecting and replacing the filters, then test the unit thoroughly for peak performance.
Start by carefully following the user manual to verify each part is correctly reattached. Pay close attention to the filter placement, making sure it's secure and clean. Double-check all connections and screws to prevent any loose ends that could impact heater functionality.
When reassembling, remember to reconnect any electrical components safely and securely. Take note of any specific instructions regarding the reassembly process provided in the manual.
Once everything is put back together, turn on the heater and observe its performance. Check for any unusual noises, smells, or malfunctions. This step is essential to confirm the heater functions effectively and safely.
As you test the heater, pay attention to the heat output, thermostat accuracy, and overall performance. Make any necessary adjustments as needed.
Following these reassembly tips and conducting a thorough test will help maintain your heater's efficiency and longevity.
Conclusion
To summarize, cleaning your heater is a simple process that can help improve its performance and efficiency.
By following the steps outlined in this guide, you can guarantee that your heater is free of dust and debris, maintaining a safe and comfortable environment in your home.
Remember to always prioritize safety and turn off the power before beginning the cleaning process.
Regular maintenance will prolong the life of your heater and keep it running smoothly.